Still Life Photography at Home: Lighting and Composition
Beautiful still life photography does not require a studio, expensive lighting, or rare props. A bowl of fruit, a favorite book, a ceramic cup, or a few flowers can become the subject of a striking photograph when you pay attention to light, arrangement, and detail. Your home already contains almost everything you need to begin.
In this beginner-friendly guide, you will learn how to build a simple home setup, shape soft light with household materials, select effective backgrounds, control focus and depth of field, and arrange everyday objects into photographs that tell a story.
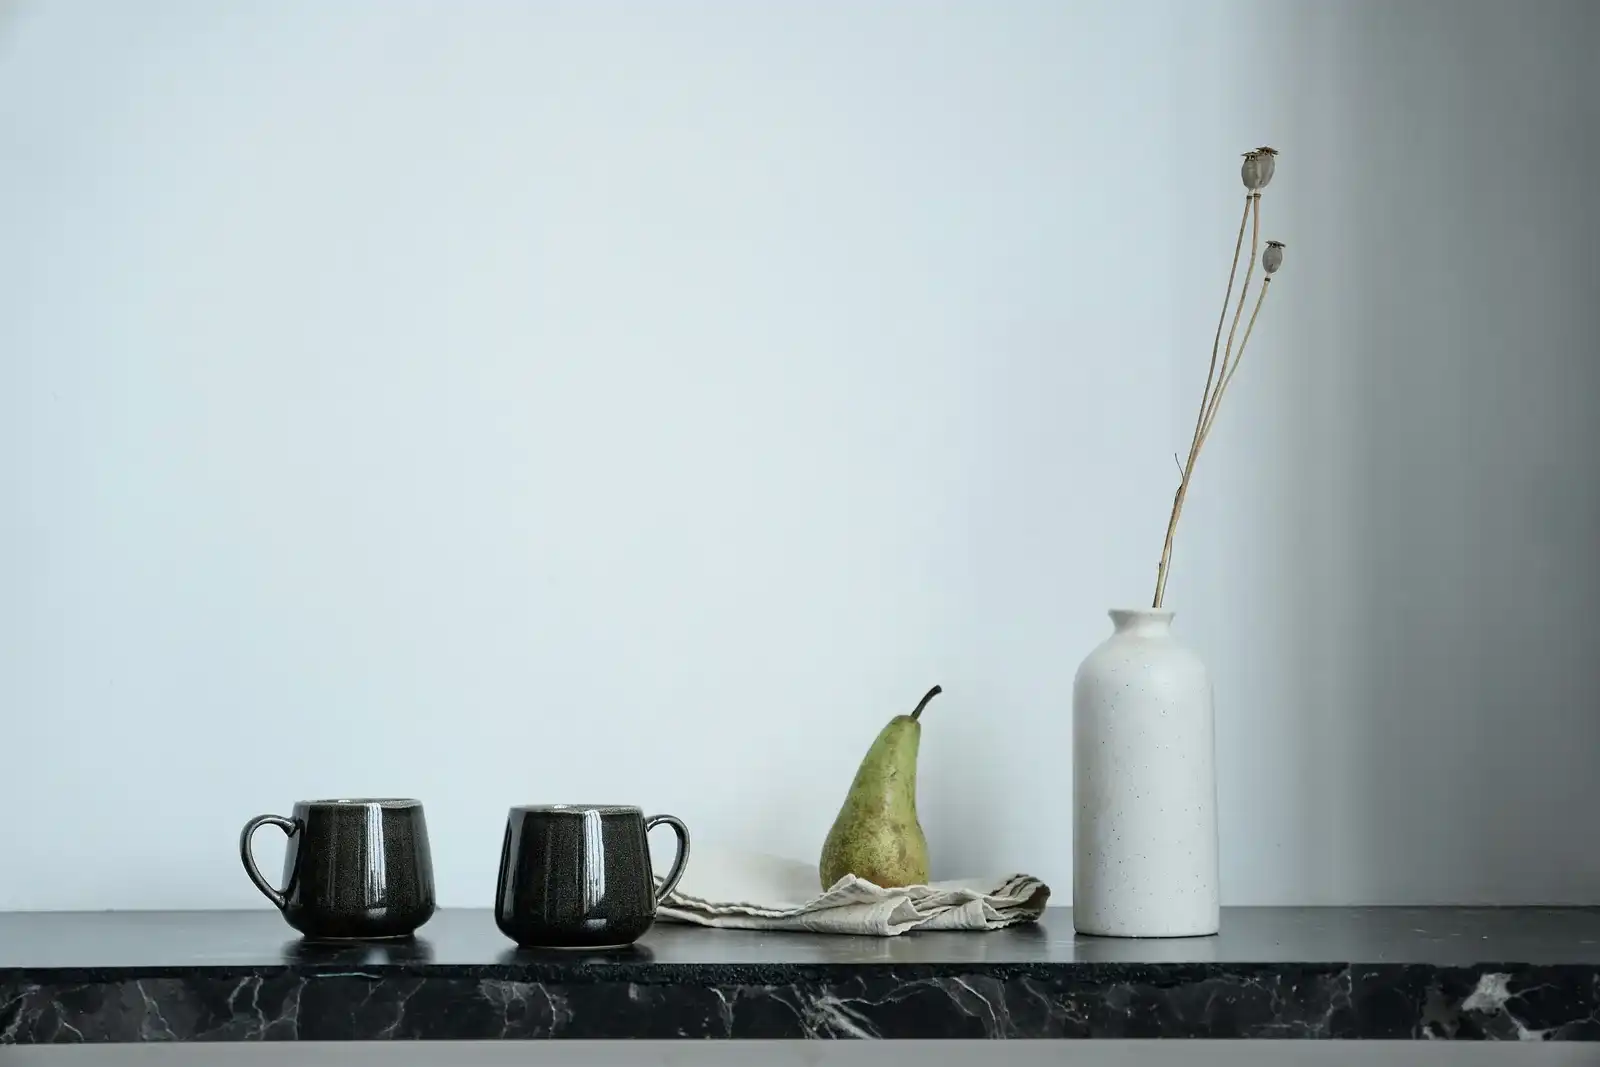
What Is Still Life Photography?
Still life photography is the art of photographing carefully arranged, usually inanimate subjects. Unlike street or wildlife photography, the photographer controls most of the scene: which objects appear, where they sit, how light falls across them, and what the background communicates.
This control makes still life an excellent way to practice photography. You can move a spoon two centimeters, rotate a flower, change the angle of a lamp, and immediately see how the image changes. Nothing needs to happen at a particular moment, so you can work slowly and experiment.
Classic still life subjects include fruit, flowers, glassware, books, fabric, and kitchen utensils. Modern still life images might feature stationery, headphones, skincare bottles, coffee-making tools, or anything else that suggests a mood or daily ritual. The goal is not simply to document objects but to make deliberate visual choices about them.
Start with Objects You Already Own
Before thinking about camera equipment, choose a subject. The easiest approach is to gather three to five objects that share a color, material, purpose, or story. Too many unrelated items can make the frame feel cluttered.
Fruit and Vegetables
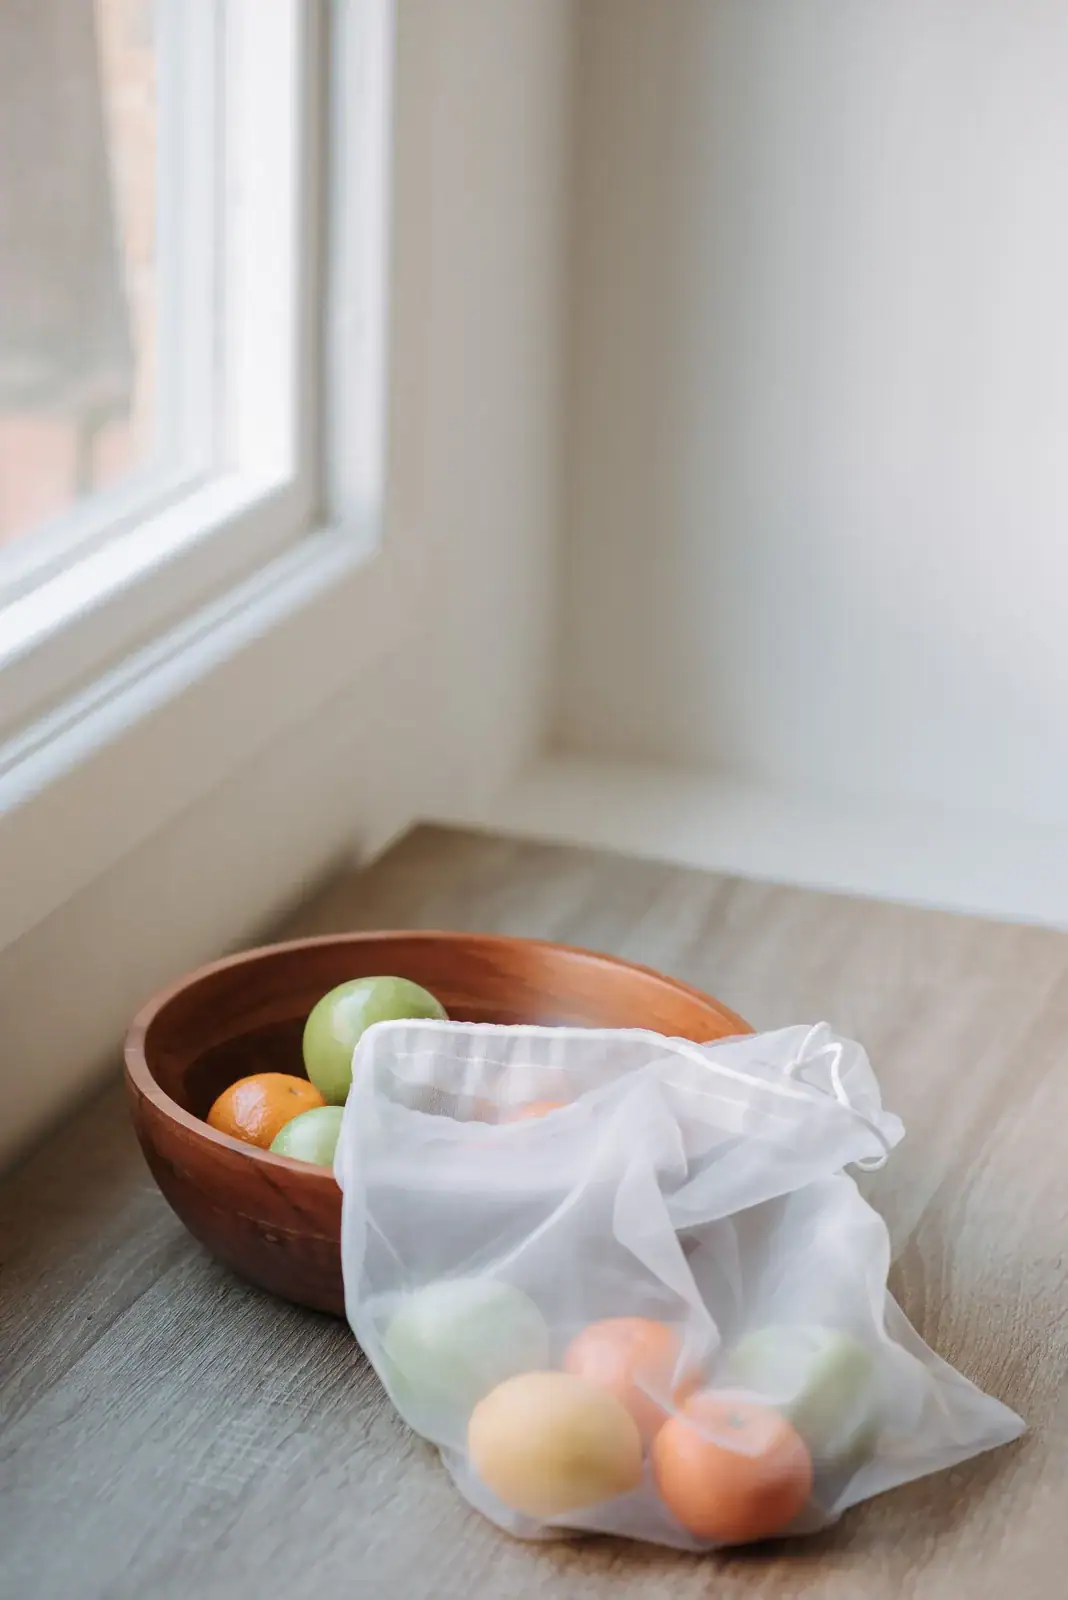
Apples, lemons, pears, onions, and herbs are inexpensive subjects with interesting colors and textures. Try placing a sliced lemon beside a whole lemon and a small knife to suggest preparation in the kitchen. Keep food fresh, wipe away distracting marks, and turn each item until its most appealing side faces the camera.
Flowers and Plants
One flower in a simple vase can be more effective than a crowded bouquet. Look for graceful stems, petals catching side light, and interesting shadows. Fallen petals can add a natural detail, but place them intentionally rather than scattering them at random.
Books and Stationery
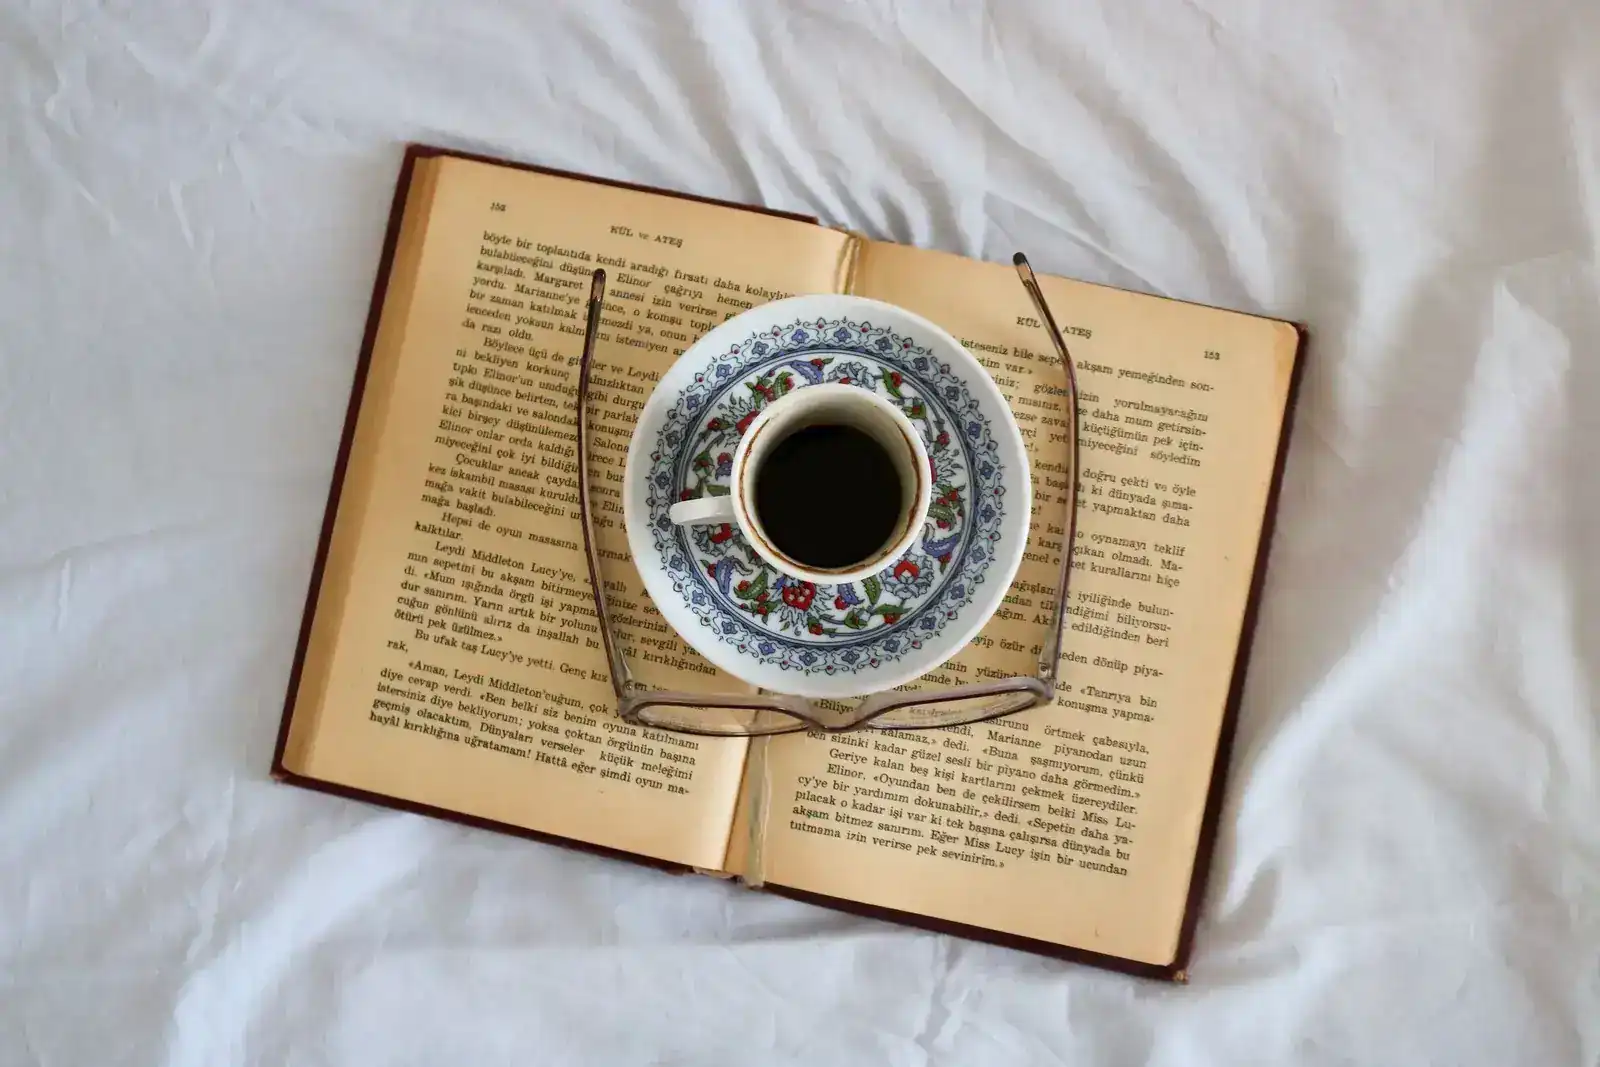
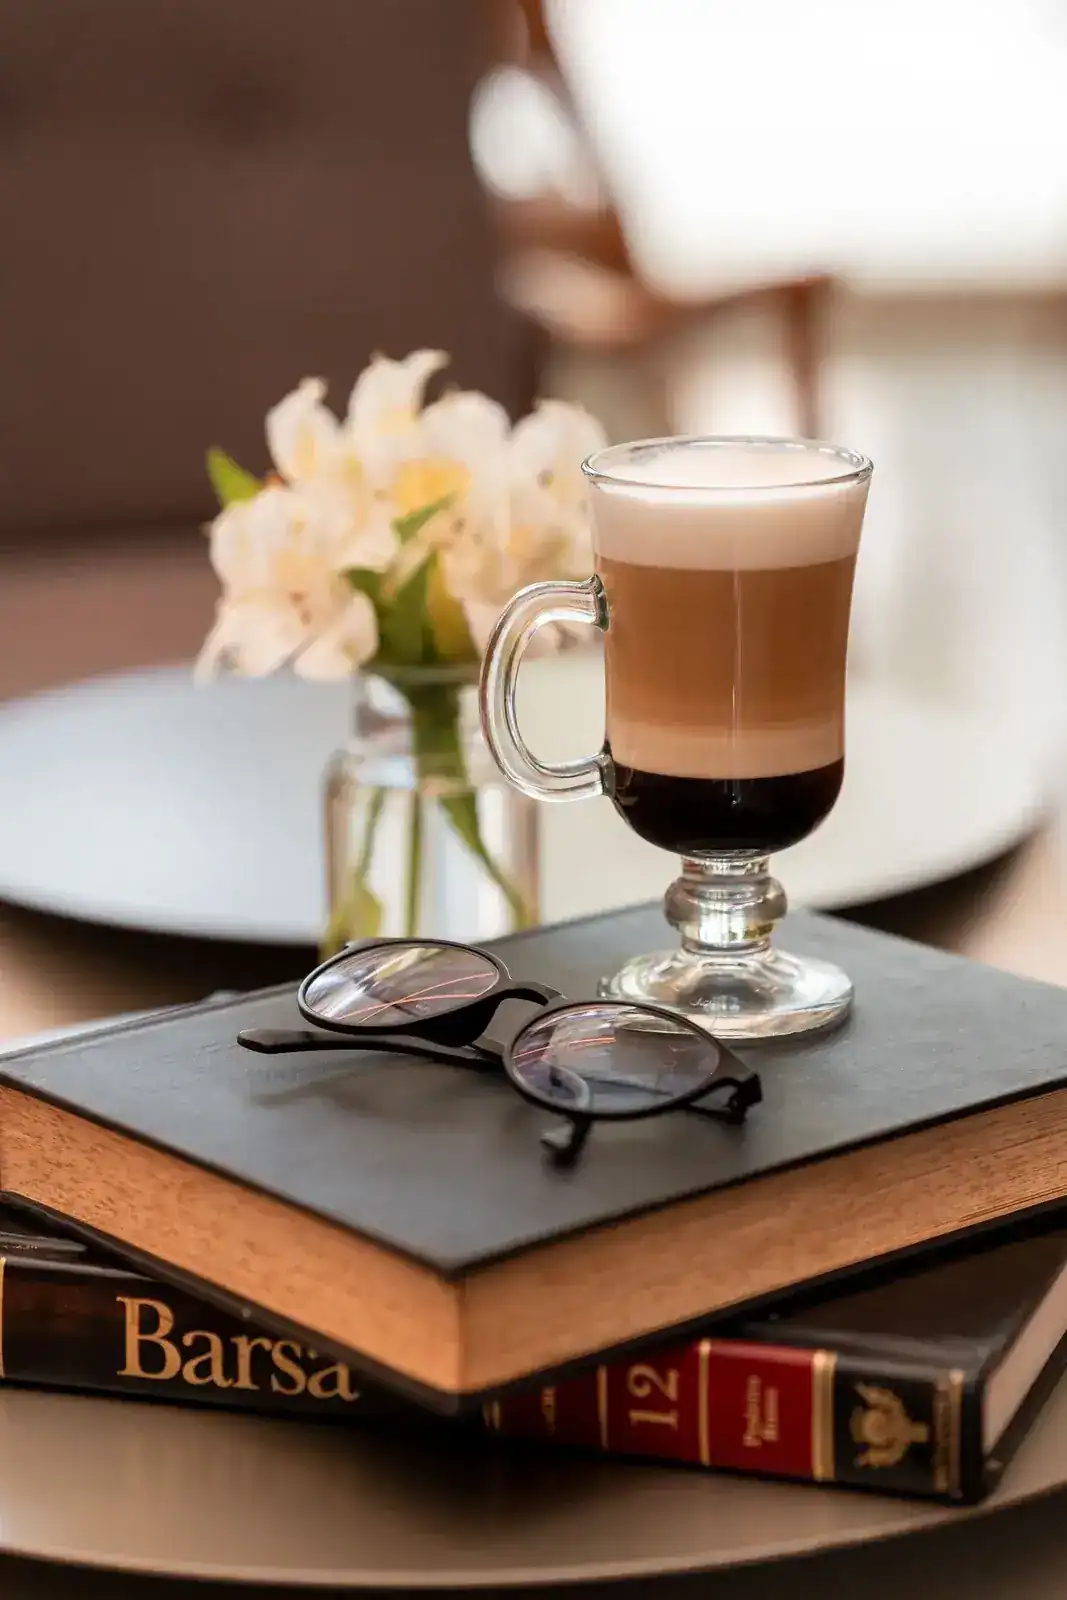
A worn book, glasses, a pencil, and a notebook can suggest a quiet afternoon. Choose props with complementary colors and avoid visible personal information on notes or documents. A partially opened book often creates more depth than a completely flat stack.
Kitchen Tools and Everyday Objects
Wooden spoons, cups, teapots, linen napkins, and cutting boards provide varied shapes and surfaces. A coffee cup next to a folded cloth and a few beans can tell a clear story without requiring elaborate styling.
Beginner exercise: Pick one main object and only two supporting objects. Make ten photographs while changing nothing except the arrangement. This teaches you to recognize how spacing and visual balance affect the final result.
Build a Small Still Life Studio at Home
You need only a stable table or desk, a background, and a light source. A spot beside a window is ideal because you can see the lighting effect before taking the photograph.
- Clear a table near a window and remove unrelated items.
- Place a sheet of paper, fabric, or a wooden board on the tabletop.
- Arrange your subject roughly 30–100 centimeters from the window, adjusting for the available space and light.
- Put the camera on a tripod or another secure support.
- Take a test photograph, then adjust one element at a time.
Turn off overhead room lights at first. Mixing warm household bulbs with cool daylight can produce inconsistent colors and distracting multiple shadows. Once you understand the window light, you can experiment with additional sources deliberately.
Lighting Technique 1: Soft Window Light
Window light is one of the most useful tools for still life photography. A large window on an overcast day often acts like a softbox, wrapping light gently around objects and producing gradual transitions between highlights and shadows.
Position your arrangement so the window is to one side, rather than directly behind the camera. Side light reveals texture in fruit skins, paper, wood grain, and fabric. If you want a brighter, airy image, move the subject closer to the window or use a light-colored background. For a moodier photograph, move it farther from the light and allow shadows to deepen.
How to Make Shadows Softer
Soft shadows come from a light source that appears large relative to the subject. If direct sun creates harsh lines, hang a sheer white curtain over the window or use a suitable translucent diffuser. Keep fabric away from hot lamps and ensure it is securely positioned.
Moving the subject closer to a large diffused window often softens shadows further. Watch the shadow edges on the tabletop: a gradual, feathered edge usually looks softer than a crisp, dark outline.
Try Backlighting for Glass and Flowers
Place a translucent object between the camera and window so light passes through it. This can make flower petals glow and emphasize the shape of a glass vessel. Expose carefully to preserve bright details, and use a reflector on the camera-facing side if the subject becomes too dark.
Lighting Technique 2: DIY Cardboard Reflectors
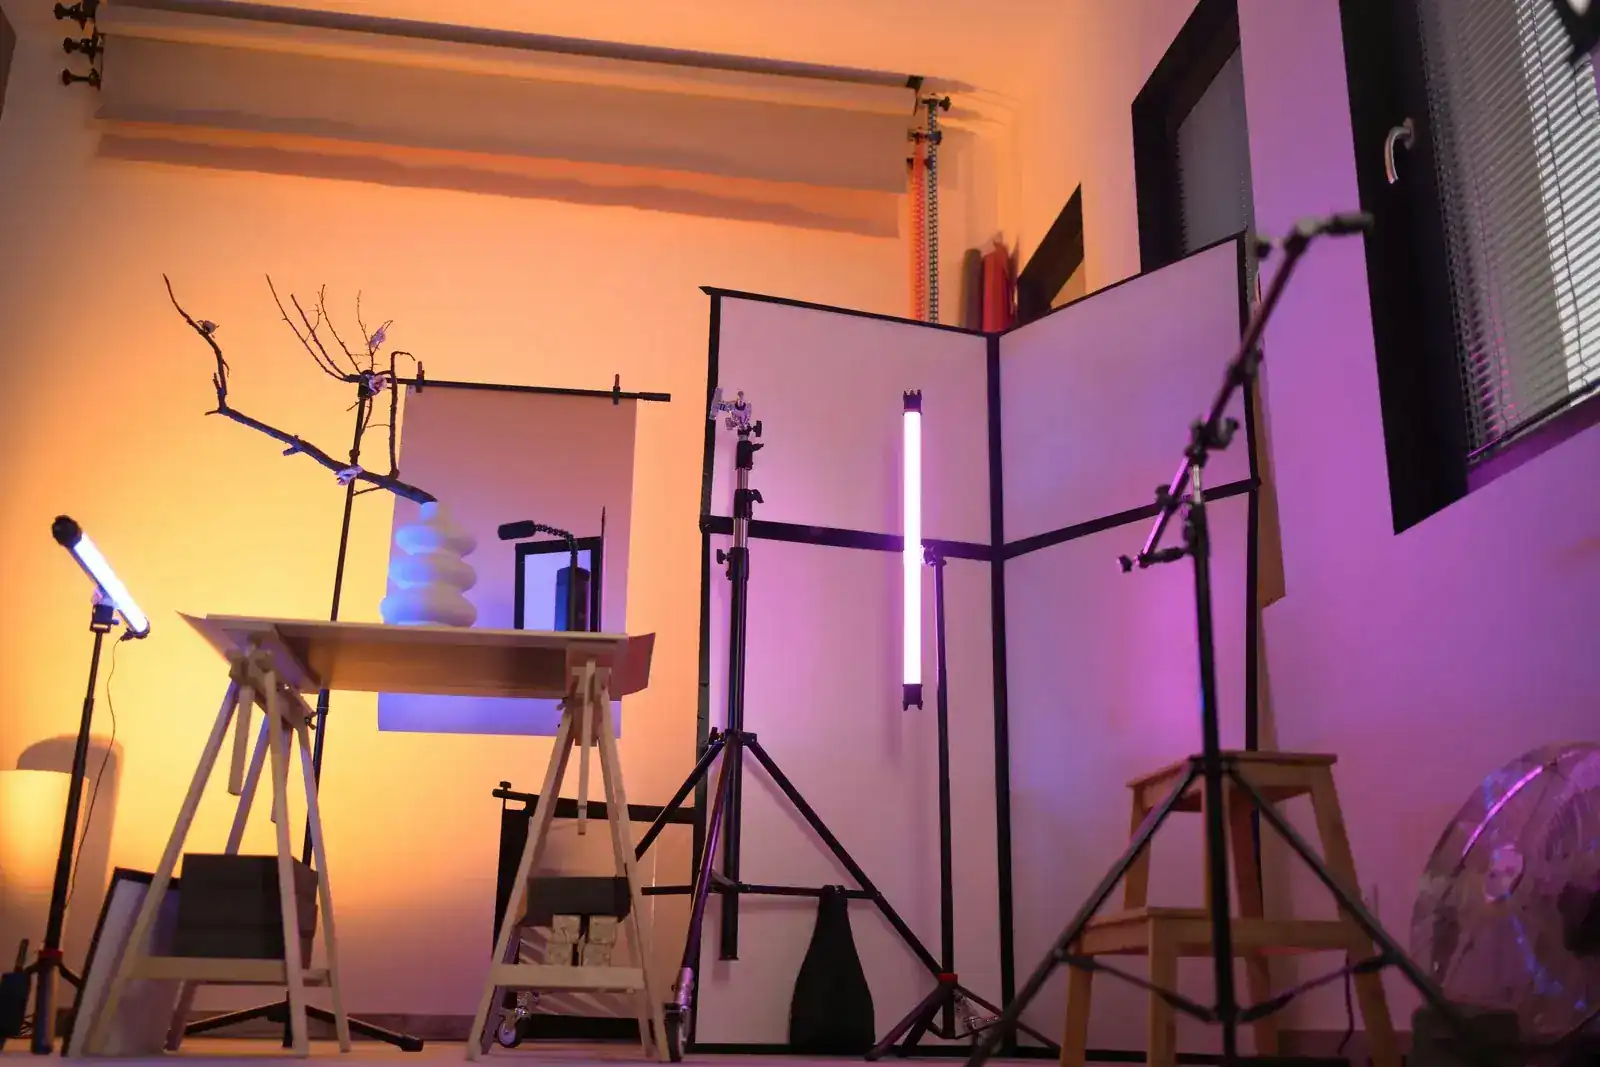
A reflector redirects existing light into the shadow side of your subject. You can make one from a piece of white cardboard, foam board, or a sheet of paper propped upright opposite the window. This simple tool can noticeably improve the balance of a scene.
Place white cardboard on the side opposite the light source and move it closer to the object until the shadows become less intense. A white surface produces gentle fill light. Silver foil mounted smoothly on cardboard reflects more strongly and may create brighter, more defined highlights. Black cardboard does the opposite: it blocks reflected light and can deepen shadows for a dramatic look.
Try this comparison: Photograph a mug with no reflector, then with white cardboard, then with black cardboard. Keep camera exposure and object position unchanged. Compare how the shape of the mug changes when the shadow side becomes lighter or darker.
Lighting Technique 3: Photographing with One Lamp
No useful window light? A single desk lamp or LED panel can work well. Choose a stable lamp that lets you control its position. Continuous LED lighting is convenient because you can see the shadows before pressing the shutter.
Position the lamp approximately 45 degrees to one side of your subject and slightly above it. Take a test shot and adjust its height and distance. If the lamp creates harsh shadows, use a purpose-made diffuser compatible with the fixture or bounce its light off a white wall or foam board. Do not cover a hot bulb with paper, fabric, or plastic.
Use a lamp with a consistent color temperature, and set a fixed white balance on your camera when possible. Avoid mixing several different bulb colors until you are comfortable correcting color casts.
A single lamp can also create moody images. Move it farther to the side to increase contrast, and use black cardboard to prevent light from bouncing back into the shadows.
Choose Backgrounds That Support the Subject
A background should complement the subject rather than compete with it. Household materials offer plenty of options, and each changes the mood of the photograph.
Paper: Clean and Minimal
White, cream, gray, or colored craft paper creates a simple background. For a seamless look, curve a large sheet gently from the wall onto the tabletop rather than folding it sharply. Matte paper is usually easier to light because it produces fewer distracting reflections.
Fabric: Soft and Textured
Linen, cotton, and neutral tablecloths add subtle texture. Small folds can lead the eye toward the main subject, but too many wrinkles may feel messy. Steam or smooth the fabric if you want a polished appearance, or leave a few intentional folds for a natural lifestyle look.
Wood: Warm and Rustic
A wooden table, cutting board, or clean plank adds warmth and visual character. Wood works especially well with bread, coffee, flowers, and vintage objects. Pay attention to the direction of the grain so it supports rather than distracts from your composition.
Practical tip: Keep a small collection of two neutral papers, one fabric, and one wooden surface. You can create many different looks by changing only the background and lighting.
Composition: Arrange Objects with Purpose
Strong still life composition comes from relationships between objects. Consider their sizes, shapes, colors, spacing, and the direction in which they lead the viewer's eye.
Use the Rule of Thirds
Imagine dividing the frame into a three-by-three grid. Position your main object near one of the intersections instead of automatically placing it in the center. A cup on the left third, balanced by a spoon and folded napkin on the right, can create an engaging arrangement.
The rule of thirds is a useful starting point, not a law. Symmetrical or centered compositions can be equally effective when the subject has a strong shape.
Embrace Minimalism and Negative Space
Negative space is the open area around your subjects. Leaving room around a single flower or piece of fruit helps the viewer focus on its form. If the image feels crowded, remove one prop before adding another.
Create Visual Balance
A large, dark object can visually outweigh several smaller light-colored ones. Balance the scene by changing distances and positions rather than making everything symmetrical. Try arranging objects into a loose triangle, with the tallest object at the back and shorter items toward the front.
Choose Your Camera Angle
Overhead flat lays work well for books, stationery, plates, and neatly arranged ingredients. A 45-degree angle shows both the top and side of cups, bowls, and food. Eye-level viewpoints can emphasize the height of vases, bottles, or stacked objects.
Take a photograph from each angle before committing to one. Small camera movements often change the relationships between objects more than you expect.
Camera Settings: Focus and Depth of Field
Still life subjects do not usually move, so you can prioritize image quality and careful focus over fast shutter speeds. Manual exposure or aperture priority both work well, depending on your camera.
Start Between f/5.6 and f/11
For many tabletop scenes, f/5.6 to f/11 is a useful aperture range. At f/5.6, you can keep the main subject sharp while allowing some background softness. At f/8 or f/11, more of an arrangement can appear acceptably sharp, particularly when objects sit at different distances from the camera.
Depth of field also depends on focal length, camera-to-subject distance, and sensor size. Photographing a small object very close up may produce shallow depth of field even at f/11. Do not assume that a particular aperture guarantees every object will be sharp.
Focus on the Most Important Detail
For a cup of coffee, focus on the rim or a meaningful detail near the front. For flowers, focus on the most visually important bloom. Use single-point autofocus or magnified manual focus for precise placement.
When multiple objects must be sharp, arrange them at similar distances from the camera or consider focus stacking: capturing several photographs focused at different distances and blending them in editing software.
Keep ISO Low When Possible
ISO 100 or 200 is a good starting point for clean images, especially when using a tripod. If shooting handheld in dim light, increase ISO as necessary to avoid camera shake. A sharp photograph at a moderate ISO is generally more useful than a blurry photograph at the lowest ISO.
Use a Tripod for Consistency
A tripod lets you use slower shutter speeds without camera movement. It also keeps the framing consistent while you adjust props and reflectors. Use a two-second timer or remote shutter release to reduce vibration when taking the photograph.
Make sure the tripod is stable and that its legs cannot be knocked by people or pets. For overhead photographs, use equipment designed to support the camera safely rather than improvising an unstable arrangement.
How to Tell a Story Through Small Details
Still life photography becomes more memorable when the objects imply an activity, season, or personality. Instead of photographing a random collection of items, ask what happened just before the scene and what might happen next.
A half-filled cup beside an open book suggests someone has paused while reading. A rolling pin, flour-dusted surface, and bowl of ingredients suggest baking in progress. A single flower in a small glass bottle might suggest simplicity, spring, or quiet reflection.
Details help build the story: a folded napkin, a loose ribbon, a small crumb, or a leaf placed near the main subject. Use these sparingly. Every added object should strengthen the mood or guide the viewer's attention.
Color can also communicate emotion. Warm browns and creams feel cozy; pale blues and whites can feel calm; deep greens and dark backgrounds can create a more dramatic atmosphere. Try limiting your palette to two or three dominant colors for a cohesive result.
A Complete 20-Minute Still Life Photography Exercise
Put the techniques together with a simple project using a mug, a book, and a piece of fabric.
- Minutes 1–3: Clear a table beside a window and choose a neutral background.
- Minutes 4–6: Place the mug as your main subject, with the book behind it and the fabric loosely folded to one side.
- Minutes 7–9: Position the scene for side lighting. Add white cardboard opposite the window if the shadows look too deep.
- Minutes 10–12: Mount the camera on a tripod. Start at ISO 100, f/8, and use the shutter speed required for a suitable exposure.
- Minutes 13–15: Focus on the front edge of the mug. Capture a horizontal image, a vertical image, and a tighter crop.
- Minutes 16–18: Remove one prop and photograph a minimalist version. Then move the reflector to compare shadow depth.
- Minutes 19–20: Review the images and identify which composition, lighting direction, and background best support the story.
Repeat the exercise with fruit or flowers on another day. Keeping the lighting setup similar makes it easier to see how subject choice and arrangement influence the final photograph.
Common Still Life Photography Mistakes
Using Too Many Props
If the viewer cannot tell what matters most, simplify. Remove distracting objects until the main subject becomes obvious.
Ignoring the Background
Bright patterns, clutter, or visible room corners can pull attention away from the subject. Check the entire frame, especially its edges, before shooting.
Mixing Different Light Colors
Daylight and warm bulbs can create conflicting color casts. Start with one light source, then add others only when you intend to create a particular effect.
Choosing the Wrong Focus Point
A beautifully arranged scene loses impact if the main detail is soft. Magnify the image during review and confirm that focus landed where you intended.
Making Every Shadow Disappear
Soft light does not mean flat light. Some shadow is essential for showing shape and texture. Use a reflector to control contrast, not necessarily to eliminate it.
Overediting Colors and Texture
Subtle exposure, white balance, contrast, and crop adjustments can improve an image. Excessive sharpening or saturation may make natural subjects look artificial. Aim for an edit that supports the original mood.
Frequently Asked Questions
Can I take professional-looking still life photos with a phone?
Yes. A modern smartphone can produce attractive still life photographs, especially in good light. Stabilize the phone, tap to focus on the main subject, adjust exposure if available, and avoid excessive digital zoom.
What is the best light for still life photography at home?
Soft window light is an excellent starting point because it is free and easy to observe. A single adjustable LED lamp can also work when daylight is unavailable.
What aperture should I use for still life photography?
Try f/5.6 to f/11 for many tabletop scenes, then adjust based on how much of the subject you want in focus. Close-up scenes may require additional depth-of-field techniques.
How do I make soft shadows without studio equipment?
Use a large diffused window or bounce light from a suitable surface. White cardboard placed opposite the main light can gently brighten the shadow side.
Do I need a special background?
No. Matte paper, plain fabric, a wooden table, or a clean cutting board can all work. Choose a surface that complements the subject and does not distract from it.
Final Thoughts: Create More with Less
Still life photography at home is a practical way to improve your understanding of lighting, composition, focus, and visual storytelling. It rewards observation rather than expensive gear. With a window, a sheet of cardboard, a stable camera, and a few familiar objects, you can build a scene that looks intentional and polished.
Start with one main subject. Shape the light, simplify the background, and experiment with the rule of thirds and negative space. Use a tripod when you need precision, try apertures between f/5.6 and f/11, and look for details that suggest a story.
Above all, keep experimenting. A small change in light direction or object placement can transform an ordinary tabletop into an expressive photograph. Explore more practical photography guides at PhotoMasterHQ.