Real Estate Photography: How to Shoot Homes That Sell
Learn how to photograph houses and apartments for sale or rent with accurate wide-angle views, inviting lighting, and compositions that help viewers understand each space.
Why Real Estate Photography Matters
Property photos are often the first showing a potential buyer or renter experiences. Clear, attractive images help viewers understand the layout, light, condition, and character of a home before booking a visit. Your job is not to make a small room look enormous or conceal defects; it is to present the space accurately at its best.
A strong real estate gallery tells a logical story. Start with an inviting exterior, then show the entrance, main living areas, kitchen, bedrooms, bathrooms, and distinctive amenities. Consistent exposure and color make the listing feel cohesive.
The Essential Real Estate Photography Kit
A wide-angle lens is useful for showing a room without cutting off important features. On a full-frame camera, approximately 16–24 mm is a common starting range; on APS-C, roughly 10–16 mm offers a similar wide view depending on the crop factor. Avoid using the very widest setting for every frame: stretched furniture and exaggerated distances can misrepresent the property.
A sturdy tripod lets you keep the camera level, use low ISO, and capture several exposures from precisely the same position. A remote shutter release or two-second timer minimizes shake. A bubble level or camera grid helps keep walls upright.
A speedlight with a diffuser or a bounced flash can fill dark areas, especially when daylight is weak. Bounce light off a neutral ceiling or wall when possible, but be mindful of color casts. Carry spare batteries, a microfiber cloth, and a small cleaning kit. A polarizing filter can reduce some reflections on glass or polished surfaces, although its effect on wide-angle windows can be uneven.
Prepare Every Room Before Shooting
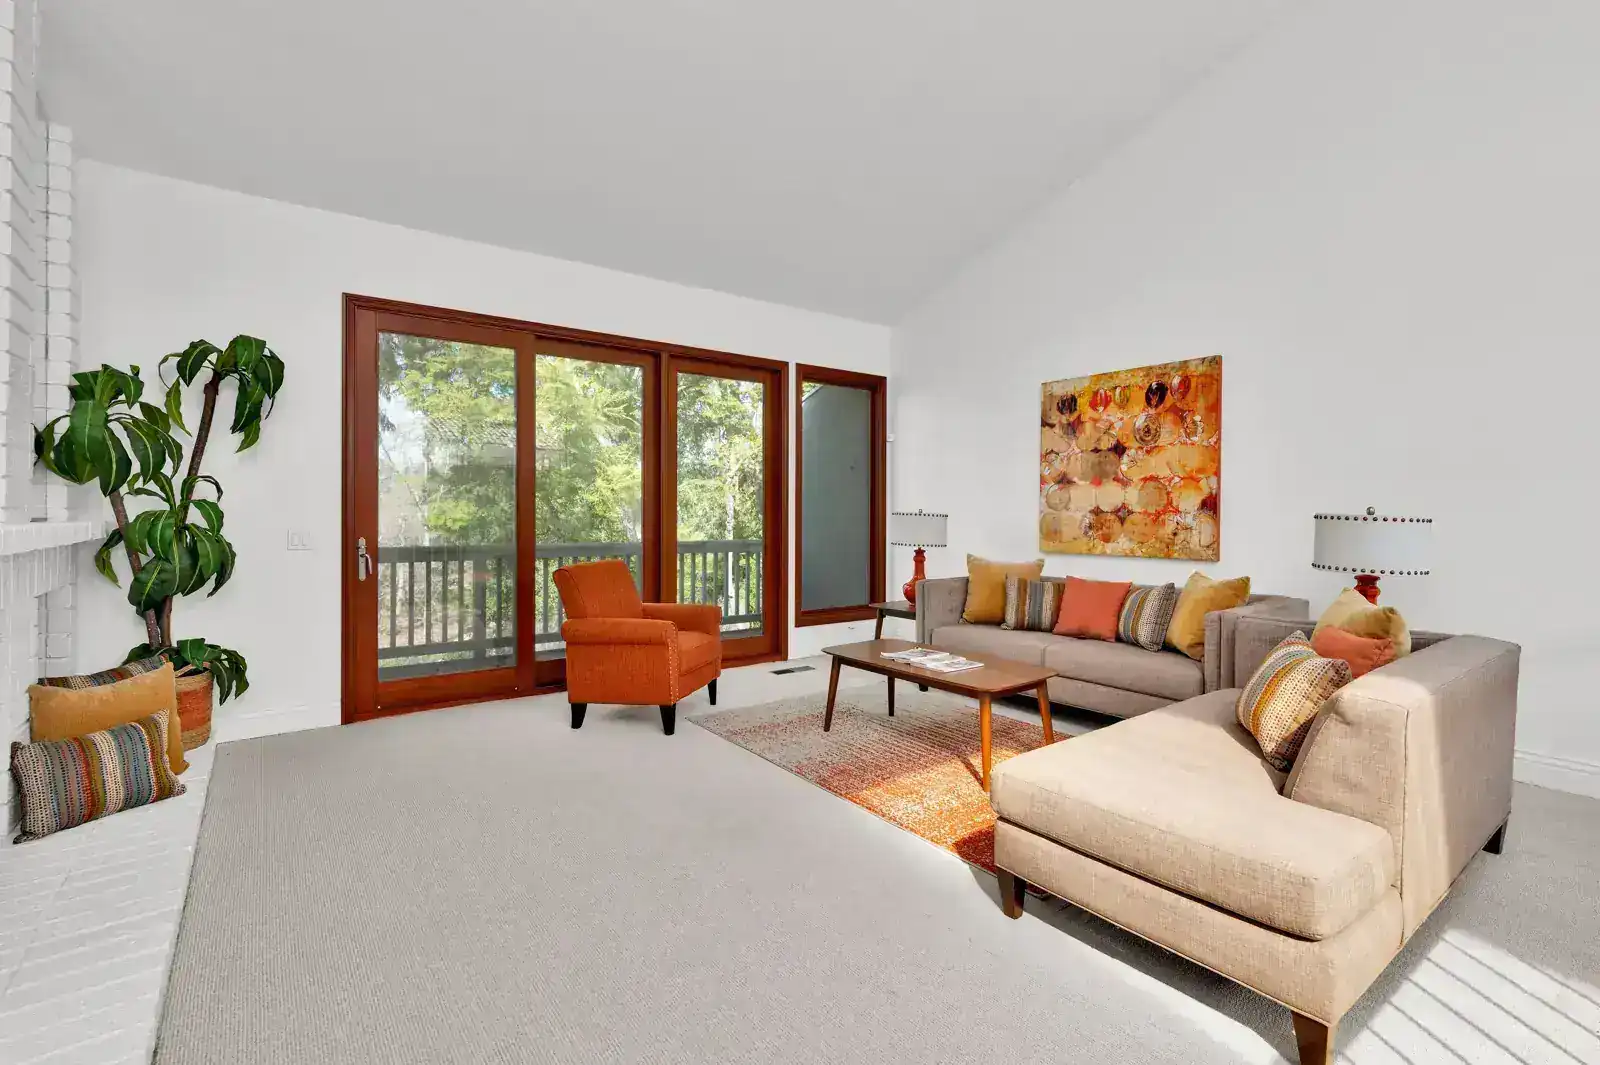
Before placing the tripod, walk through the property and identify its strongest features. Remove clutter from counters, tables, floors, and nightstands. Hide personal documents, medication, family photographs, and valuables. Straighten cushions, bedding, chairs, and rugs. Clean mirrors and glass, close toilet lids, and ensure that cables and bins are out of sight.
Open curtains and blinds to bring in natural light and reveal a pleasant view. Decide whether to turn on interior lamps after checking their color temperature: matching fixtures can add warmth, while mismatched bulbs may produce distracting orange and blue patches. Do not move personal items without permission, and return any temporarily moved furniture or decor to its original position.
Look for small details that tell a truthful story: a tidy breakfast setting in the kitchen, a neatly made bed, or a clean reading nook. These touches should support the actual use of the room rather than create a misleading impression.
Camera Settings: A Reliable Starting Point
Shoot in manual or aperture-priority mode, preferably in RAW for flexible editing. Begin around f/8 to f/11 for strong depth of field and good corner-to-corner detail. Set ISO between 100 and 400 when the tripod allows; lower ISO generally preserves more dynamic range and reduces noise. Let shutter speed vary to achieve the right exposure, using the tripod to handle slower speeds.
Focus roughly one-third of the way into the scene or on an important mid-distance feature, then inspect sharpness at magnification. For unusually deep rooms, consider checking focus across both foreground and background. Avoid very small apertures unless necessary because diffraction can reduce fine detail.
When windows are much brighter than the interior, use auto exposure bracketing: capture three or five aligned frames, often separated by one or two exposure stops. One exposure protects the window view, one captures midtones, and one brightens shadow areas. Turn off auto white balance if it shifts between frames, and use a fixed setting or carefully correct RAW files afterward.
Choose the Right Camera Height and Perspective
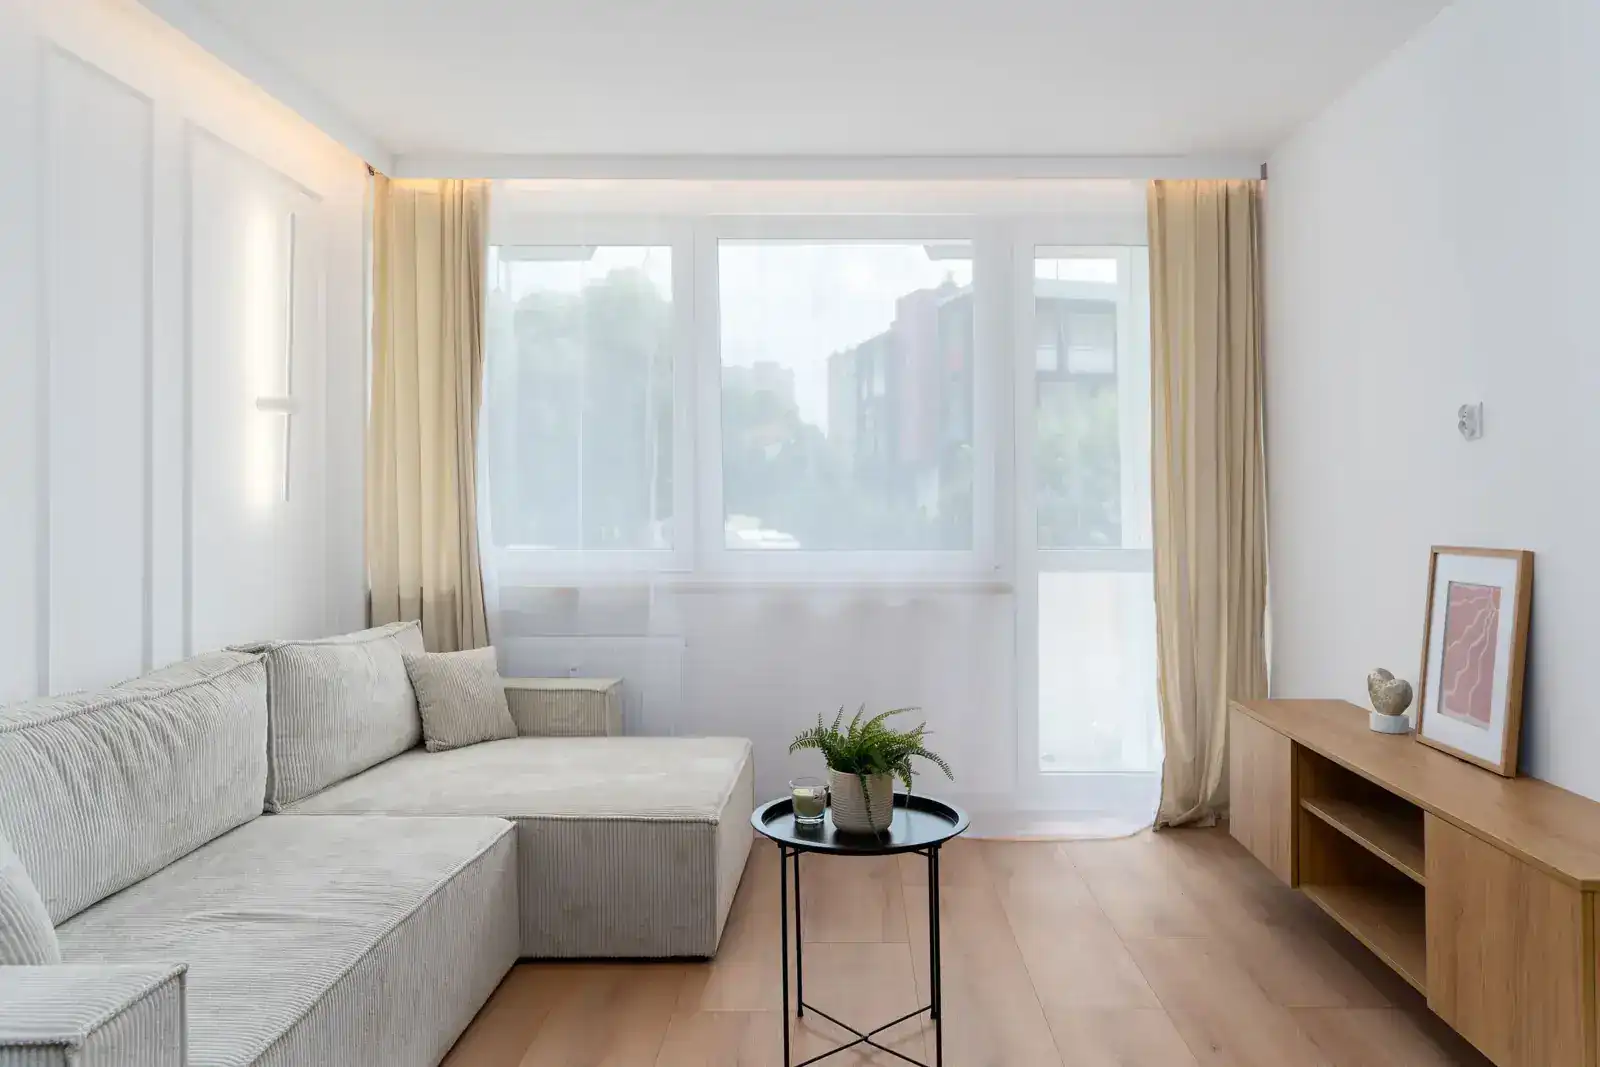
A camera height around 1.2–1.5 meters (roughly 4–5 feet) is a useful starting point for living rooms and bedrooms, but adjust to furniture and room proportions. In kitchens, you may need a slightly higher viewpoint to show worktops; in bathrooms, a lower position may avoid awkward reflections. The goal is a natural view, not a rigid measurement.
Keep the camera sensor plane vertical so door frames, cabinet edges, and walls remain straight. Tilting upward or downward creates converging vertical lines, especially with wide-angle lenses. If you need more ceiling or floor, reframe or use careful perspective correction later instead of making extreme tilts.
Shoot from a corner or doorway when that reveals the layout clearly, but also try a centered, symmetrical composition. Leading lines from floorboards, countertops, or hallways can guide the eye through the frame. Leave enough space around furniture to communicate circulation and scale without stretching the room.
Use Window Light and Manage Mixed Lighting
Daylight from windows often provides the cleanest starting point. Schedule interior photography when the relevant rooms receive pleasant, indirect light rather than harsh sun. Open curtains, turn off unnecessary colored accent lights, and watch for bright sun patches that create distracting contrast.
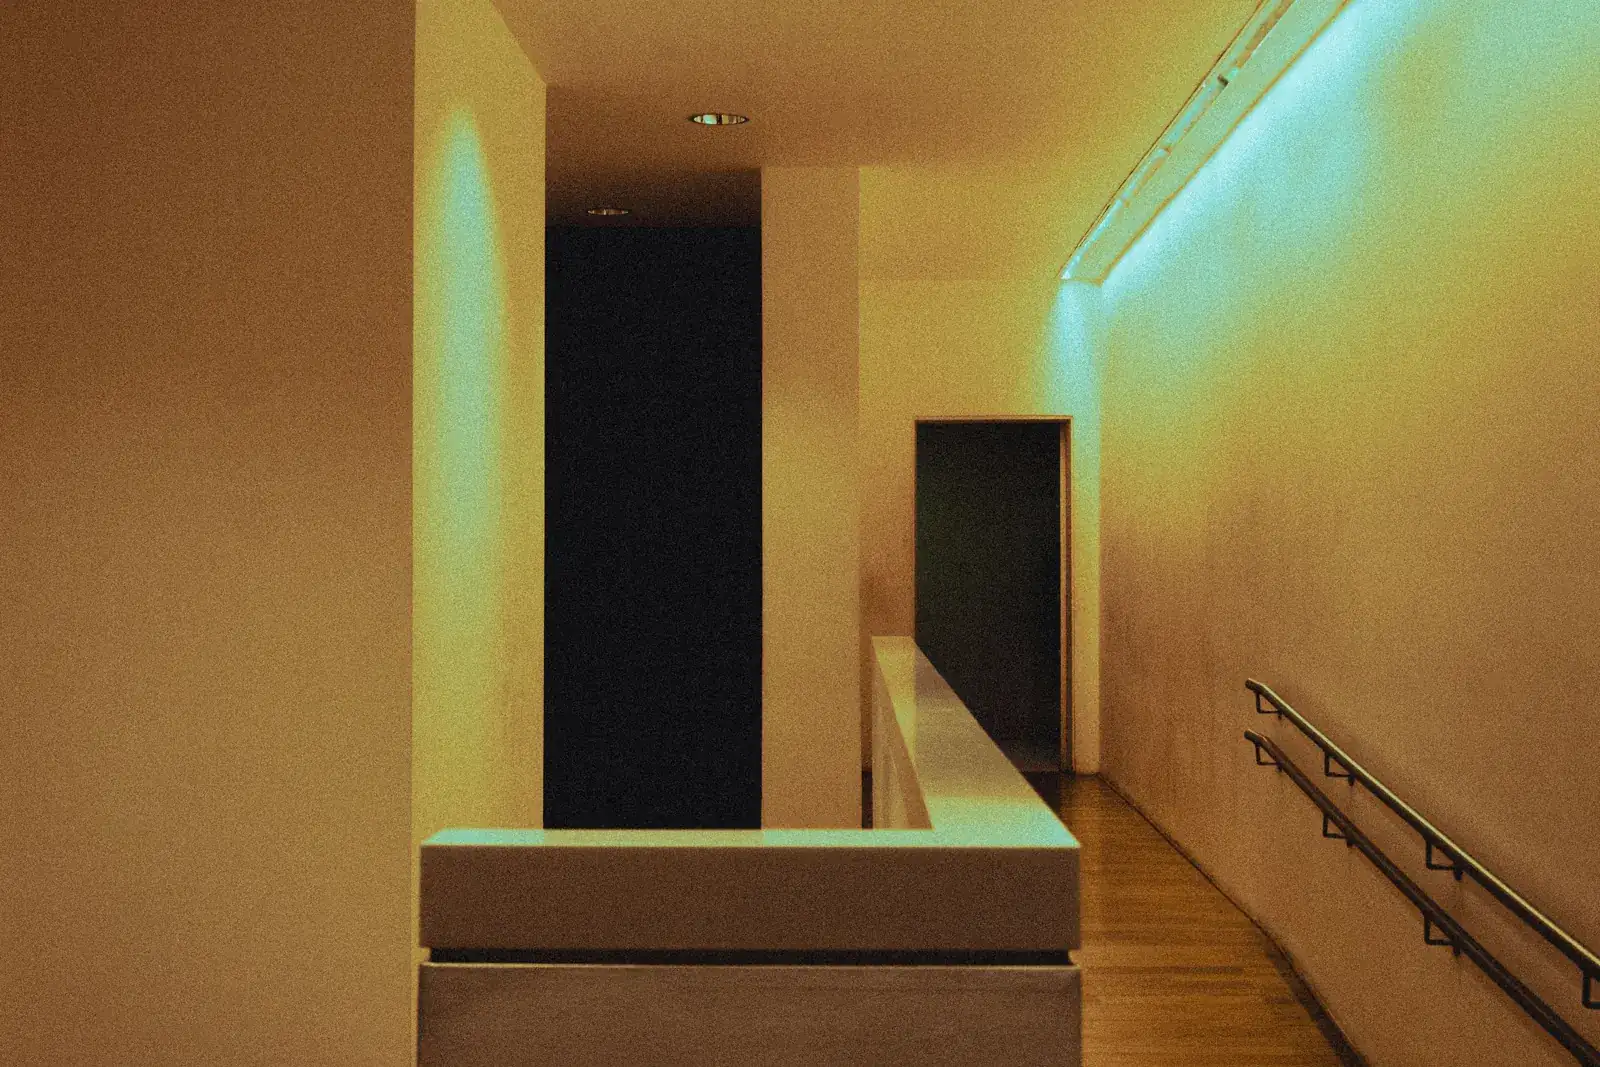
Mixed lighting is challenging because daylight can look cool while tungsten or warm LED bulbs appear orange. You can switch off some lamps and rely on daylight, replace mismatched bulbs with consistent ones when authorized, or use a neutral bounced flash to balance the scene. If you retain warm lamps for atmosphere, correct white balance selectively so walls do not look unnaturally yellow.
For soft shadows, enlarge the apparent light source: a large window with a sheer curtain, a diffusion panel, or bounced flash produces gentler transitions than a bare direct flash. Keep diffusion materials away from hot bulbs and never block lamp ventilation.
HDR and Exposure Bracketing Without the Artificial Look
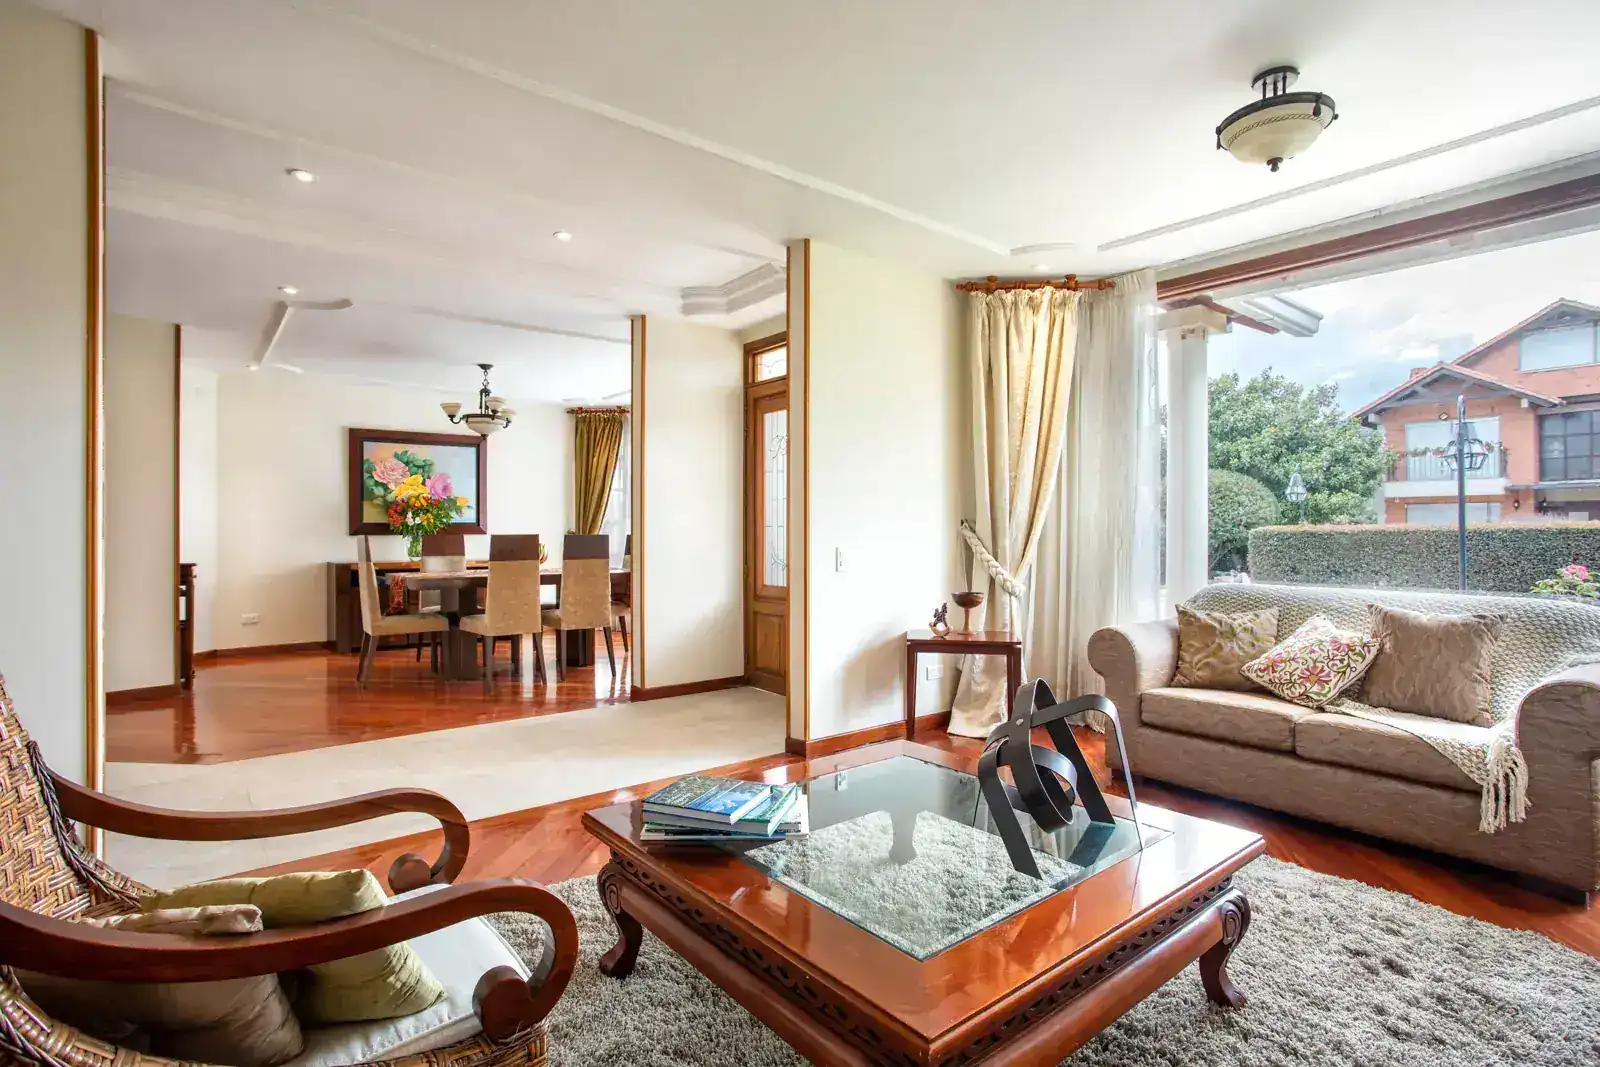
High dynamic range (HDR) blending is especially useful when the interior is dark but the view outside the windows is bright. Mount the camera on a tripod, lock focus and aperture, and bracket shutter speeds. Capture a darker frame for windows, a normal frame for the room, and a brighter frame for deep shadows.
Merge the frames in editing software using natural tone mapping. Avoid crunchy textures, gray halos around window frames, overly bright corners, or skies that look darker than the room. A believable result preserves some shadow depth while keeping important interior features visible.
Check for movement between frames: swaying curtains, trees outside, ceiling fans, and people can create ghosting. Disable moving fans, ask occupants to step out of the scene, and use deghosting controls when needed. If the view outside is unimportant, a single well-exposed frame with gentle shadow recovery may look better than heavy HDR.
Compose a Listing Gallery That Tells a Story
Begin with a strong establishing image showing the front elevation or the main living area. Then move through the home in the order a visitor would experience it. Include a wide shot of each important room, followed by selective detail photographs of features such as built-in storage, stone countertops, or a fireplace.
Use symmetry when architecture supports it: centered hallways, kitchen islands, and balanced bedrooms can feel orderly and calm. Apply the rule of thirds when placing a doorway, window, or prominent furnishing off-center creates better visual flow. Minimalism helps: fewer competing objects make the room easier to read.
Do not shoot every room from the same corner or include five nearly identical wide-angle views. Aim for coverage that answers practical questions: How do rooms connect? Where are the windows? How much usable counter space is there? What does the balcony or garden look like?
Exterior Photography and the Best Time of Day
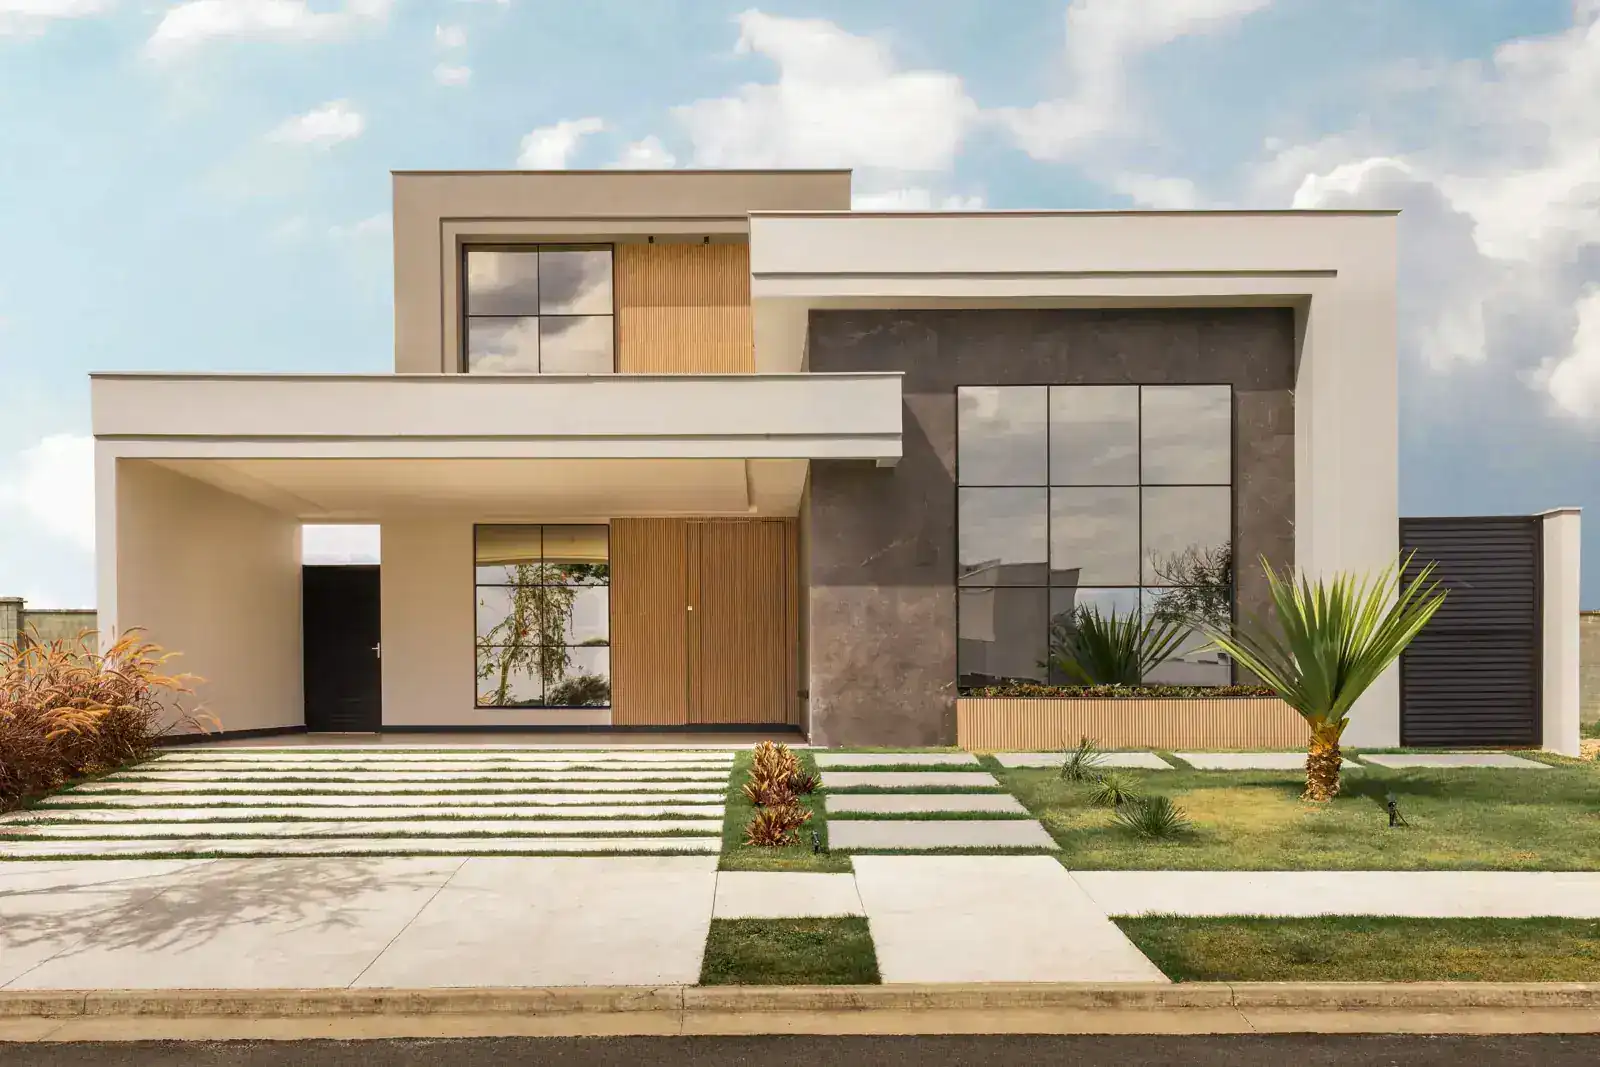
Photograph exteriors when the facade receives flattering light and the sky has texture. Early morning or late afternoon can produce softer shadows, but the ideal time depends on which direction the property faces. Clear the driveway of distracting vehicles when possible and permitted, and make sure the lawn and entrance are tidy.
Twilight photography can make illuminated windows and exterior lighting look inviting. Arrive before sunset, set up on a tripod, and bracket if the sky and building brightness differ significantly. Avoid turning the sky unrealistically purple or adding architectural features that are not present.
Editing for Accuracy and Consistency
Correct lens distortion and chromatic aberration, straighten verticals, adjust white balance, and balance highlights and shadows. Use restrained clarity and sharpening; overly processed images can make surfaces appear gritty or create bright halos. Check that white walls remain neutral and that wood tones look plausible across the gallery.
Remove temporary distractions such as sensor spots or a stray cable when the editing policy permits, but do not erase permanent defects, hide damage, replace a poor view, or alter the property layout. If a listing requires virtual staging, label it clearly and follow applicable marketplace rules. Accurate representation builds trust and reduces disappointment during viewings.
Common Mistakes to Avoid
The first mistake is shooting too wide. A dramatic ultra-wide image may catch attention, but it can stretch chairs, doors, and countertops. Step back if space allows and use a moderate wide angle. The second is tilting the camera, which makes walls appear to fall inward. Level the tripod before pressing the shutter.
Other frequent problems include photographing clutter, mixing radically different bulb colors, blowing out windows, overdoing HDR, and leaving mirrors that reveal the photographer. Check reflective surfaces before each frame. Review images at full size to catch motion blur, missed focus, and distracting objects while you can still reshoot.
A Simple At-Home Practice Exercise
Choose a tidy room with a window, a chair, and a table. Take a baseline photo from eye level using automatic settings. Then place your camera on a tripod at approximately 1.3 meters, keep it level, and shoot at ISO 100, f/8, and a shutter speed that exposes the interior correctly. Compare how straight verticals and a stable viewpoint change the image.
Next, remove three distracting objects, open the curtains, and make another frame. Finally, bracket three exposures for the bright window and merge them naturally. Compare all versions and ask which one best communicates the actual space. This exercise teaches staging, perspective, exposure, and editing without requiring access to a professional listing.
Frequently Asked Questions
What lens is best for real estate photography? A rectilinear wide-angle lens around 16–24 mm on full frame is versatile. Choose a focal length that shows the room without obvious stretching.
Should I use flash or natural light? Start with natural window light. Add bounced or diffused flash when it helps balance dark corners or mixed lighting, but keep the result believable.
Do I need HDR for every room? No. HDR is most helpful in high-contrast spaces with bright windows. A single RAW exposure may be sufficient in evenly lit rooms.
What aperture should I use? f/8 to f/11 is a practical starting point, with ISO 100–400 and a tripod-supported shutter speed.
How many photos should I deliver? Deliver enough varied views to explain the property clearly, following the listing platform and client requirements rather than a fixed number.
Final Checklist Before You Leave
Walk through the property one final time. Confirm that each important room has a clean, sharp, level image; windows retain appropriate detail; lighting and white balance are consistent; and exterior amenities are documented. Check that personal information is not visible and that all moved objects have been returned.
Professional real estate photography is a combination of preparation, careful perspective, controlled lighting, and honest editing. With a wide-angle lens, tripod, sensible camera settings, and a thoughtful shot list, you can make homes look inviting while giving buyers and renters a trustworthy understanding of the space.