LIGHT & EXPOSURE · BEGINNER GUIDE
Backlight Photography: How to Use Backlight for Stunning Portraits and Landscapes
Quick takeaway: Put the light behind your subject, decide whether to preserve subject detail or create a silhouette, and expose accordingly. A reflector or a small change in camera angle can transform the result.
What Is Backlight Photography?
Backlighting happens when the main light source sits behind your subject, pointing partly or directly toward the camera. Instead of illuminating the front of a face, leaf, or mountain, the light outlines its edges, passes through translucent materials, or creates a bright background. The result can feel airy, cinematic, warm, mysterious, or dramatic depending on how you expose the image. Backlight is not a special camera mode. It is a lighting arrangement you can find outdoors at sunrise, beside a window, or under a streetlamp after dark. The key is deciding which details matter and exposing for them intentionally. A photograph with a bright sky and a dark face is not necessarily a mistake; it becomes a mistake only when you wanted to see the face clearly.
Why Backlight Creates Atmosphere and Depth
Front light often reveals texture evenly, while backlight separates a subject from its surroundings. Bright edges around hair, shoulders, grass, or tree branches create visual layers. In mist, haze, or light rain, rays become visible because suspended particles scatter light toward the camera. When the background is brighter than the subject, a simple silhouette can communicate gesture and emotion without facial detail. Backlight can also make petals, leaves, and wings appear luminous. None of these effects requires expensive equipment. You need a workable angle, careful exposure, and enough patience to watch how the light changes. Move a few steps left or right: a sun hidden behind a tree trunk may produce subtle highlights, while the same sun fully visible in the frame can overwhelm contrast.
Start With a Simple Backlight Setup
Begin during the hour after sunrise or before sunset, when the sun is relatively low. Position your subject between you and the sun, but do not ask anyone to look directly at it. Keep the sun just outside the frame or partially blocked by the subject, a building, or foliage. Take one test shot, inspect the face and background, then adjust your exposure. If the scene looks washed out, shade the front of the lens with a hood or your hand held safely outside the image. If the subject is too dark, change exposure or add reflected light. For a portrait, ask the person to turn slightly so that light brushes one side of the face rather than leaving it entirely in shadow. A few degrees of movement can make more difference than a new lens.
How to Expose a Backlit Subject Correctly
A camera meter tries to interpret the brightness of the whole scene, which is difficult when the sky is brilliant and the subject is shaded. First decide whether your priority is a readable face, a richly colored sky, or a black silhouette. For a naturally lit portrait, meter from the face and review the highlights. On a camera with spot metering, place the spot over a midtone area of the subject’s face, lock the exposure if needed, then recompose. Spot metering is not a guarantee: very dark skin, very light skin, and strongly colored clothing can still affect the reading, so inspect the result. If you use evaluative or matrix metering, start with positive exposure compensation such as +2/3 to +1 2/3 EV when the face is too dark, then adjust in smaller increments. In manual mode, compensation may not change the actual exposure unless Auto ISO is active. Use the histogram and highlight warning to check whether important bright areas have clipped. A small patch of clipped sun is often unavoidable; preserving the entire sun disk is not usually the goal. Shooting RAW provides more editing latitude, but it cannot recover completely blown highlights.
Spot Metering, Exposure Compensation, and Bracketing
Spot metering reads a narrow part of the scene and helps when your subject occupies only a small area against a bright background. Choose the eye or cheek rather than a reflective forehead or white shirt. If your camera has face-priority metering, test it against a manual spot reading. Exposure compensation is the fastest tool in aperture-priority mode: take a frame at the meter’s suggestion, then try a brighter frame for the subject. Exposure bracketing is useful when the dynamic range is extreme. Capture three frames, for example at −2, 0, and +2 EV, without moving the camera. You can choose the best frame later or blend exposures for a stationary landscape. Bracketing is less reliable for moving people, waving branches, or insects because the frames may not align. Remember that increasing exposure to brighten the face also brightens the background. There is no camera setting that independently raises only the subject’s brightness at capture; adding light is often the cleaner solution.
Use a Reflector or Gentle Fill Light
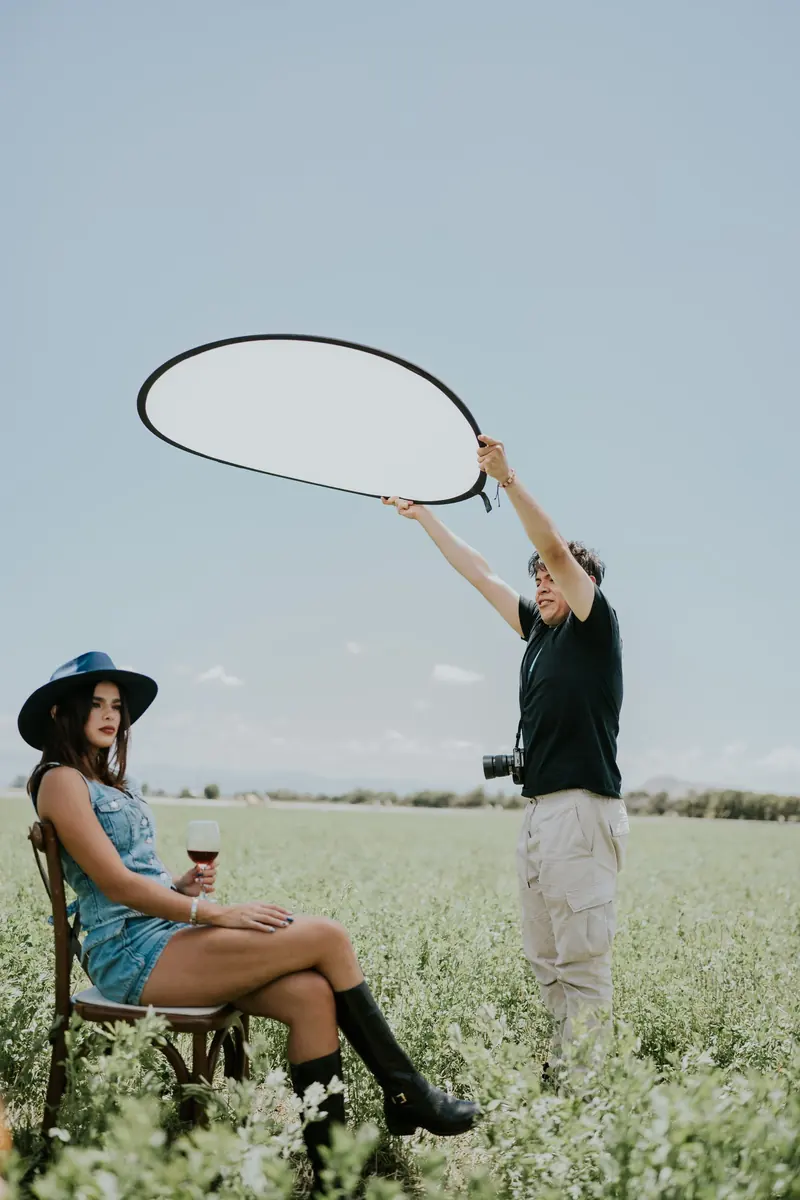
A white reflector, a pale wall, or even a large sheet of white card can bounce sunlight onto the shadowed side of a face. Place it in front of the subject and angle it until the eyes gain a soft catchlight. White produces a neutral, subtle fill; silver can be stronger and more directional, sometimes uncomfortably bright. A gold reflector adds warmth but can create unnatural skin tones. Ask a helper to hold the reflector, or lean it securely where it cannot fall. If the sun is harsh, a diffuser between the sun and the subject may soften edge highlights, though it will also reduce the rim effect. On-camera flash at low power can work as fill, but avoid a harsh straight-on look. Start with modest fill and keep the backlight as the dominant mood. For babies or sensitive subjects, prioritize comfort and avoid dazzling lights.
Backlit Portraits: Hair Light, Rim Light, and Silhouettes
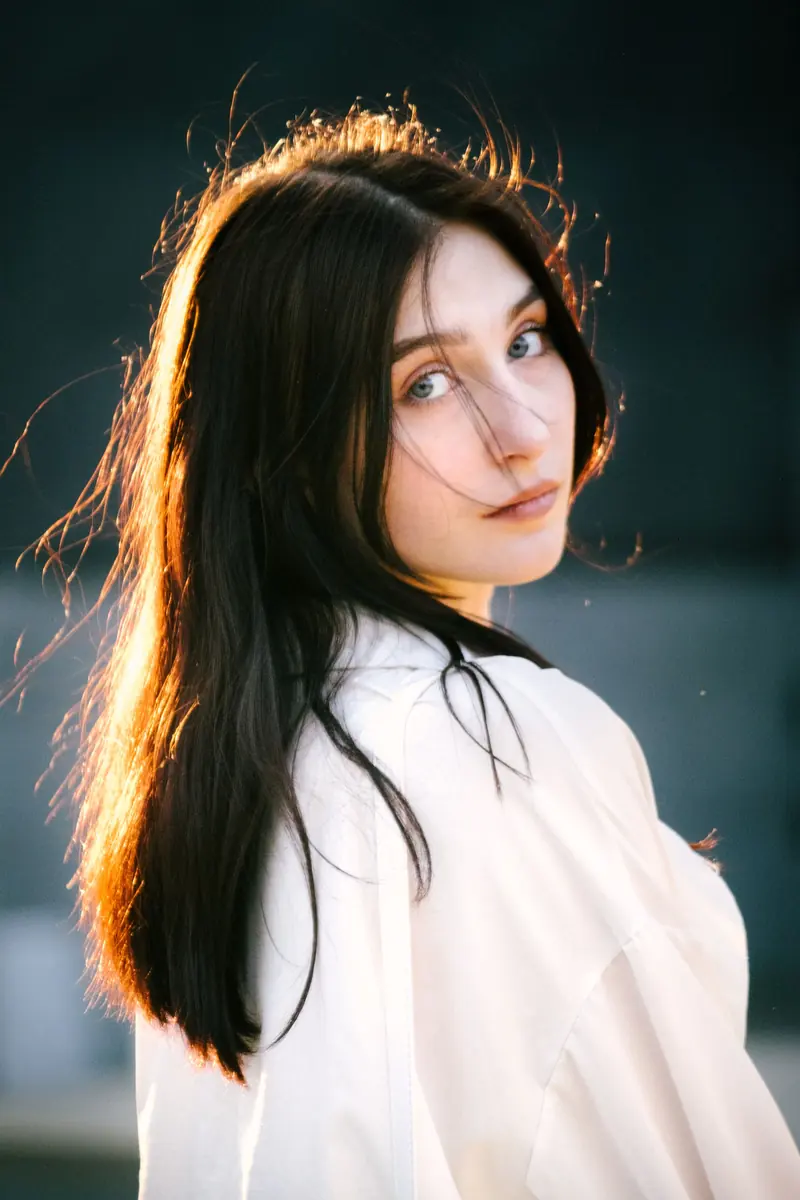
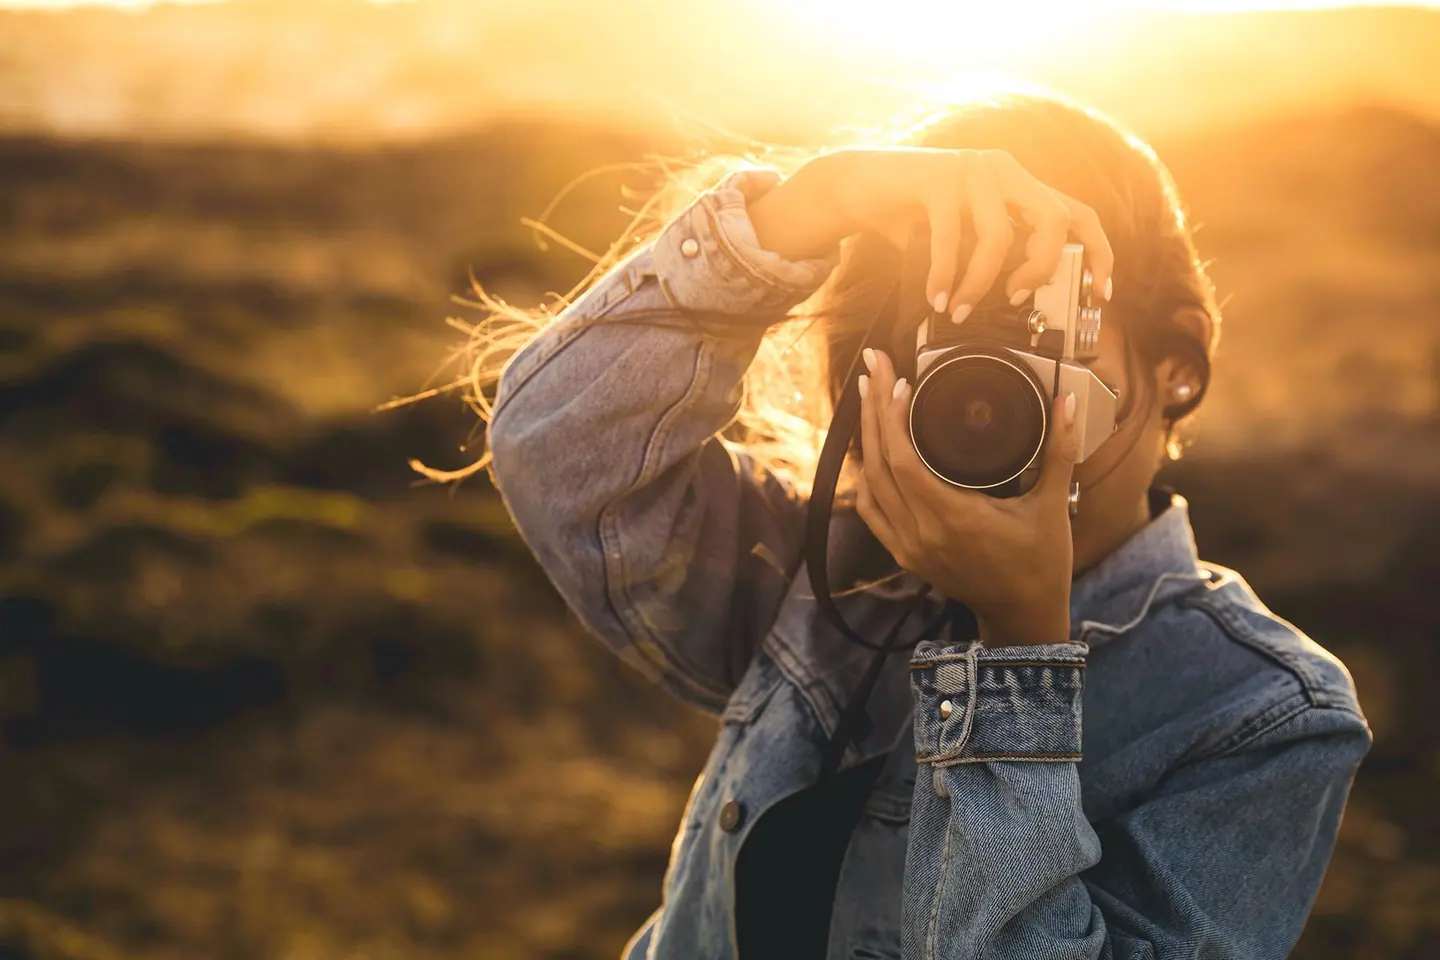
For a glowing hair portrait, position the sun behind the head at an angle and expose so the face retains natural detail. Dark hair may show a fine bright edge; lighter or curly hair often produces a broader halo. Keep the background reasonably distant and uncluttered so the rim stands out. For a stronger rim-light effect, move the subject against a darker background while the sun catches their shoulders or profile. You may need to underexpose slightly to protect the outline. For a silhouette, do the opposite of a bright-face portrait: meter for the bright sky, use a negative exposure adjustment if necessary, and allow the person to become nearly black. A clear profile, separated arms, or a recognizable gesture reads better than overlapping limbs. Do not assume every backlit portrait should reveal the face. The strongest result is the one that matches your story.
Backlit Landscapes: Mist, Trees, and Mountains
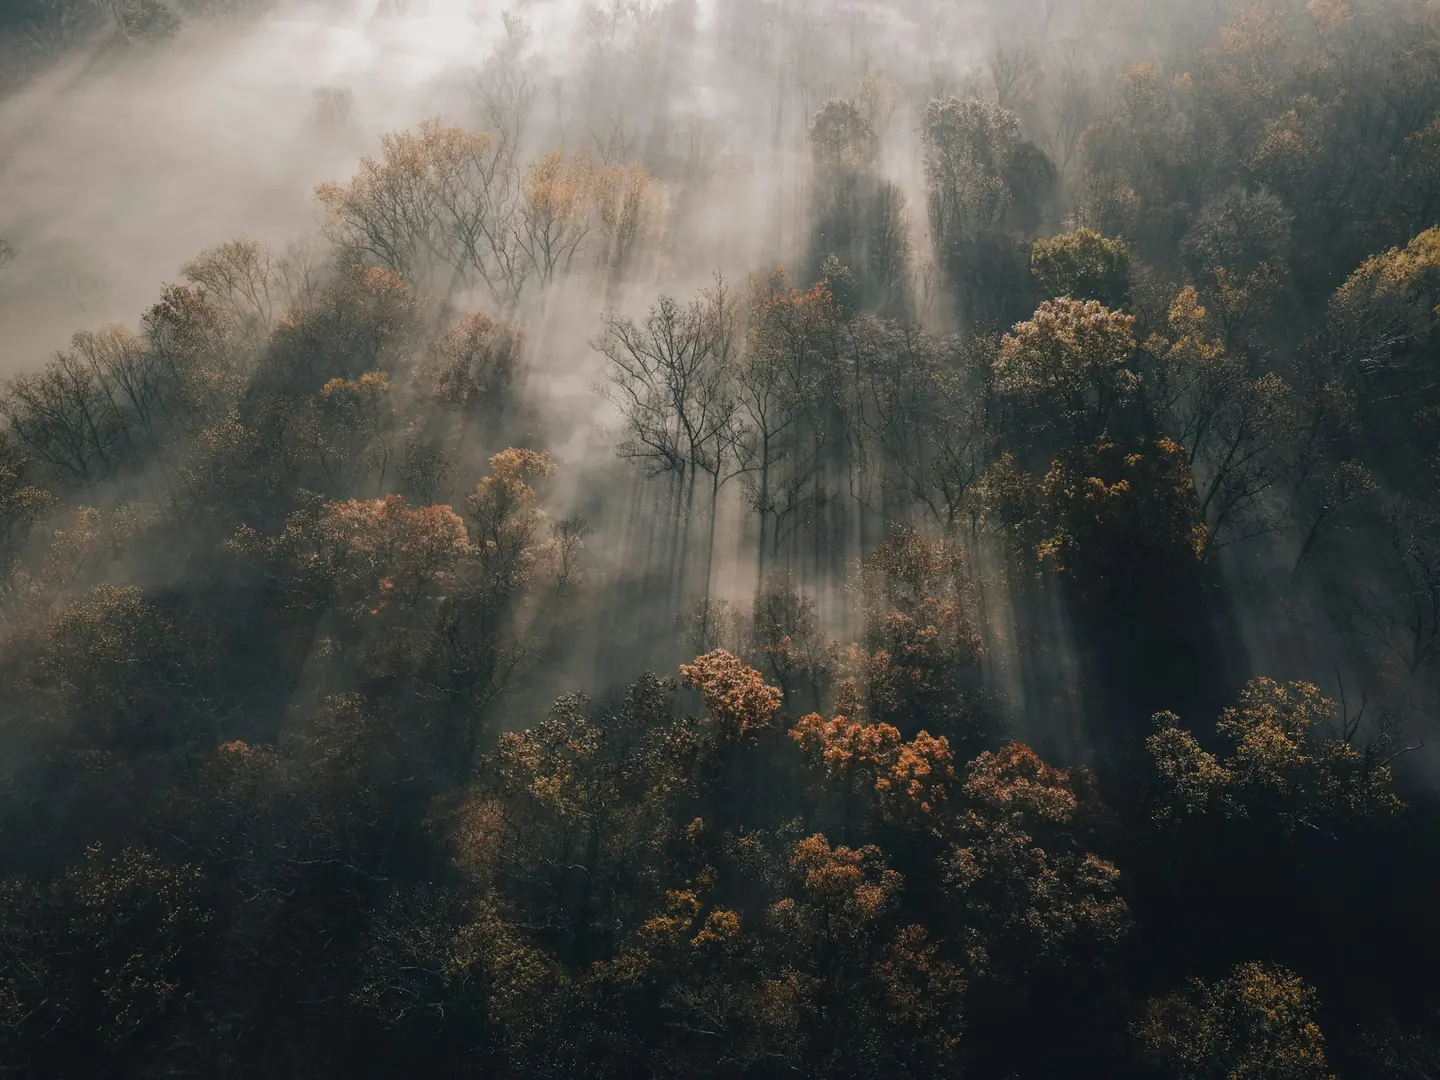
Early morning mist is one of the best subjects for backlight because sunlight reveals layers of haze between trees and hills. Compose with a darker foreground, a middle layer of illuminated mist, and a distant ridge. Keep the sun behind a branch or outside the frame to control flare. For forests, side-backlight can pick out leaf edges and create patterns of light between trunks. In mountains, low sunlight may outline ridgelines while valleys remain shaded. Expose for the luminous mist or sky if that is the subject, and accept some dark foreground detail. If both the foreground and sky are important, use a tripod and bracket exposures for a carefully blended image. Avoid exaggerating the HDR effect: excessive shadow lifting can flatten the depth that made the scene compelling. Check for atmospheric conditions rather than relying only on the weather forecast. Mist often changes quickly, so arrive early and work efficiently.
Backlit Macro: Flowers, Leaves, and Insects
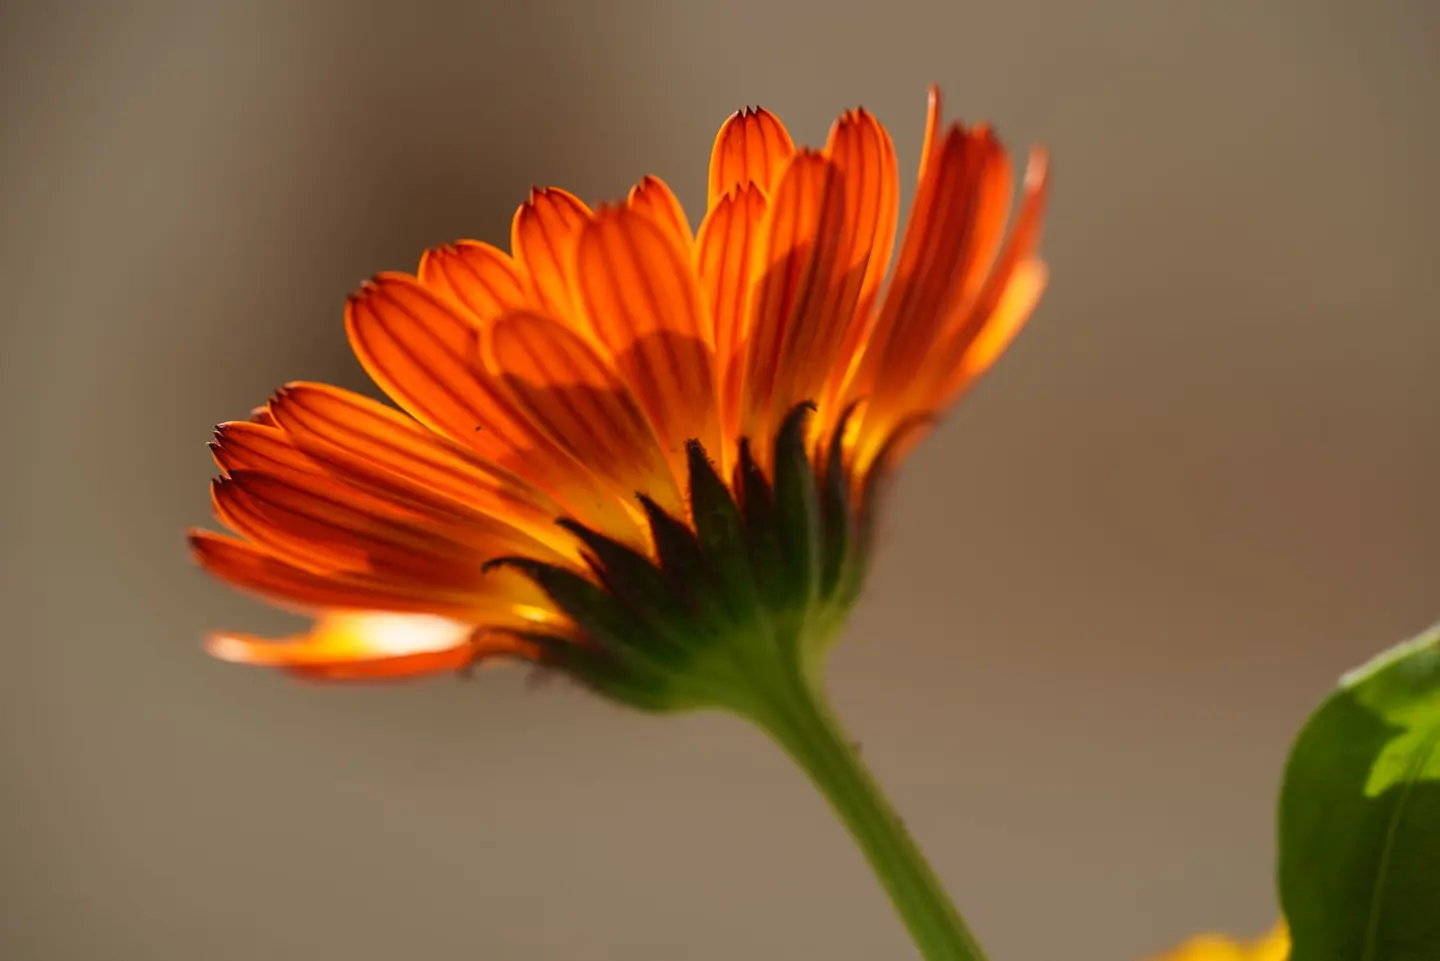
Thin petals, leaf veins, and insect wings can glow when illuminated from behind. Start with a flower near a window or in a sheltered garden, and put the light source behind it at a slight angle. A dark, distant background makes the translucent edges easier to see. Use a moderate aperture such as f/5.6 to f/8 when you need more of the subject in focus, but adjust for your lens and sensor. For insects, avoid casting your shadow over the subject and work calmly so you do not disturb it. Manual focus or a single small autofocus point can help with tiny details; continuous autofocus may be better if the insect moves. Watch the shutter speed closely because wind moves flowers even on apparently calm days. A reflector can gently brighten the front without removing the luminous effect. Never position yourself or equipment where you could damage plants or wildlife.
Prevent Excessive Flare and Unwanted Bloom
Lens flare is stray light bouncing inside the optical system. It can appear as colored shapes, streaks, reduced contrast, or a milky veil. Some flare looks beautiful, but too much can obscure your subject. Fit the appropriate lens hood, remove unnecessary filters if they cause reflections, and slightly reposition the camera so the sun is hidden behind an object. Keep fingers, straps, and the hood out of the image. Clean visible smudges from the front element because grease can scatter light and create a hazy bloom around highlights. First remove loose dust with a hand blower, then use a clean lens-safe microfiber cloth with a small amount of suitable lens-cleaning fluid applied to the cloth, never sprayed directly on the glass. Do not rub grit into the coating or use ordinary tissues. If a lens appears fogged internally, let it acclimatize in a dry environment; do not open it yourself. A little intentional flare can enhance mood, but it should be a choice, not an accident.
Camera Settings to Try
There is no universal backlight exposure because subject movement and brightness vary. For a still portrait at golden hour, try aperture priority at f/2.8 to f/4, ISO 100–400, and a shutter speed fast enough to prevent blur, typically at least 1/250 second for active subjects. For a backlit silhouette, f/5.6 to f/8 often gives a defined outline and sufficient depth of field. For a landscape on a tripod, start around f/8, ISO 100, and let the shutter speed follow the light; use a timer or remote release to reduce vibration. For moving leaves or insects, raise the shutter speed and ISO rather than accepting motion blur. Autofocus on the eye for portraits, or use magnified live view for stationary macro subjects. Check that autofocus has not locked onto the bright background. If you see a very bright sky, consult the histogram rather than trusting the rear screen alone, especially outdoors.
Editing Backlit Photos Without Losing the Mood
Start with exposure and white balance. For portraits, raise shadows selectively on the face rather than brightening the entire frame until the glow disappears. Reduce highlights only enough to restore useful texture; a luminous background can remain luminous. A modest contrast adjustment and local dodge-and-burn can reinforce depth. For silhouettes, deepen the blacks and preserve the color gradient in the sky. For misty landscapes, resist the temptation to add too much clarity or dehaze, since both can erase the soft atmosphere. Remove distracting flare spots if they do not support the composition, but leave intentional light streaks when they add character. Compare the edit with the original at regular intervals. If the result looks like flat front lighting, you may have corrected away the very feature that made backlight interesting.
Common Mistakes and How to Fix Them
A face that is almost black usually means the camera prioritized the sky; meter from the face, apply positive exposure compensation, or add fill. A white sky with no detail means the exposure was pushed too far; reduce exposure, change your angle, or accept that a single frame cannot retain everything. Washed-out contrast often comes from the sun shining directly onto the lens; shade it or hide the sun behind an edge. Missed focus occurs when the autofocus system chooses a high-contrast background; select the eye or use manual focus. Motion blur may be mistaken for soft backlight; check shutter speed before blaming the lens. Finally, a distracting bright patch at the edge of the frame can pull attention away from the subject. Recompose or wait for the light to shift. Solve one problem at a time, and keep the changes that serve the photograph rather than following a rigid formula.
A 20-Minute Backlight Practice Exercise
Choose one safe outdoor location in the late afternoon. Spend five minutes photographing a person or object with the sun fully outside the frame. Spend the next five minutes moving until the sun sits partly behind the subject and notice the edge light. Then take three exposure variations: one that reveals the subject, one that preserves the sky, and one deliberate silhouette. Use the last five minutes to try a reflector or a pale surface for fill, or switch to a backlit leaf or flower if you are working alone. Review the results at home and note which angle, metering mode, and exposure adjustment worked best. Repeat the exercise on a hazy morning and compare the atmosphere. Learning backlight is less about memorizing settings and more about noticing the relationship between the light source, subject, background, and camera.
Final Thoughts
Backlight photography rewards experimentation. Decide first whether you want a glowing portrait, a dramatic silhouette, a misty landscape, or a luminous macro detail. Then place the light deliberately, expose for the part of the scene that matters, and control flare when it becomes distracting. Spot metering, exposure compensation, a simple reflector, and a clean lens are practical tools, not rules you must always use. Once you understand why a bright background confuses a meter, you can work confidently with the light behind your subject instead of avoiding it. The best backlit image is not necessarily technically perfect; it is one where the brightness, shadows, and edges help tell the story you intended.