How to Clean Your Camera Sensor (and Lenses) Safely
A practical beginner’s guide to identifying sensor dust, using safe cleaning tools, protecting lens coatings, and knowing when to call a professional.
Introduction: Clean Only What Needs Cleaning
A tiny dark spot in a blue sky can make an otherwise excellent photograph look unfinished. A fingerprint on the front of a lens can also cause unwanted flare, especially when you photograph toward a bright light. Fortunately, many camera-cleaning problems are simple to diagnose and prevent. The important part is knowing which surface needs attention and choosing the least invasive method that will solve the problem. A camera sensor is not something to scrub casually, and most lenses do not need aggressive cleaning after every outing. Start with inspection, move to a gentle air blower if necessary, and reserve contact cleaning for situations where it is genuinely required. This guide is for interchangeable-lens cameras and common photographic lenses; always follow the instructions for your specific camera and cleaning products.
Is It Sensor Dust or Lens Dust?
Dust on the sensor typically appears as soft-edged dark spots that stay in the same place in multiple photographs, particularly against an evenly lit background. The spots often become more distinct at narrow apertures such as f/11, f/16, or f/22. They may look less noticeable at f/2.8 or f/4 because of the way the aperture affects the shadow cast by debris near the sensor. The exact visibility varies with the camera and the location of the contamination. By contrast, small particles on the front of a lens rarely create neat black dots in a photograph. They are far out of focus and usually have little visible effect; heavier contamination, oily smears, or fingerprints can reduce contrast and increase flare. Dust on a rear lens element is worth addressing carefully, but do not assume every mark in an image comes from the lens. A dirty filter, moisture, a damaged coating, or an editing artifact can also change the image. Diagnose the issue before reaching for cleaning supplies.
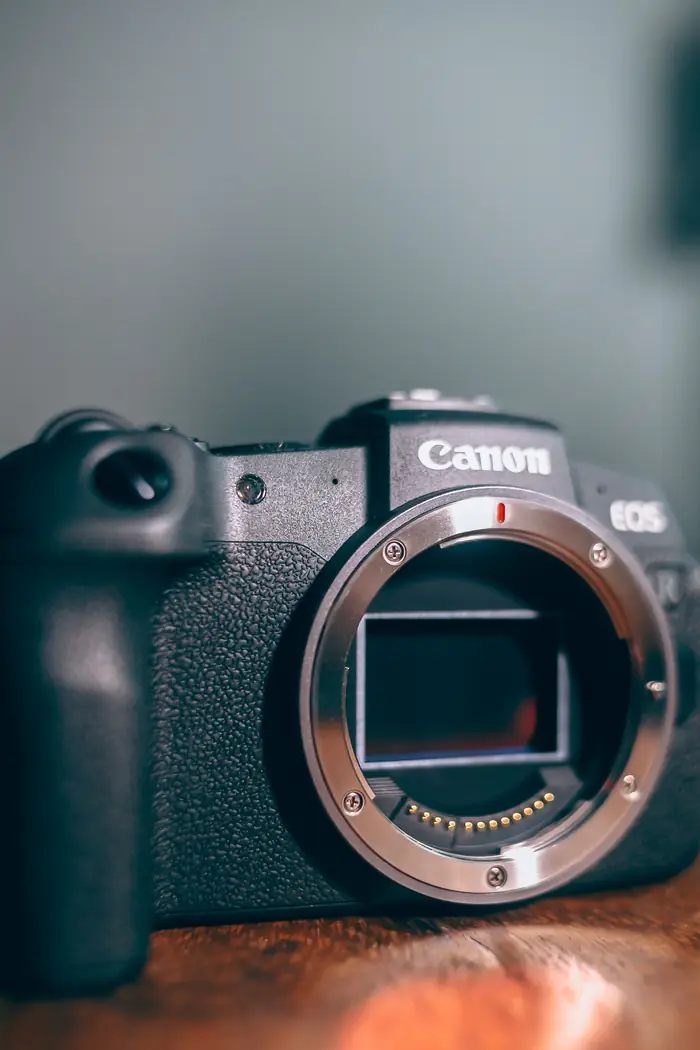
Make a Simple Sensor-Dust Test Photo
Mount a lens and select aperture-priority or manual exposure. Choose a narrow aperture such as f/16, set a low ISO, and photograph a plain bright wall, an evenly illuminated sheet of paper, or a clear section of sky. Deliberately defocus the scene so that texture on the wall does not resemble sensor spots. Expose the frame normally and inspect it on a larger screen, increasing contrast temporarily if needed. Repeat the test after changing the framing. If the dark marks remain at the same pixel positions, sensor contamination is a likely explanation. Avoid pointing the camera toward the Sun for this test, particularly with a telephoto lens. If you see only one or two spots that are easy to retouch and never appear in normal photographs, cleaning may not be worth the risk. If spots are numerous or routinely visible in your landscapes, consider the gentlest cleaning step.
What to Put in a Safe Cleaning Kit
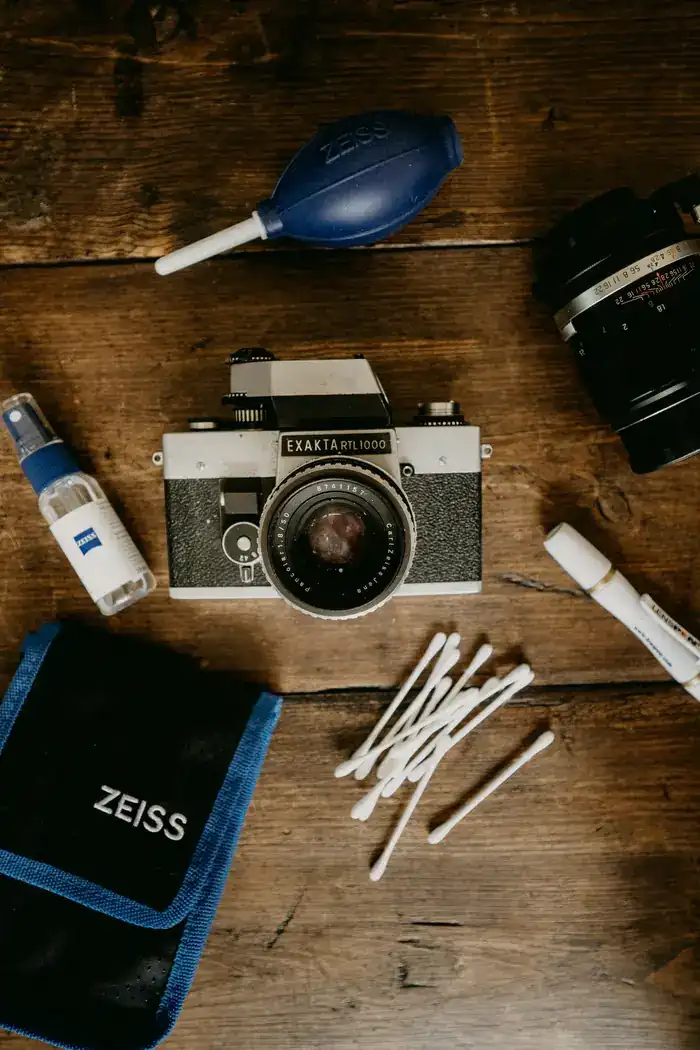
A hand-squeezed photographic air blower is the first tool to own. It dislodges loose particles without touching glass or the sensor cover. Choose a blower intended for camera equipment and keep its nozzle clean. A soft lens brush designed for optical surfaces can help with stubborn dry grit on the outside of a lens, but a lens brush is not automatically safe for a sensor. Sensor brushes are specialized products and should be used only when their manufacturer and your camera maker permit them; they can drag contamination or leave marks if misused. For a wet sensor clean, use single-use, sensor-specific swabs matched to the sensor size, together with a fluid explicitly compatible with the camera's sensor-cover assembly. An illuminated inspection loupe can make debris easier to see, although it is optional. For lenses, keep clean optical microfiber cloths and lens-safe cleaning solution in separate protective pouches. A dirty cloth can do more harm than a little dust.
Before Touching the Sensor: Check the Camera Manual
Many cameras have a built-in sensor-cleaning cycle that vibrates the sensor or its cover to shake off loose dust. Run that function first, if available. The physical cleaning procedure is model-dependent. Some cameras require a dedicated sensor-cleaning mode to hold the shutter open; others expose the sensor when the lens is removed but have a movable stabilization mechanism. Certain cameras close their shutter curtain during power-off, and touching that delicate curtain can cause expensive damage. Never force a shutter curtain open, never assume that switching the camera off exposes a safe surface to clean, and never touch a moving or unsupported sensor assembly. Follow the manufacturer's instructions about power state, battery charge, stabilization locks, and cleaning mode. If the manual prohibits user wet cleaning, use an authorized service center instead.
Step-by-Step: Remove Loose Sensor Dust with a Blower
Work at a clean table in a calm, low-dust room. Wash and dry your hands, turn off fans, and prepare the blower before removing the lens. Make sure the battery is adequately charged if the camera requires a powered cleaning mode. Follow the camera manual to expose the sensor safely, then remove the lens. Hold the camera with its mount facing downward so dislodged dust has a better chance of falling out. Keep the blower tip outside the mount and give several controlled puffs of air toward the sensor area without touching anything. Do not insert the nozzle deep into the camera or allow it to strike the sensor, shutter, or mount. Replace the lens promptly, exit the cleaning mode as instructed, and take another test photograph. If the marks disappear, stop. Repeated unnecessary cleaning increases the opportunity for accidents.
Wet Sensor Cleaning: When and How to Be Cautious
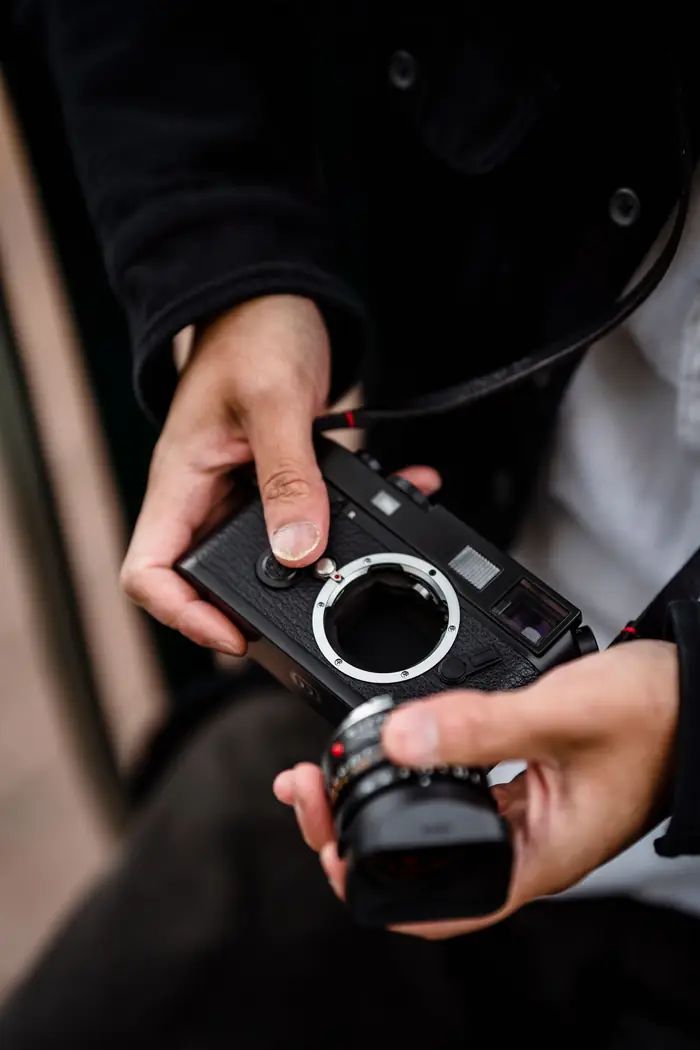
If a blower does not remove visible contamination, the residue may be oily or adhered to the sensor-cover glass. Wet cleaning is more demanding and carries a real risk of streaks or damage. The safest choice for an uncertain beginner is a professional cleaning service. If your camera maker explicitly allows owner wet cleaning and you are comfortable following its procedure, use only a swab of the correct width and a compatible sensor-cleaning liquid. Apply the amount of liquid specified by the swab manufacturer to the swab, not directly onto the sensor. Use a fresh swab and a light, controlled pass in the direction recommended by the cleaning-kit instructions; do not press, scrub back and forth repeatedly, or reuse a dirty swab. Allow the surface to dry as directed, reassemble the camera, and retest. Stop immediately if you encounter resistance, an unfamiliar shutter mechanism, visible streaking that worsens, or uncertainty about the procedure. Do not use household glass cleaner, rubbing alcohol of unknown formulation, canned compressed air, cotton buds, or a general-purpose cloth on the sensor.
How to Clean the Front Lens Element
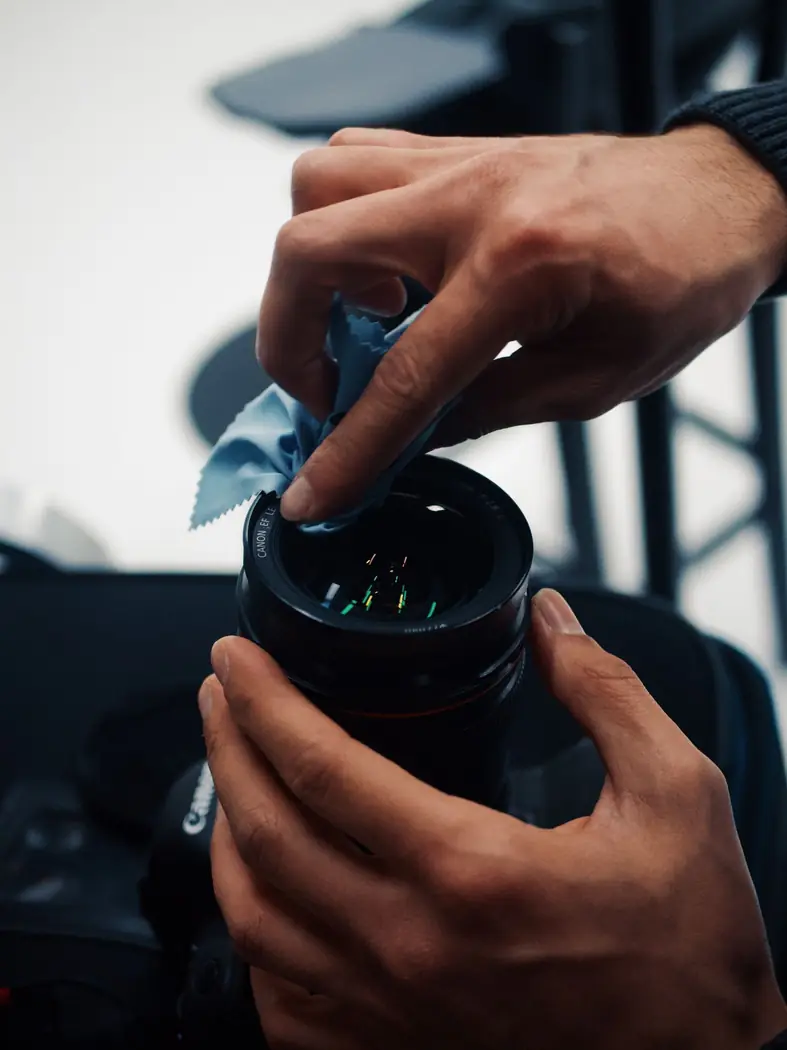
First inspect the front element under ordinary light. A few harmless dust specks do not justify rubbing the coating. Remove loose grit with a hand blower, then use a clean, purpose-made lens brush only if needed. If fingerprints or salt spray remain, place a small amount of lens-compatible solution onto a clean optical microfiber cloth or approved lens tissue, never spray the liquid directly onto the glass. Wipe gently without pressing hard, using a fresh clean section of the cloth as you go. Excess pressure can grind particles against a coating, so always remove grit before wiping. Check the result under soft light and stop once the contamination is gone. Keep separate cloths for camera bodies and optical glass so that sand, sunscreen, or oils from other surfaces do not transfer to the lens.
How to Clean the Rear Lens Element
The rear element is often smaller and sits close to electronic contacts, seals, or moving mechanisms. Remove the lens from the camera in a clean location, cap the camera body, and hold the lens so that dust does not fall into it. Start with the blower. If a smudge remains, use a tiny amount of lens-safe solution on a clean optical microfiber cloth and gently clean only the accessible glass. Do not flood the rear element or let fluid run toward the lens mount. Avoid rubbing electrical contacts and do not insert tools into recessed mechanisms. Reattach the rear cap as soon as the element is clean. If you see haze, fungus-like patterns, or contamination apparently inside the lens, ordinary exterior cleaning will not fix it; consult a qualified technician.
What Never to Do
Do not use paper towels, facial tissues, shirt sleeves, or ordinary household wipes on optical surfaces: they may carry abrasive fibers or grit. Do not blow with your mouth, because saliva droplets can leave residue. Do not use canned compressed air near the sensor; propellants, extreme pressure, and condensation can create new problems. Never spray cleaning liquid directly onto the lens or sensor. Do not touch the sensor with a finger, an ordinary brush, or a reused swab. Do not attempt to wipe a shutter curtain, and do not leave a lensless camera open on a dusty desk while searching for supplies. Finally, avoid cleaning simply because a flashlight reveals tiny particles. The useful question is whether contamination affects your photographs.
When Professional Service Is the Better Choice
Book a professional sensor clean if contamination survives a careful blower treatment and you are unsure about wet cleaning, if the camera's manual advises against user cleaning, or if the sensor mechanism is unusually exposed or delicate. A technician is also the right choice for persistent oily spots, suspected lubricant splashes, stubborn residue, scratches, or any sign that a shutter curtain or sensor stabilization assembly has been damaged. A scratch cannot be polished away with a cleaning swab. If you suspect fungus or internal haze in a lens, request a diagnosis rather than opening the lens yourself. Ask the service provider whether they offer a before-and-after test image and what the service covers. Professional cleaning costs money, but it can be cheaper than repairing a damaged sensor assembly.

Prevent Dust During Lens Changes
Prevention is less stressful than cleaning. Change lenses away from blowing sand, rain, construction dust, or strong wind whenever possible. A sheltered doorway, vehicle interior, or indoor room is preferable to an exposed beach. Prepare the replacement lens before removing the mounted lens, keep the camera mount angled downward, and complete the swap promptly without rushing. Keep body caps and rear lens caps clean and in a pouch rather than loose in a dusty pocket. Regularly clean the exterior of your camera bag and avoid placing uncovered lenses on the ground. For travel, a versatile zoom can reduce lens changes, though you should still choose lenses based on the photographs you want to make. Store equipment dry and follow the manufacturer's humidity guidance to discourage fungus.
A Simple Cleaning Schedule That Makes Sense
There is no universal rule requiring sensor cleaning every week or after a fixed number of photographs. Check for dust when you notice spots in images or before an important assignment that involves narrow apertures, such as landscape or architecture work. After a sandy or wet outing, inspect the camera exterior, lens barrel, and filter, and clean them carefully before opening the mount. Blow loose dust from lens elements as needed, but wipe glass only when fingerprints or residue affect use. Wash reusable microfiber cloths according to their manufacturer’s instructions and replace them when they become gritty or contaminated. Keep single-use sensor swabs sealed until the moment they are needed. A minimal, deliberate routine is safer than constant polishing.
Quick Troubleshooting: Spots, Smears, and Flare
If a spot stays fixed in the same location across photographs and is strongest at f/16, suspect sensor dust and perform a controlled test. If the problem appears as broad haze, streaks, or halos around lights, inspect the lens and any protective filter for fingerprints, moisture, or grime. If a mark changes when you switch lenses, examine the lens or filter rather than assuming the sensor is responsible. If the mark stays when you switch lenses, the sensor becomes more likely. If spots persist after an approved cleaning cycle and careful blower use, do not escalate blindly to repeated wet swabs. Seek a professional assessment. Always compare results using similar lighting and apertures so that a change in shooting conditions does not masquerade as a successful cleaning.
Final Checklist
Identify the problem with a test photo before cleaning. Check the camera manual and run its built-in cleaning function if available. Use a photographic hand blower as the first physical step. Keep the nozzle clear of internal parts and the mount facing down. Reserve sensor-contact cleaning for approved procedures and compatible single-use supplies; when unsure, choose service. On lenses, remove loose grit before touching glass and apply cleaning liquid to the cloth, not the element. Never use ordinary tissues, household sprays, or canned air. Change lenses in sheltered places and keep caps clean. Above all, remember that a few invisible dust specks are normal. The goal is clear photographs and a reliable camera, not a perfectly spotless surface under a magnifying glass.