PhotoMasterHQ Editorial Team · Camera buying guide
How to Choose the Right Camera in 2026: A Complete Beginner’s Guide
Choosing your first serious camera can feel overwhelming. This practical guide will help you compare camera types, sensors, lenses, features and costs without getting lost in marketing.
Why Choosing the Right Camera Matters
Buying a camera is not about finding the most expensive body or the one with the longest specification sheet. It is about matching a tool to the photographs you actually want to make. A parent photographing children indoors has different needs from a traveler hiking with a small backpack. Someone interested in birds needs reach and dependable autofocus, while a beginner learning portraits might benefit more from a modest camera and a bright prime lens. In 2026, even entry-level cameras can produce excellent photographs when used thoughtfully. The challenge is deciding which compromises you can live with. Start by writing down your favorite subjects, the lighting conditions you encounter, and how much weight you are willing to carry. These answers will narrow the field more effectively than any headline about megapixels.
Step 1: Decide What You Want to Photograph
Before comparing brands, identify your top two photographic goals. For travel and everyday life, prioritize portability, comfortable controls, reliable autofocus and a versatile lens. For portraits, consider access to affordable lenses with wide apertures, useful eye-detection autofocus and a viewfinder you enjoy using. For sports and wildlife, look for responsive subject tracking, suitable telephoto lenses and enough burst performance to capture movement. For landscapes and architecture, good dynamic range, tripod compatibility and lenses that suit wide compositions may matter more than extreme shooting speed. For video and hybrid work, check recording limits, microphone connections, stabilization, heat management and whether the camera crops the image in your intended video modes. You do not need a camera that excels at everything. Choosing for your real subjects usually saves money and frustration.
Step 2: Understand the Main Camera Types
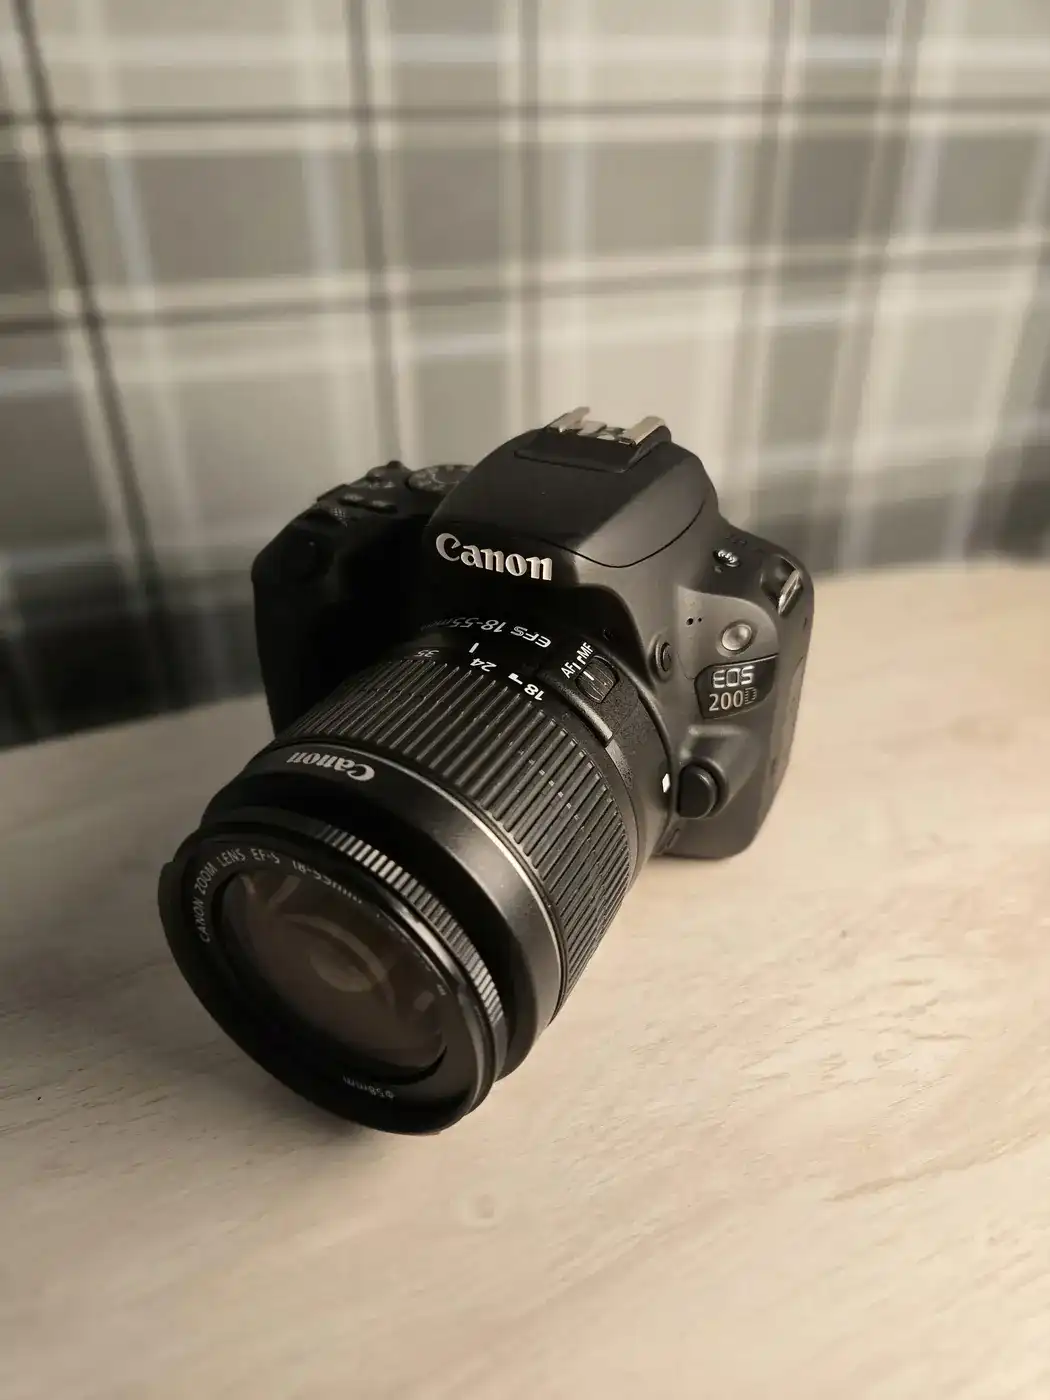
Smartphones remain convenient and surprisingly capable, especially for daylight images and immediate sharing. Their small sensors and computational processing have limitations when you need long telephoto reach, extensive manual control or predictable professional workflows. Compact cameras can offer better ergonomics or optical zoom in a small package, although some are expensive relative to interchangeable-lens systems. DSLR cameras use an optical viewfinder and mirror mechanism. They can be excellent used-value purchases, with broad secondhand lens selections, but many manufacturers now focus new development on mirrorless systems. Mirrorless cameras show a digital preview through the screen or electronic viewfinder and commonly provide advanced autofocus and strong video features. Neither type guarantees better photographs: handling, lenses, condition and your ability to use the camera matter more than the label.
Step 3: Choose a Sensor Size
The most common interchangeable-lens formats are Micro Four Thirds, APS-C and full frame. Micro Four Thirds systems often offer compact lenses, especially for telephoto work. APS-C is a practical middle ground for many beginners: bodies and lenses can be relatively small while delivering excellent image quality. Full-frame cameras can offer more flexibility in low light and shallow depth of field when compared at equivalent framing and exposure conditions, but the complete system often costs and weighs more. Sensor size also affects field of view. A 35 mm lens does not frame a scene the same way on every format. Compare equivalent focal lengths when shopping, and remember that sensor size is only one part of the image-quality equation. Lens choice, lighting and technique frequently make a larger visible difference.
Step 4: Prioritize Lenses Over Marketing Numbers
A camera body can be replaced; a thoughtful lens collection may serve you for years. A standard zoom is a flexible starting point because it lets you explore wide scenes, people and details without constantly changing lenses. A small prime lens, such as an approximately normal-angle or short-portrait option for your sensor format, can teach composition and offer brighter apertures for indoor photographs. Wildlife photographers should investigate telephoto lens prices before choosing a camera mount. Landscape photographers should compare available wide-angle lenses and filters. Always check exact mount compatibility, autofocus support and stabilization behavior. Do not assume that two lenses from the same brand fit every camera. A less expensive body paired with a lens that suits your work is often a smarter choice than an expensive body with the wrong lens.
Step 5: Evaluate Autofocus, Stabilization and Handling
Try holding the camera before buying if possible. Can you reach the shutter button comfortably? Are the menus understandable? Does the viewfinder work well with your glasses? These details affect whether you enjoy practicing. Autofocus features should be judged by the subjects you shoot, not just by the number of focus points. Eye detection can help with portraits, while tracking reliability matters for moving children, pets and wildlife. In-body image stabilization can reduce blur from camera shake with compatible lenses, but it cannot freeze a running subject; you still need an appropriate shutter speed. Weather resistance is useful, yet it does not mean waterproof. Battery life, charging options, dual card slots and accessible controls may be more valuable to your workflow than an extra burst-rate headline.
Step 6: Make Sense of Megapixels and Image Quality
More megapixels allow larger prints or heavier cropping when the lens, focus and technique deliver sufficient detail. They also produce larger files and may increase storage and editing demands. For many beginners publishing online, making moderate prints and sharing family photos, a camera with a sensible modern resolution is more than adequate. Look beyond resolution to how a camera handles highlights, shadows and high ISO settings. RAW files generally give more flexibility when adjusting exposure and white balance, while JPEG files are easier to share immediately. Test images from real scenes, ideally at the sizes you actually intend to use. A sharp, well-lit 20-megapixel photograph is more useful than a blurry 40-megapixel one.
Step 7: Build a Realistic Total Budget
Do not spend your entire budget on the camera body. Plan for a lens, a reliable memory card, a spare battery, a comfortable strap or bag and perhaps a simple tripod. You may also need editing software and a backup drive. Buying used or manufacturer-refurbished equipment can offer substantial value, provided you buy from a reputable seller and check the return policy. Inspect the sensor, screen, controls, card slot, lens mount and battery compartment. Ask about shutter use and service history, but remember that a single shutter-count figure does not tell the whole story. Avoid buying a cheap system if the lenses you will need later are unusually expensive. Compare the cost of a complete setup, not just the advertised camera body.
Step 8: Choose a Starter Kit for Your Photography Style
For a general beginner, an APS-C or Micro Four Thirds mirrorless body with a standard zoom is a sensible starting point. For travel, favor a compact body and lightweight zoom that you will actually carry. For portraits, add a bright prime after learning the kit lens. For wildlife, make sure the mount has an affordable telephoto path before buying anything. For video, evaluate practical features such as microphone input, autofocus during recording, stabilization and file formats. For product photography at home, a tripod and controlled lighting may improve results more than a costly body upgrade. These are system suggestions, not endorsements of specific models. The best kit is the one that meets your requirements and leaves room in the budget for learning.
Camera Settings to Learn First
Whatever camera you choose, learn the exposure triangle: aperture, shutter speed and ISO. Aperture influences depth of field and light transmission; shutter speed determines how movement appears; ISO controls the camera’s amplification or processing sensitivity rather than creating more light. Begin with aperture priority for static subjects, shutter priority for action and manual mode when you want consistent exposure across frames. Practice focusing on a person's eye, using exposure compensation near bright windows and reviewing the histogram instead of trusting screen brightness alone. Save RAW files when you want more editing flexibility. A simple exercise is to photograph the same scene at f/2.8, f/5.6 and f/11, then compare background sharpness. Another is to capture moving subjects at 1/125, 1/500 and 1/1000 second, adjusting ISO as necessary.
Mistakes Beginners Should Avoid
Do not buy solely because a creator calls a camera the best. Their priorities may not match yours. Do not assume full frame is mandatory for professional-looking images, or that a kit lens cannot produce excellent work. Avoid selecting a camera before checking lens availability, weight and the total system price. Do not overlook the importance of a comfortable grip, readable controls and a clear viewfinder. Be skeptical of dramatic claims about specifications without real-world examples. Finally, do not postpone taking pictures until you can afford a dream camera. Consistent practice in composition, light and timing is the fastest way to improve.
A Simple In-Store Camera Checklist
Bring a memory card if the retailer allows testing, and try the camera in realistic situations. Photograph a stationary object, a moving person and a scene with a bright window. Change ISO, aperture and focus mode without instructions to see how intuitive the controls feel. Check whether the screen articulates in a way that suits your work. Evaluate the weight with the lens you intend to buy, not only the body. Ask about warranty coverage, return conditions, repair support and future lens compatibility. If buying online, read the full specifications and independent reviews for the exact model and regional version. A short hands-on trial can prevent years of annoyance.
Frequently Asked Questions
Is mirrorless better than DSLR for a beginner? Mirrorless is often a convenient long-term choice because of current lens development and autofocus features, but a well-priced DSLR can still be excellent for learning. Do I need full frame? No. APS-C and Micro Four Thirds cameras are capable of impressive professional-quality results. How many megapixels are enough? Most beginners do not need extremely high resolution; prioritize lens quality, focus and technique. Should I buy a body-only package? Only if you already have a compatible lens or have selected one separately. Is buying used safe? It can be, when you inspect condition and buy from a reputable seller with clear return terms.
Final Thoughts: Buy for the Photos You Want to Make
The right camera in 2026 is not a universal winner. It is a system that fits your subjects, budget, hands and willingness to carry it. Begin with a clear photographic goal, compare lens ecosystems, try the controls and keep enough money for essential accessories. Once you have a dependable camera and lens, spend more time making photographs than reading specifications. The skills you develop will outlast the camera body you buy today.
Find more practical photography tutorials at PhotoMasterHQ.
Five Real Camera Examples to Compare
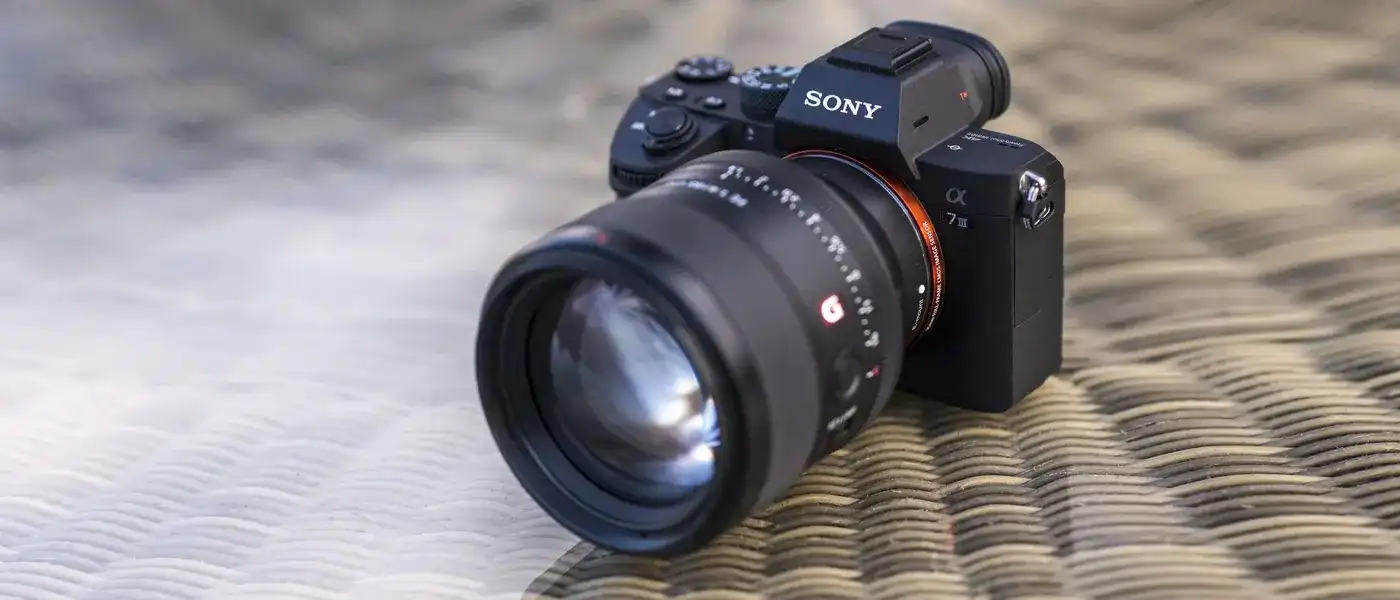
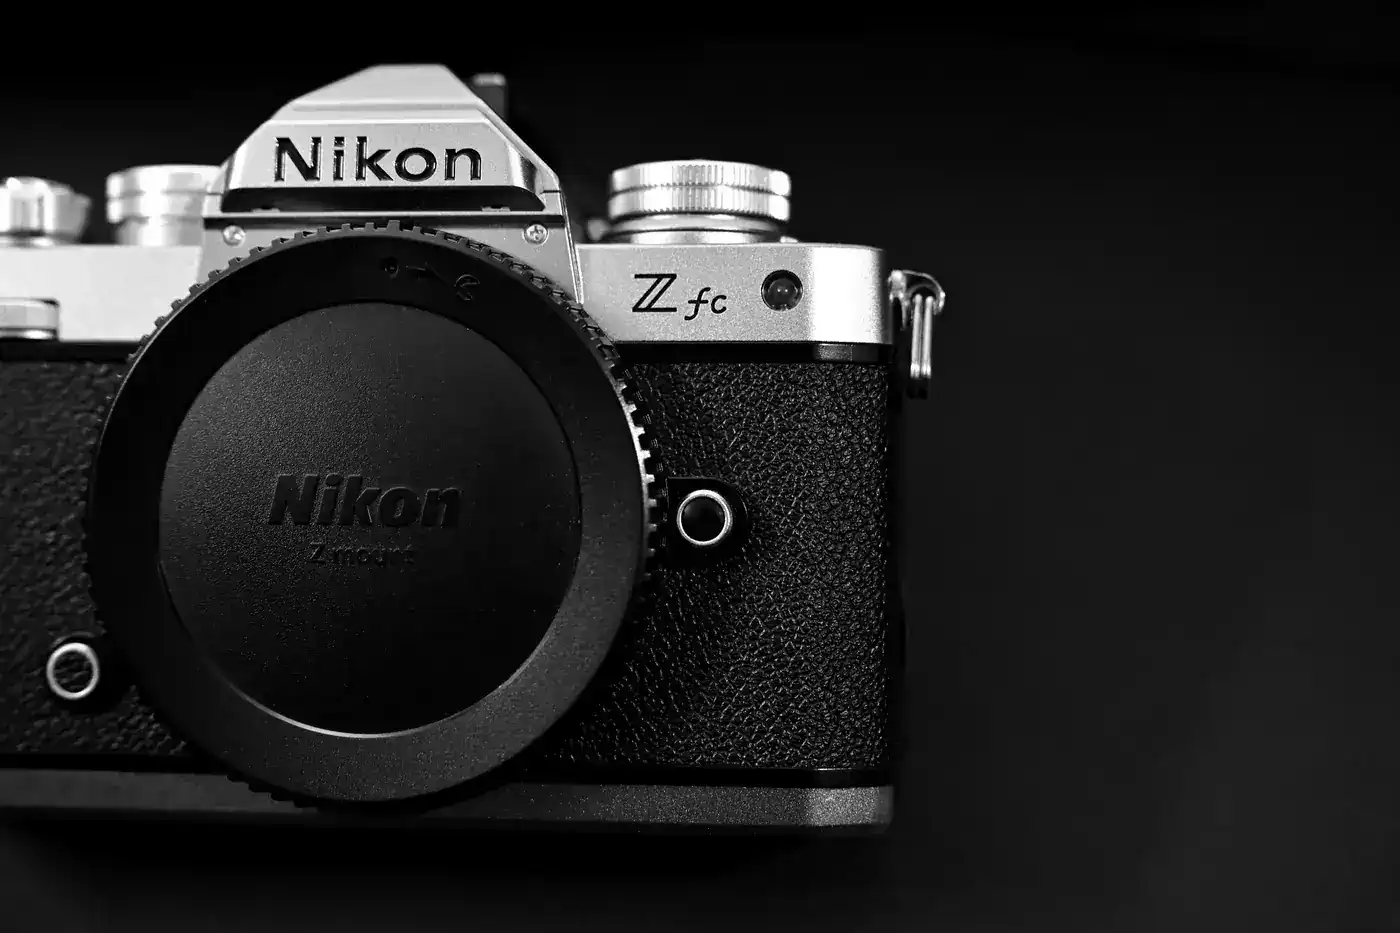
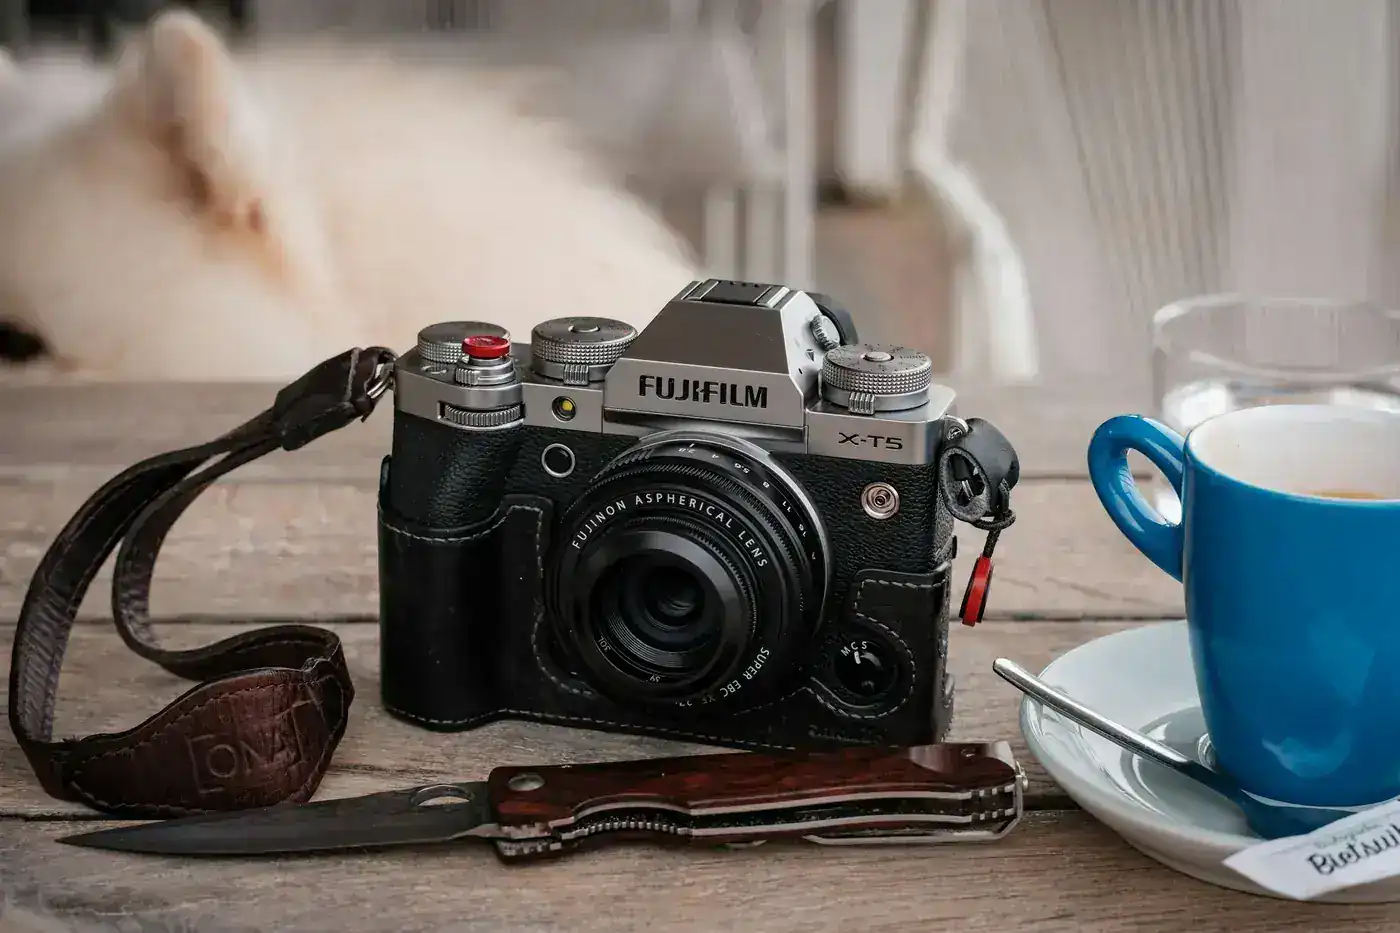
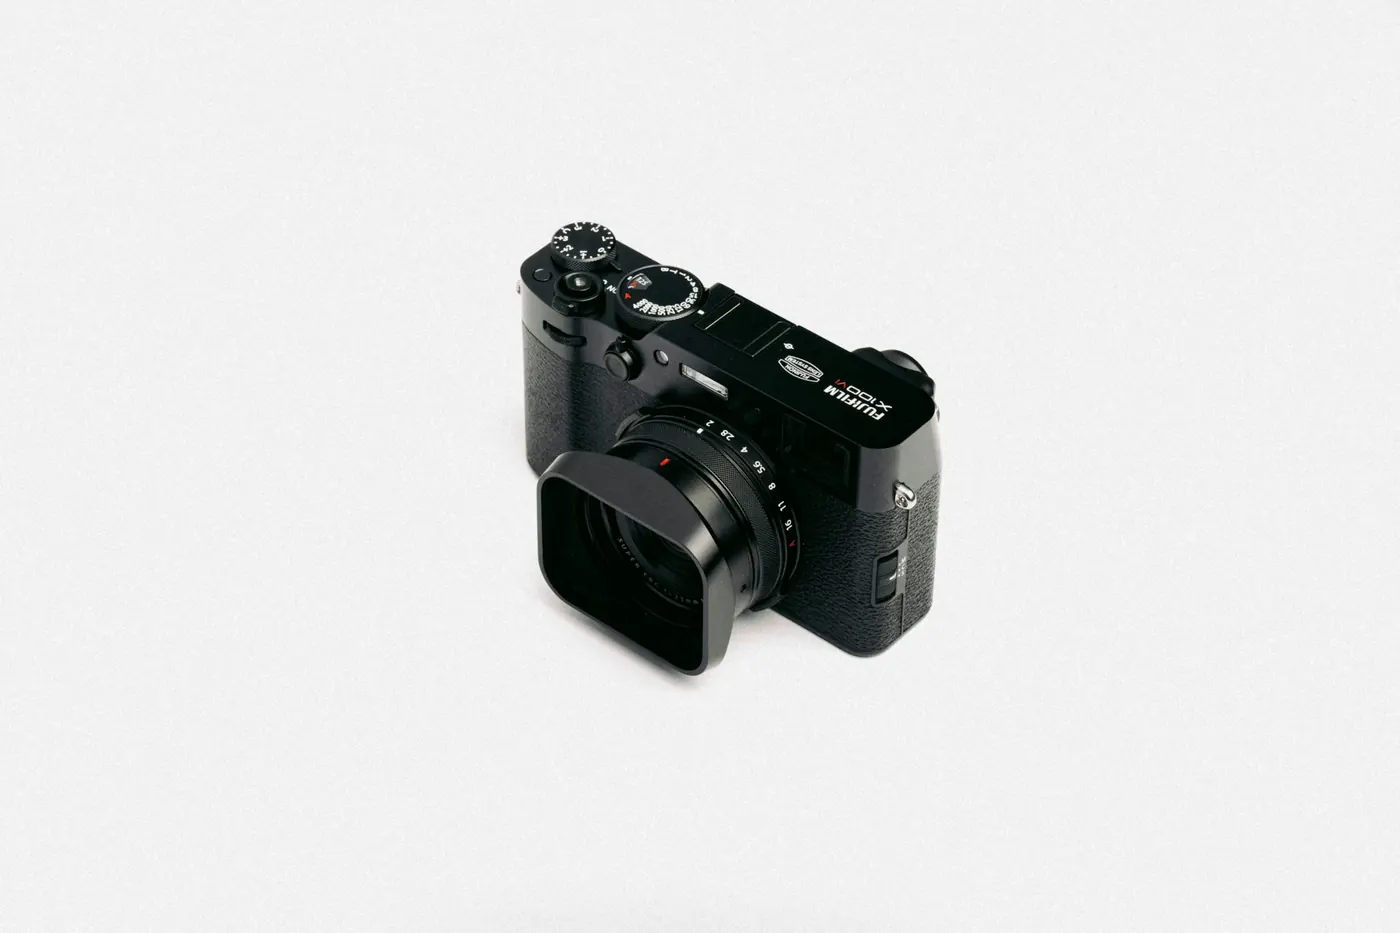
The photos in this guide show actual camera families rather than generic product mockups. Sony’s Alpha 7 series illustrates a full-frame mirrorless system, Canon EOS illustrates traditional DSLR handling, Nikon Z fc and Fujifilm X-series illustrate APS-C mirrorless options, and Fujifilm X100-series illustrates a fixed-lens compact approach. These are examples of different approaches—not a ranked shopping list or a claim that each model is the best beginner camera in 2026.
Before buying, confirm the exact model name, lens mount, condition, included lens and current availability with the seller. A photo of a camera family does not establish the specifications or price of every model in that family.