Light Painting Photography: A Beginner's Guide to Drawing with Light
Light painting photography turns darkness into a creative canvas. By keeping your camera's shutter open while moving a light source through the scene, you can create glowing spirals, write words in the air, and selectively illuminate everyday objects. The results can look magical, but the process is surprisingly approachable.
You don't need an expensive studio or professional lighting system. A camera with manual controls, a sturdy tripod, and an ordinary flashlight are enough to make your first light painting photograph. This guide explains the equipment, settings, techniques, troubleshooting, and safety precautions that will help you get started.
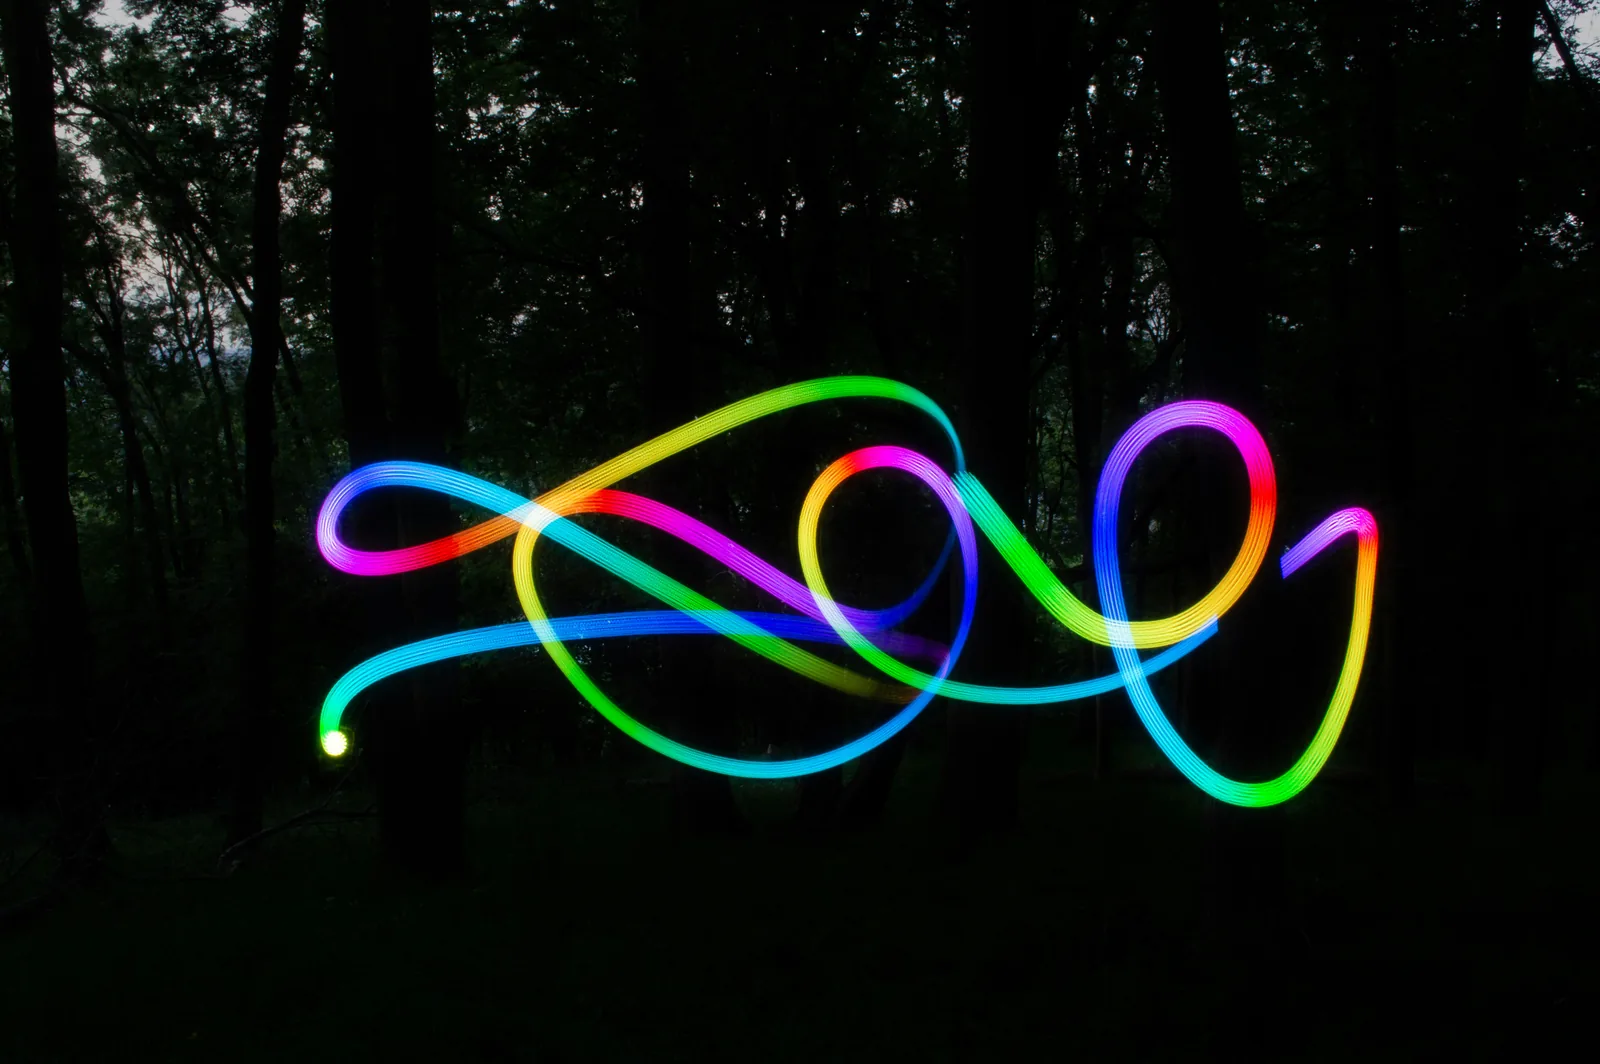
What Is Light Painting Photography?
Light painting is a long-exposure photography technique in which you deliberately move or redirect light while the camera records a single exposure. A normal photograph captures a short instant. A long exposure accumulates light for several seconds or minutes, allowing movements that happen over time to appear together in one frame.
There are two basic approaches. In light drawing, you aim a flashlight, LED wand, or phone light toward the camera and move it through the air. The camera records the light's path as a line. In object light painting, you aim the light at a subject rather than the lens, gradually revealing textures, shapes, and shadows. You can combine both techniques in one photograph.
Light painting works best when you control the surrounding illumination. Complete darkness is ideal for some experiments, but a dim backyard, dark room, or quiet outdoor setting can work well too. Always choose a location where you can move safely.
Essential Light Painting Equipment
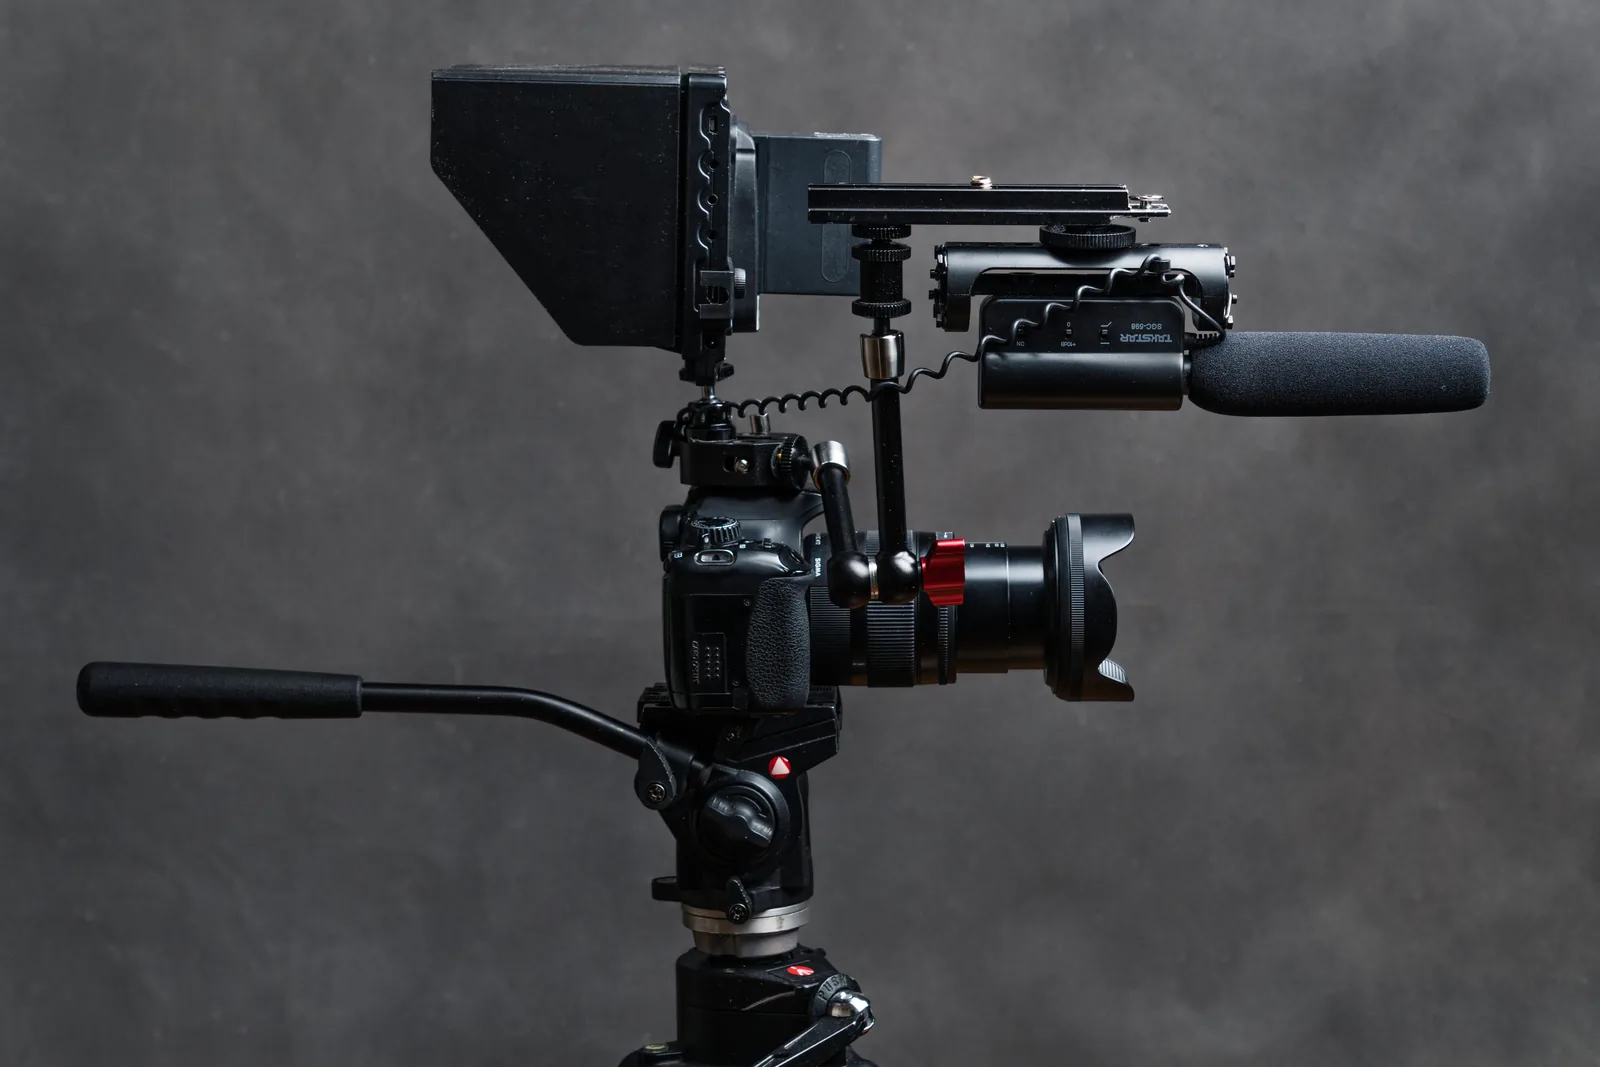
Camera with manual exposure settings
A DSLR or mirrorless camera that allows you to adjust shutter speed, aperture, and ISO is ideal. Look for Manual (M) mode and, for very long exposures, Bulb mode. Some phones offer manual or long-exposure modes, although the actual exposure capabilities vary between models and apps.
Sturdy tripod
Because exposures may last 15, 30, or 60 seconds, the camera must remain still. Set the tripod on solid ground, lock every leg, and avoid raising the center column unnecessarily. Even a slight bump can blur stationary elements in the scene.
Remote shutter release
A wired or wireless remote lets you trigger the shutter without touching the camera. For standard timed exposures, a two-second self-timer is a useful alternative. For Bulb mode, check whether your camera supports a locking remote, timed Bulb, or compatible wireless control.
Flashlights and LED tools
Start with a small LED flashlight. A narrow beam produces clean lines; a wider beam is useful for lighting objects. RGB LED wands, light sticks, and strips allow colorful patterns. Adjustable brightness makes exposure easier to control. A smartphone flashlight can work as a basic drawing tool, while its screen can act as a small colored panel.
Filters and colored gels
Colored lighting gels can change the color of compatible lamps. Neutral density filters reduce light reaching the camera and may help when the location is not very dark, though they are rarely necessary in complete darkness. Use only filters suitable for the temperature and design of your light source, and never obstruct lamp ventilation.
Other useful accessories
Carry spare batteries, a microfiber cloth, a weather-resistant camera bag, and a separate headlamp for walking and setup. Cold temperatures can shorten battery life, and dew can collect on a lens during extended outdoor sessions.
Best Camera Settings for Light Painting
There is no single perfect exposure, but these settings provide a reliable starting point in a dark environment:
- Mode: Manual (M).
- ISO: 100 to minimize noise and protect highlights.
- Aperture: f/8 to f/16; begin at f/8.
- Shutter: 15–30 seconds for simple drawings; Bulb for longer designs.
- Focus: Manual focus after focusing with a temporary light.
- White balance: A fixed setting such as Daylight for consistent colors.
- Format: RAW when available for flexible editing.
Why ISO 100?
Bright LEDs can overexpose easily. ISO 100 helps retain detail in the light trails and reduces visible noise. If the illuminated subject is too dim, you can increase ISO slightly, widen the aperture, or spend more time painting that area.
Why f/8 to f/16?
A relatively narrow aperture controls the brightness of direct light trails and provides more depth of field. Start at f/8, then try f/11 or f/16 if your lines are blown out. Very small apertures may introduce diffraction softness, so do not automatically use the narrowest setting available.
How Bulb mode works
In Bulb mode, the shutter stays open while the camera's Bulb control is active, or until you end the exposure using a supported timer or remote. This is useful when a complicated drawing takes longer than the camera's normal shutter-speed limit. A 60-second exposure might give you time to make several shapes, but the correct duration depends on ambient light and your movement.
Focusing in darkness
Autofocus may hunt in very low light. Illuminate the intended drawing area or subject briefly, focus, then switch to manual focus to keep that distance locked. Magnified live view can help. Avoid assuming that turning a lens to its infinity mark always gives perfect focus.
Step by Step: Make Your First Light Painting Photo
- Choose a safe dark location. A spacious room or clear backyard is excellent for practice. Remove trip hazards before switching off the lights.
- Compose the frame. Put the camera on the tripod and leave plenty of space where the drawing will appear.
- Set exposure. Try Manual mode, ISO 100, f/8, and 20 seconds. Focus with the lights on, then switch to manual focus.
- Prepare the light. Use a small flashlight or phone flashlight. Test its brightness before the main exposure.
- Trigger the shutter. Use the self-timer or remote, move into position, and point the light toward the camera.
- Draw a simple shape. Move smoothly to form a circle, heart, or spiral. Switch the light off when moving between separate shapes.
- Review and repeat. If the lines are too bright, dim the light, close the aperture, or move faster. If they are faint, move more slowly, brighten the light, or open the aperture.
Do not expect perfect symmetry on the first attempt. Make one adjustment at a time so you understand what changes the result. Taking a quick photo of your setup before the room goes dark can also make it easier to reproduce a successful composition.
Technique One: Drawing with Light in the Air
To draw with light, face the camera with the illuminated end of your flashlight pointing toward the lens. The sensor records each position of the light during the exposure. Smooth movements create continuous curves; pauses create brighter dots. A small, concentrated light makes narrow lines, while a larger source creates thicker strokes.
Writing words
Begin with a short word or your initials. When facing the camera, ordinary writing movements can appear mirrored. Practice writing backward, or flip the final photograph horizontally during editing. Switch the light off between letters if you want clear gaps rather than connecting lines.
Circles, spirals, and tunnels
Move your arm in consistent circles to create rings or spirals. Changing the distance from the camera alters their apparent size. Repeating circles while changing position can produce a tunnel-like effect. Keep the walking route clear and avoid swinging heavy or unsecured lights.
How to stay less visible
Wear dark, non-reflective clothing, keep moving when appropriate, and avoid shining light onto your body. In a dark environment, this can make the person holding the light barely visible. It is not guaranteed: ambient light, reflections, and standing still may reveal the painter.
Technique Two: Painting Objects with Light
Object light painting works differently: instead of pointing the light toward the camera, aim it at the subject. A single long exposure can reveal a sculpture, bicycle, tree, or tabletop object with selective illumination. You control which surfaces become bright by choosing where to aim the beam and how long to keep it there.
- Place the object in a dark, stable setting.
- Compose and focus before turning off the room lights.
- Start with ISO 100, f/8, and a 20–30 second exposure.
- Trigger the camera without shaking it.
- Sweep the flashlight smoothly across the subject, keeping the light source outside the frame if you do not want a visible trail.
- Inspect the result and adjust the time spent lighting each area.
Side lighting reveals texture and creates dimensional shadows. Try lighting a wooden chair or a vintage camera from the left, then repeat from the right. To create a two-color effect, use blue light on one side and a warm LED on the other. Avoid illuminating the same spot too long, as it can become unnaturally bright.
For reflective objects, change the flashlight angle to control glare. A diffuser suitable for the light can soften harsh reflections. Keep a consistent camera position while experimenting so that lighting changes are easy to compare.
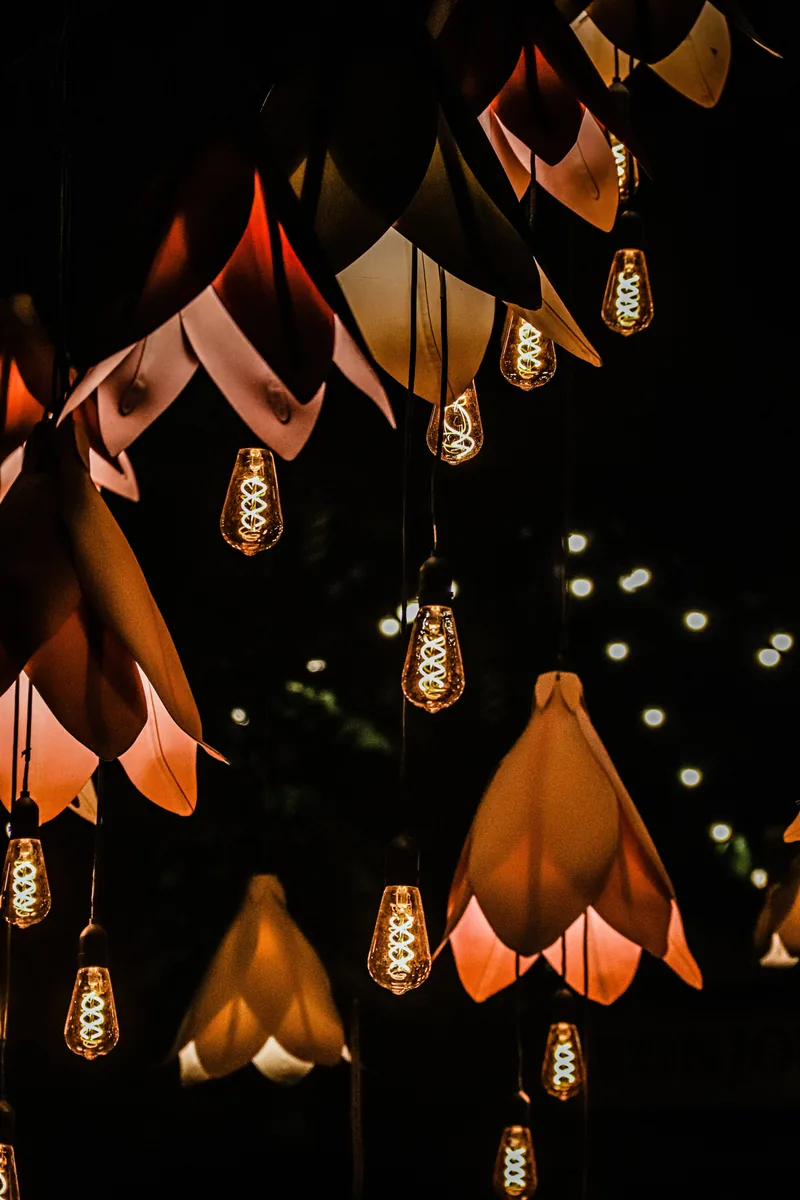
Technique Three: Experiment with Different Light Sources
LED flashlights
Compact LED flashlights are inexpensive and easy to control. A narrow beam is ideal for writing; a wider adjustable beam can paint landscapes or large objects. RGB LED wands offer changing colors without the need for separate filters.
Smartphone lights
Your phone's flashlight can draw clear white lines. A bright solid-color screen can cast a softer colored glow on small subjects. Keep the phone securely in hand and away from moisture. For capturing the image with a phone, use a genuine long-exposure mode or app, not just a simulated motion-blur filter.
Flash or speedlight
A speedlight emits a short burst that can freeze a person during an otherwise long exposure. For example, use one flash burst to illuminate a portrait, then draw LED patterns behind the subject while the shutter remains open. Check your camera's flash synchronization and triggering options before attempting this.
Fireworks and sparklers
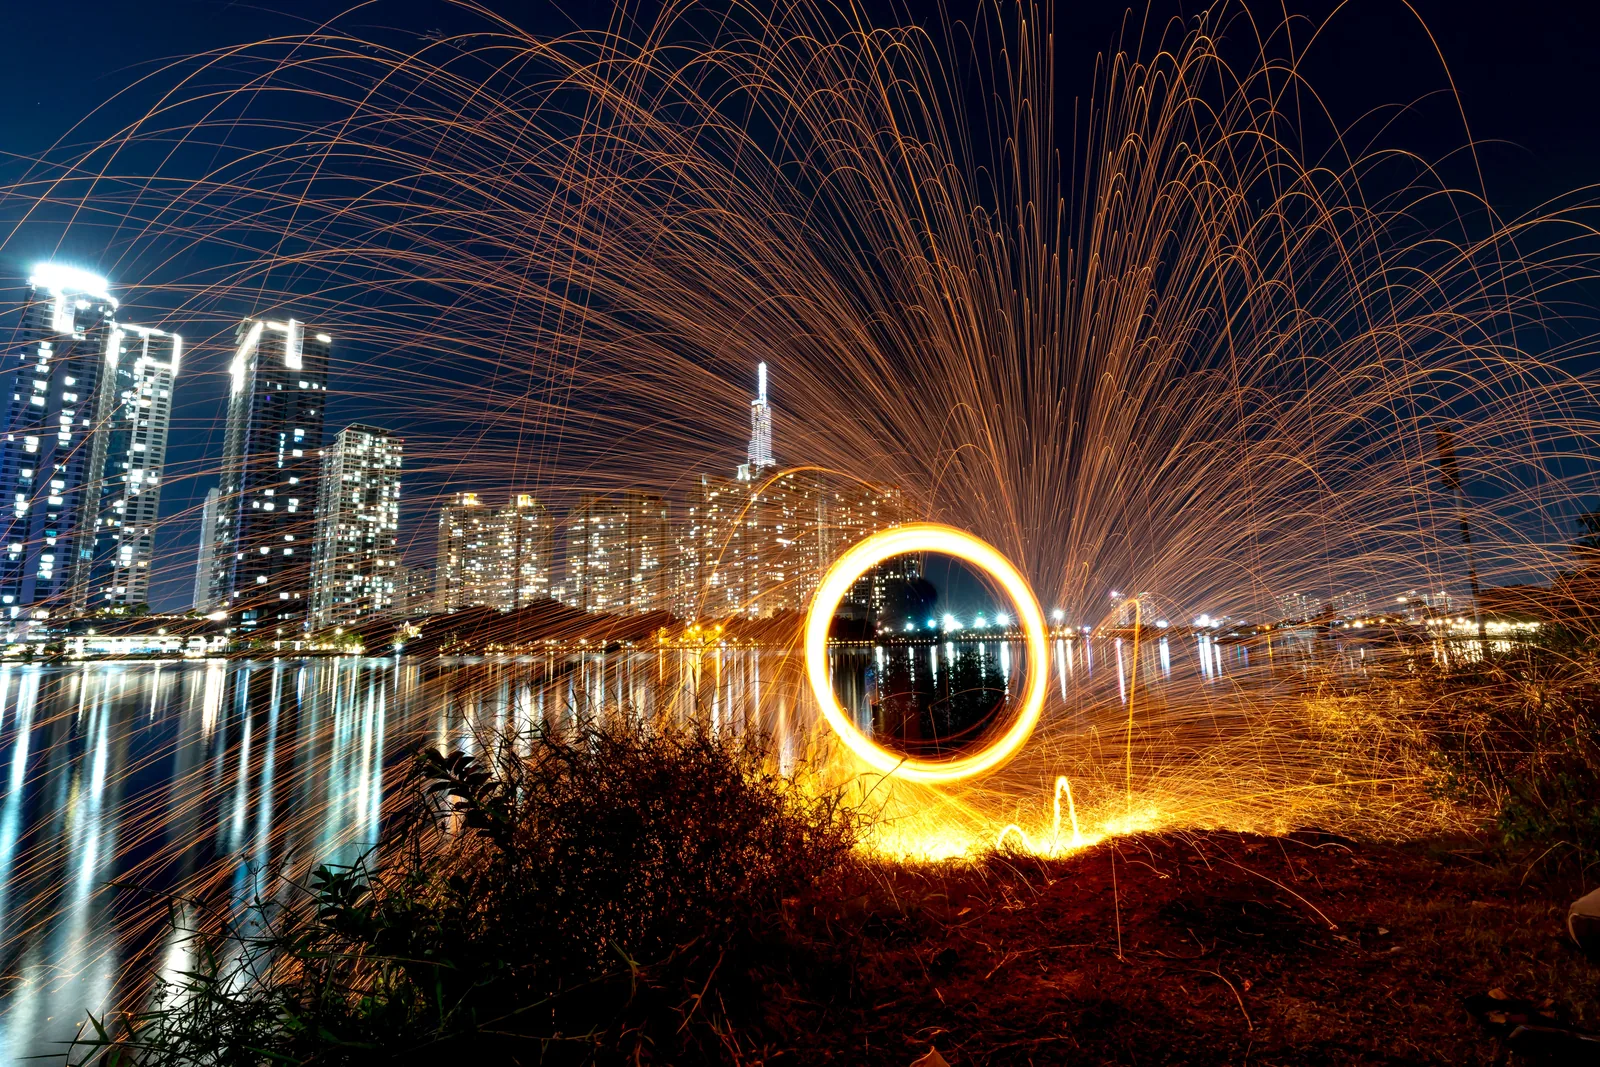
Fireworks and sparklers can produce striking trails, but they carry burn, fire, and injury risks and may be regulated. Battery-powered LED alternatives are safer for beginners. If photographing a permitted public fireworks display, remain in designated viewing areas, follow event instructions, and never handle or modify pyrotechnics for a picture.
Five Creative Light Painting Projects
1. Glowing portrait
Place a subject in a dark scene and draw a ring of light behind them. A carefully timed flash can help keep the subject sharp. Never direct a powerful flash or LED into someone's eyes.
2. Light tunnel
Create repeated circles at different positions to suggest depth. Use a controlled walking route and avoid any setup that requires swinging unsecured equipment.
3. Illuminated tree
Use a broad flashlight to reveal the trunk, then add a second color to the branches. Choose a location where you can work without damaging plants or disturbing wildlife.
4. Abstract lines
Combine zigzags, curves, and color changes without trying to create a recognizable object. Abstract compositions help you learn how brightness and movement interact.
5. Reflections
Use a mirror, polished metal, or glossy tabletop to reflect light trails. Move the camera or light slightly between exposures to avoid distracting reflections of the photographer.
Common Mistakes and Quick Fixes
Trails are too bright
Reduce LED brightness, move the light faster, or select f/11 or f/16. Check for clipped highlights rather than judging only from the camera screen.
Trails are too faint
Increase brightness, move more slowly, or use a wider aperture. Simply leaving the shutter open longer will not necessarily brighten a line that was drawn only once.
The background is washed out
Choose a darker location, reduce ISO, narrow the aperture, or shorten the exposure. Streetlights and nearby buildings can overwhelm delicate light trails.
The subject looks blurry
Check manual focus, tripod stability, and whether the subject moved. Trigger the shutter remotely or with a self-timer, and avoid touching the tripod during exposure.
The painter appears in the photo
Reduce stray light, wear non-reflective clothing, and avoid standing still for too long. Reflections from nearby surfaces can also reveal the person moving the light.
Safety Tips for Shooting in the Dark
Night photography introduces risks that are easy to overlook when concentrating on creative results. Scout the location in daylight and identify uneven ground, water, low branches, cables, and other obstacles. Work with a partner when possible, and carry a separate navigation light so you can move safely between exposures.
Protect your camera by securing the tripod and keeping equipment away from traffic, unstable surfaces, and bad weather. Bring a weather-resistant bag and wipe condensation carefully. Never leave loose cables where someone might trip.
Use electrical lights according to their manufacturer's instructions. Inspect batteries and cords, avoid damaged units, and keep non-waterproof lights away from moisture. Never cover hot lamps with flammable fabric or unsuitable gels, and do not block ventilation. Do not shine high-powered LEDs, flashes, or lasers into anyone's eyes.
Choose LED lighting instead of flames or pyrotechnics for beginner projects. Respect private property, local restrictions, wildlife, and other people using the space. The safest light painting setup is one where everyone can stop the exposure and turn on normal lighting immediately.
Editing Light Painting Photographs
RAW files offer more flexibility for adjusting exposure and white balance. Start by checking highlights: very bright lines may lose color detail if they were clipped during capture. Adjust contrast and black levels carefully to preserve the dark atmosphere without crushing important shadow details.
Use modest noise reduction when necessary, especially after long exposures or higher-ISO experiments. You can remove minor distractions and crop the frame to strengthen the composition. More advanced photographers sometimes combine multiple exposures using layer blending to build elaborate designs; this is optional, not a requirement for successful light painting.
Frequently Asked Questions
Can I make light painting photos with a phone?
Yes, if the phone or a compatible camera app supports sufficiently long exposures. Stabilize the device and test the actual shutter controls, as results vary by model.
What shutter speed should beginners use?
Start around 15–30 seconds. Use Bulb or a longer timed exposure for complex patterns that require additional drawing time.
Do I need complete darkness?
No, but very dark surroundings make it easier to control the final image. Some ambient light can help reveal the environment if that is part of your composition.
Is a regular flashlight enough?
Absolutely. A basic LED flashlight is one of the best tools for learning light drawing and object illumination.
Why are my lines white instead of colorful?
They may be overexposed. Lower the light intensity, narrow the aperture, or move faster to retain more of the light's color.
Final Thoughts
Light painting is a rewarding way to learn long-exposure photography because every experiment teaches you something about light, time, and movement. Begin with a stable tripod, a small flashlight, ISO 100, f/8, and a 20-second exposure. Draw a simple shape, review it, and change only one variable at a time.
As your confidence grows, try colorful LEDs, selectively illuminated objects, and portraits that combine flash with moving lights. Work carefully in the dark, keep your equipment secure, and enjoy discovering the surprising images you can create with simple tools. Find more practical photography tutorials at PhotoMasterHQ.