How to Photograph the Moon: A Beginner’s Guide
Capture a detailed lunar surface instead of a featureless white disc. Learn the right settings, focus technique, Moon phases, gear and planning steps for your first successful Moon photo.
Why Moon Photos Often Look Like a White Circle
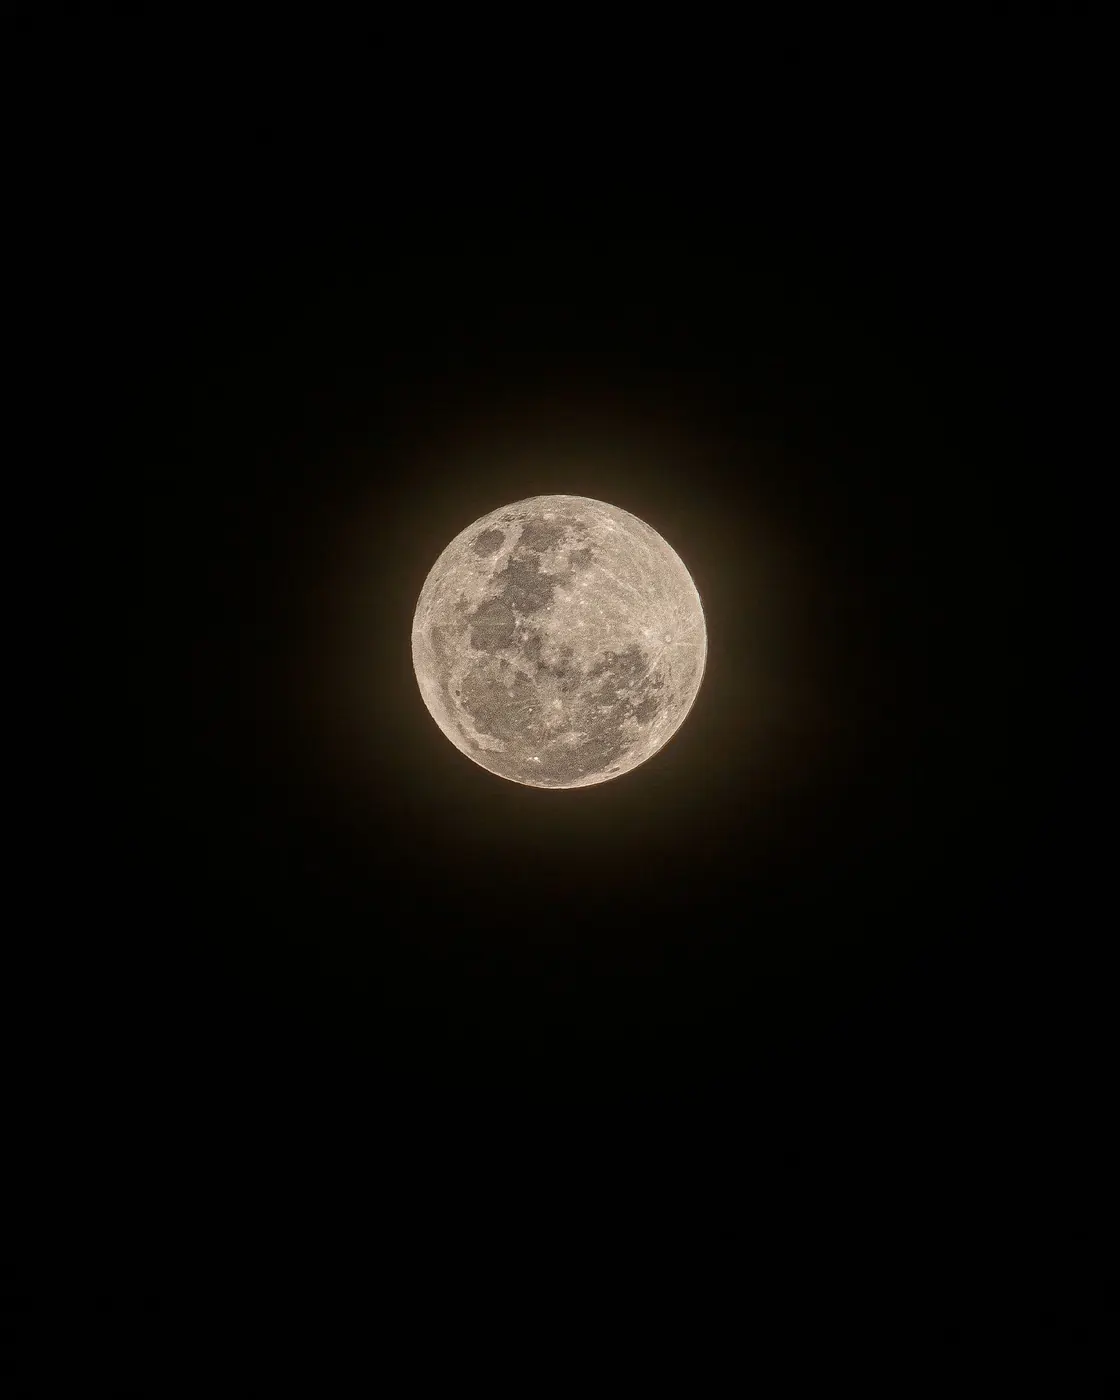
The Moon looks bright against a dark sky, but it is a sunlit subject. A camera's automatic meter may try to brighten the large black background, making the lunar surface a featureless white disc. The solution is to expose for the Moon itself, not for the surrounding sky. Start in manual exposure mode, keep ISO low, and check the lunar highlights in your preview. If the surface looks washed out, use a faster shutter speed, a smaller aperture, or lower ISO. A histogram is useful, but the Moon occupies only a small part of the frame, so the overall histogram can be misleading. Zoom into the preview and look for the darker maria and bright crater rims instead. Shoot RAW if your camera supports it: RAW files offer more latitude for recovering moderate highlight and shadow differences, although completely clipped highlights cannot be restored.
The Equipment You Actually Need
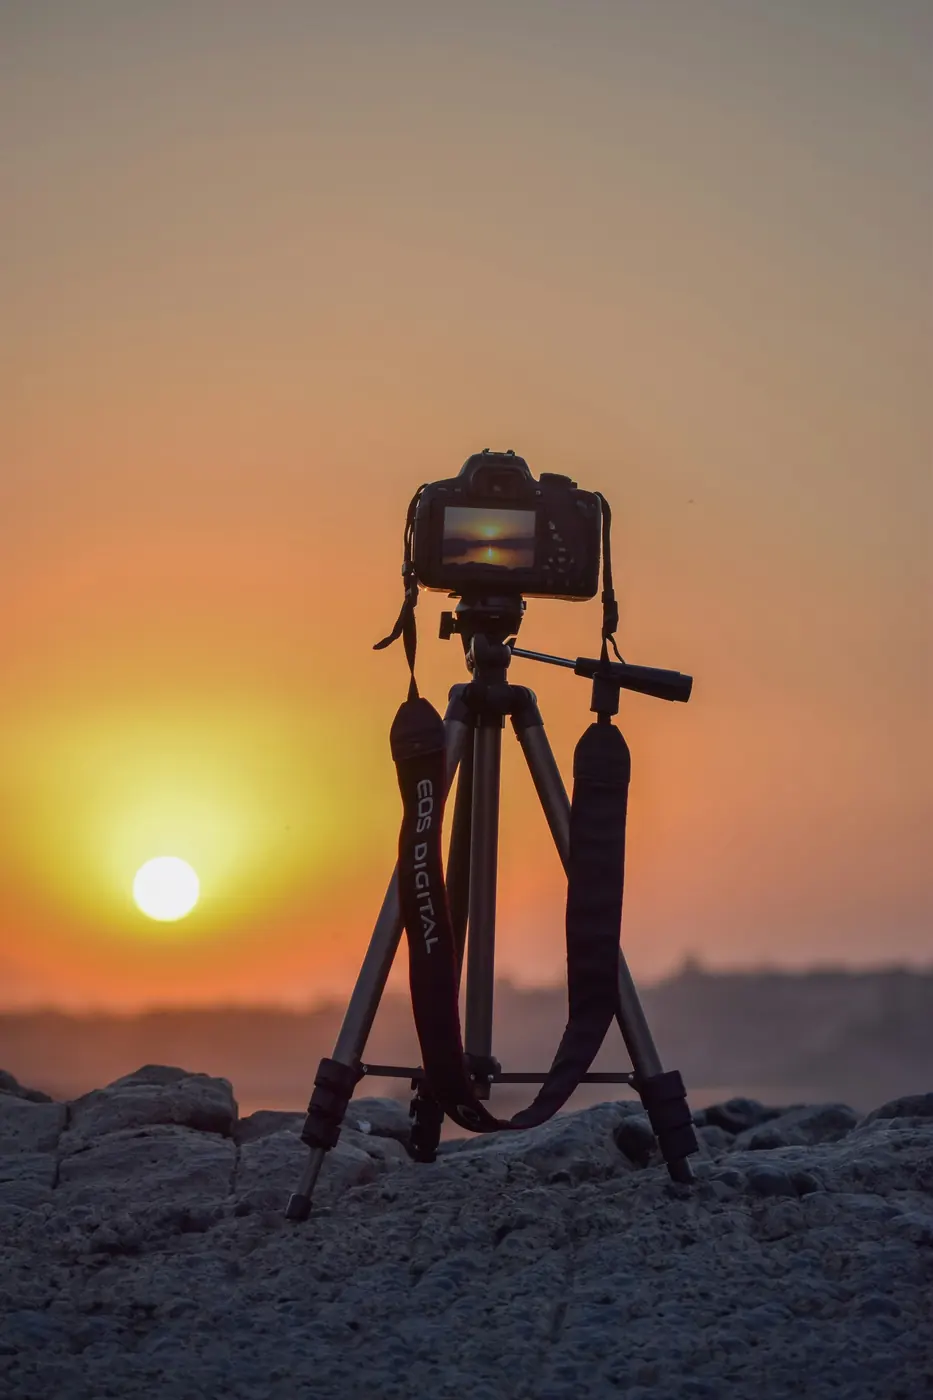
A camera with manual exposure controls is ideal, but an expensive full-frame body is not essential. Reach matters more than sheer megapixels when the Moon is small in the frame. A 200 mm lens can show the Moon clearly; a 300–600 mm telephoto gives a much larger lunar disc and reveals more surface detail. On an APS-C camera, a 300 mm lens frames roughly like a 450 mm lens on a 1.5× crop body or 480 mm on a 1.6× crop body. Crop factor changes framing, not the lens's physical focal length. A sturdy tripod helps with framing and consistency, particularly at longer focal lengths, but a sufficiently fast shutter can also produce sharp handheld results if your technique is steady. Use a remote shutter release, a two-second timer, or an electronic shutter when appropriate to reduce vibration. If your camera has a mechanical shutter and a mirror, consider mirror lock-up or live view. A lens hood can reduce stray light. Avoid stacking low-quality teleconverters: they reduce light and may compromise sharpness or autofocus.
Moon Photography Camera Settings: A Reliable Starting Point
For a bright full Moon, start with manual mode, ISO 100, f/8 to f/11 and 1/125 to 1/250 second. These are starting points, not universal requirements: lens sharpness, sensor response, atmospheric clarity and the Moon's phase can change the best exposure. For example, begin at ISO 100, f/11 and 1/125 second, review the surface, then try 1/250 second if the highlights are too bright. If your lens is noticeably sharper at f/5.6 or f/8 than at f/11, use that aperture and compensate with a faster shutter. Many long telephoto lenses have maximum apertures smaller than f/8; there is no need to force a setting the lens cannot provide. For a crescent or partially illuminated Moon, the bright portion still needs protection from clipping, while the dark side may remain invisible in a single exposure. Bracket several frames one stop apart when uncertain. Use daylight white balance as a neutral starting point, then adjust carefully in editing.
Understanding the Looney 11 Rule
The “Looney 11” rule is a simple exposure shortcut for a bright Moon. Set the aperture to f/11, then set the shutter speed to approximately the reciprocal of the ISO value: ISO 100 at about 1/100 second, or ISO 200 at about 1/200 second. Because many cameras offer standard shutter increments, 1/125 second at ISO 100 is a practical nearby choice. The rule is a baseline, not a promise of perfect exposure. A low Moon may be dimmed by haze, and different phases or atmospheric conditions can change brightness. Take a test frame and adjust based on visible lunar texture. When shooting handheld with a long lens, a faster shutter may matter more than matching the rule precisely. You can raise ISO modestly rather than accept blur.
How to Focus on the Moon for Sharp Craters
Autofocus sometimes hunts because the Moon is surrounded by featureless darkness. Switch to manual focus, activate live view or the electronic viewfinder, magnify the Moon to the highest practical preview level, and turn the focus ring until the crater edges look crisp. Do not assume the hard stop at infinity is perfectly focused: some modern lenses focus beyond infinity, and temperature can shift the precise position. If your camera supports focus peaking, use it as a secondary guide rather than relying on it alone. Check sharpness after each change in focal length, and refocus if you move the zoom. Keep your hands off the camera during the exposure by using the timer or remote. At very long focal lengths, even small vibrations are visible, so give the tripod time to settle.
Full Moon, Crescent Moon and New Moon: What Changes?
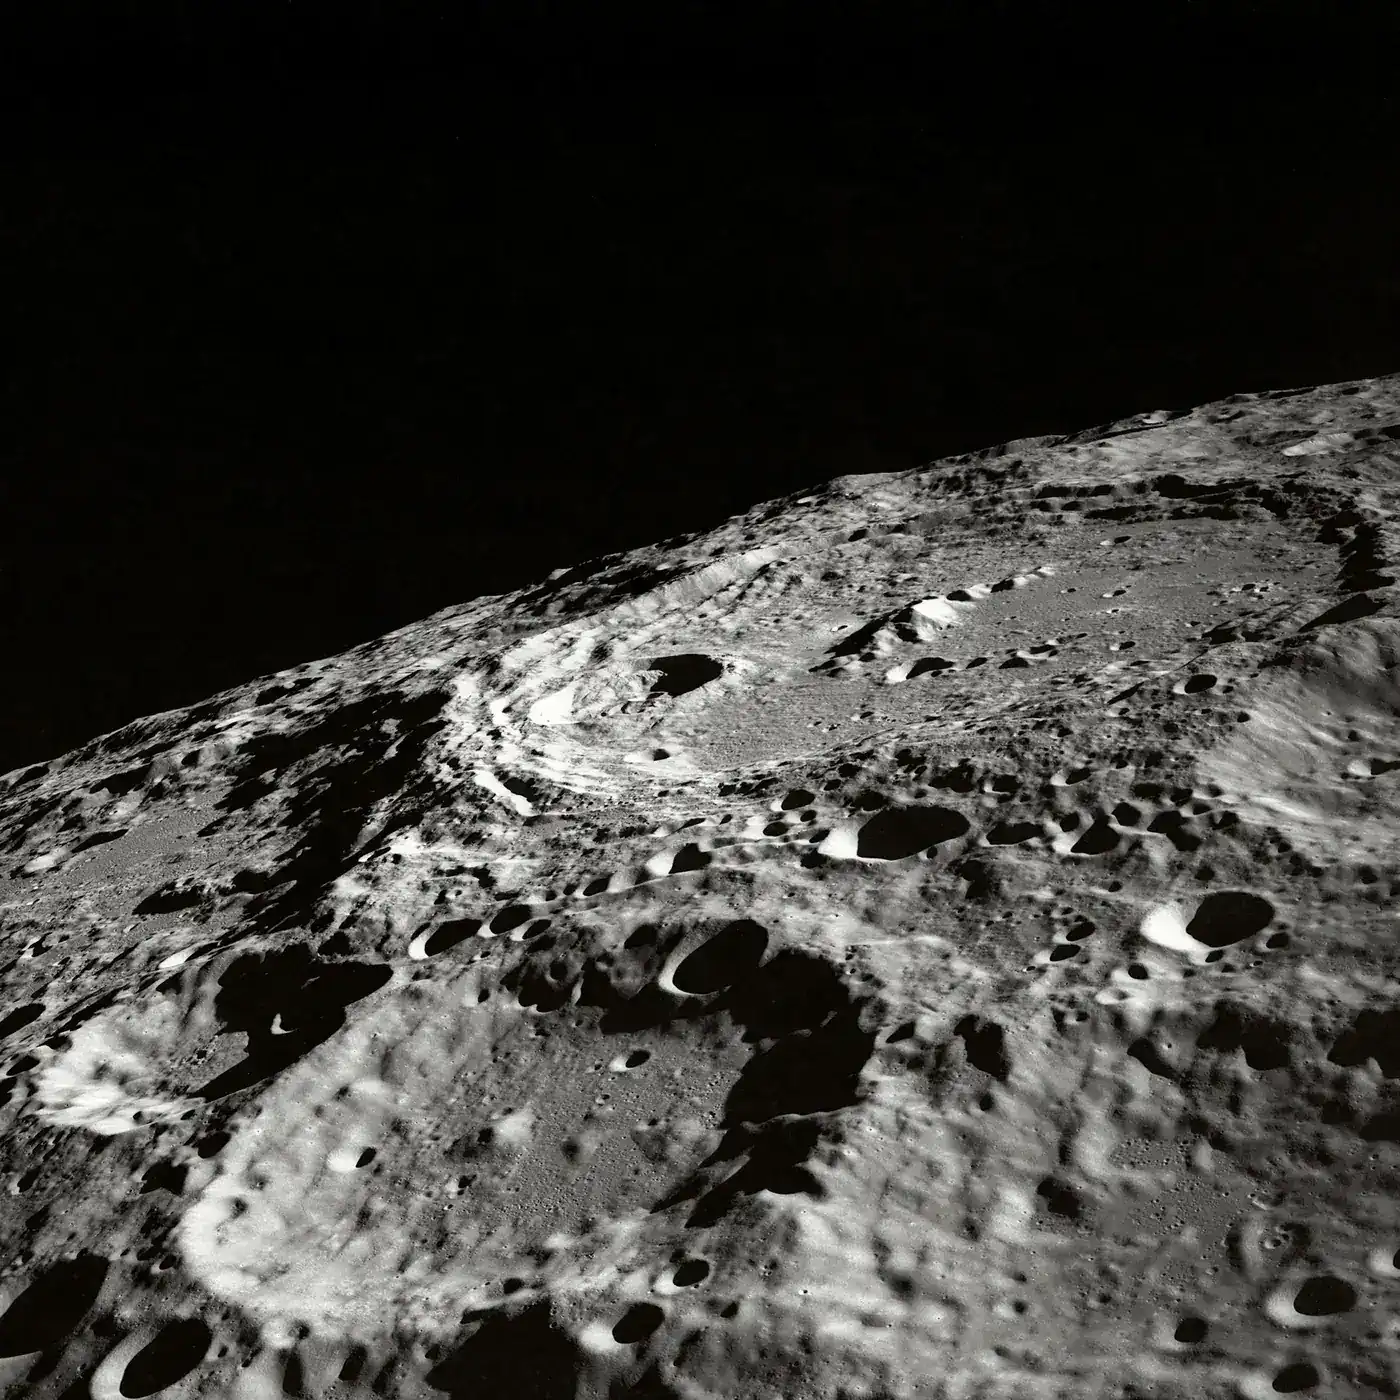
A full Moon is dramatic and easy to locate, but its nearly frontal illumination makes crater shadows shallow. For stronger relief and texture, photograph a waxing or waning Moon near the terminator—the boundary between lunar day and night. Side lighting casts long shadows across crater walls and mountain ranges, making features easier to recognize. A thin crescent can look beautiful above a landscape during twilight, though the small illuminated area may require careful focusing and exposure. A true new Moon is generally not visible because its sunlit side faces away from Earth; it cannot be photographed as a bright lunar disc under normal circumstances. The new-Moon period is instead excellent for photographing dark skies, stars and the Milky Way, provided conditions are suitable. Never aim a telephoto lens at the Sun or near the Sun without proper solar-rated protection; eye and equipment damage can result.
Photographing the Moon with a Phone
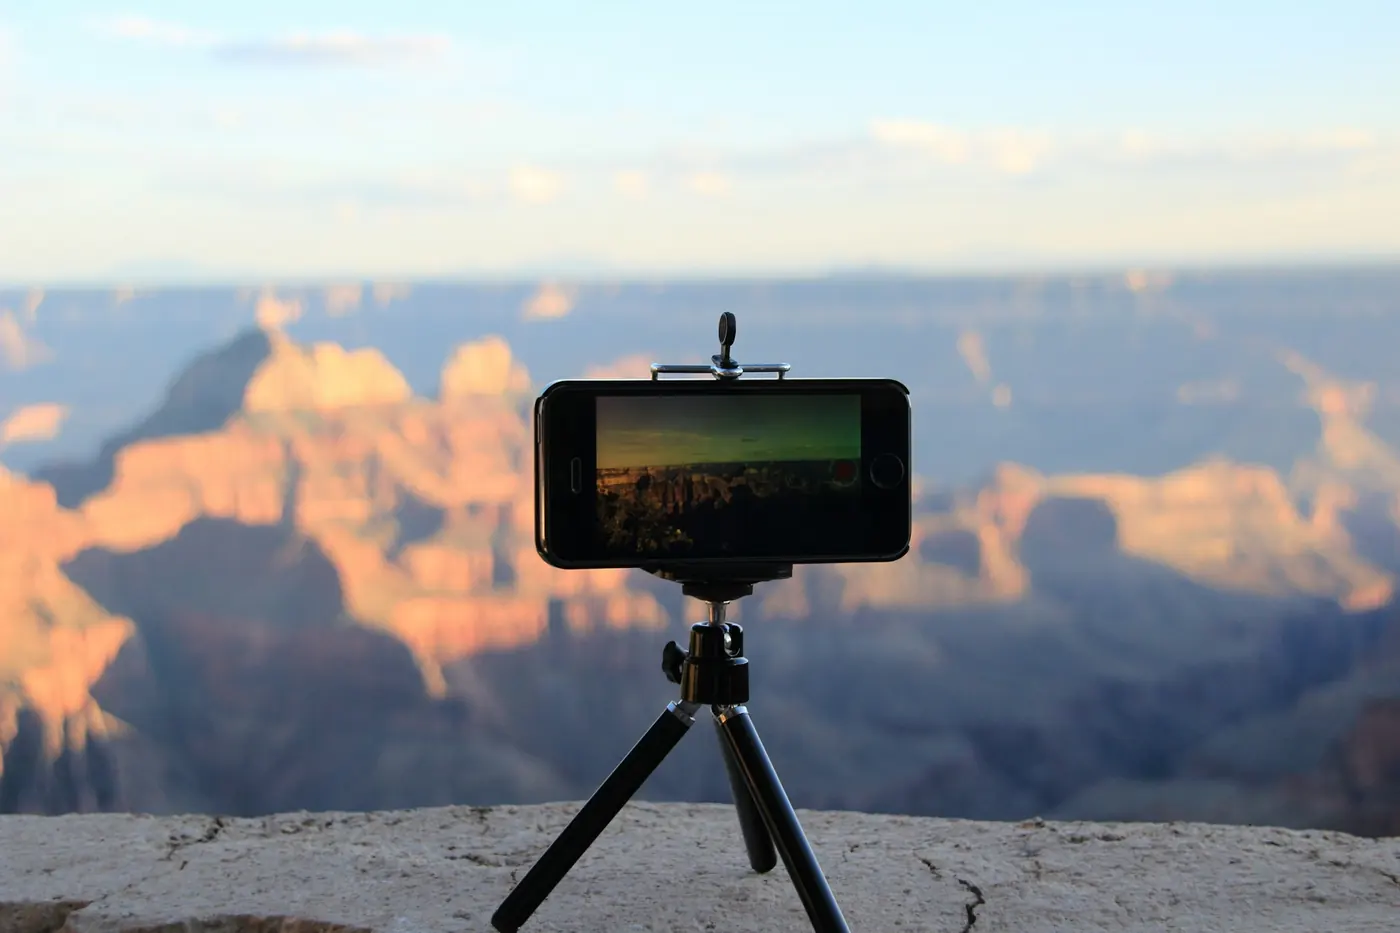
A phone can capture a pleasing Moon-in-landscape scene, but its short native focal length usually renders the lunar disc tiny. Start with the phone's true optical telephoto camera if it has one, lock exposure and focus where possible, and lower exposure compensation until the Moon shows texture. Brace the phone or use a small tripod and a timer. Clip-on telephoto adapters can enlarge the Moon, but alignment and optical quality vary widely; expect edge softness or vignetting from inexpensive adapters. A phone-to-telescope adapter can deliver more reach when carefully aligned. Avoid assuming that extreme digital zoom creates new optical detail. Some phones use computational processing that may change the appearance of the Moon; compare results with unprocessed files if accurate documentation is important.
Putting the Moon into a Landscape
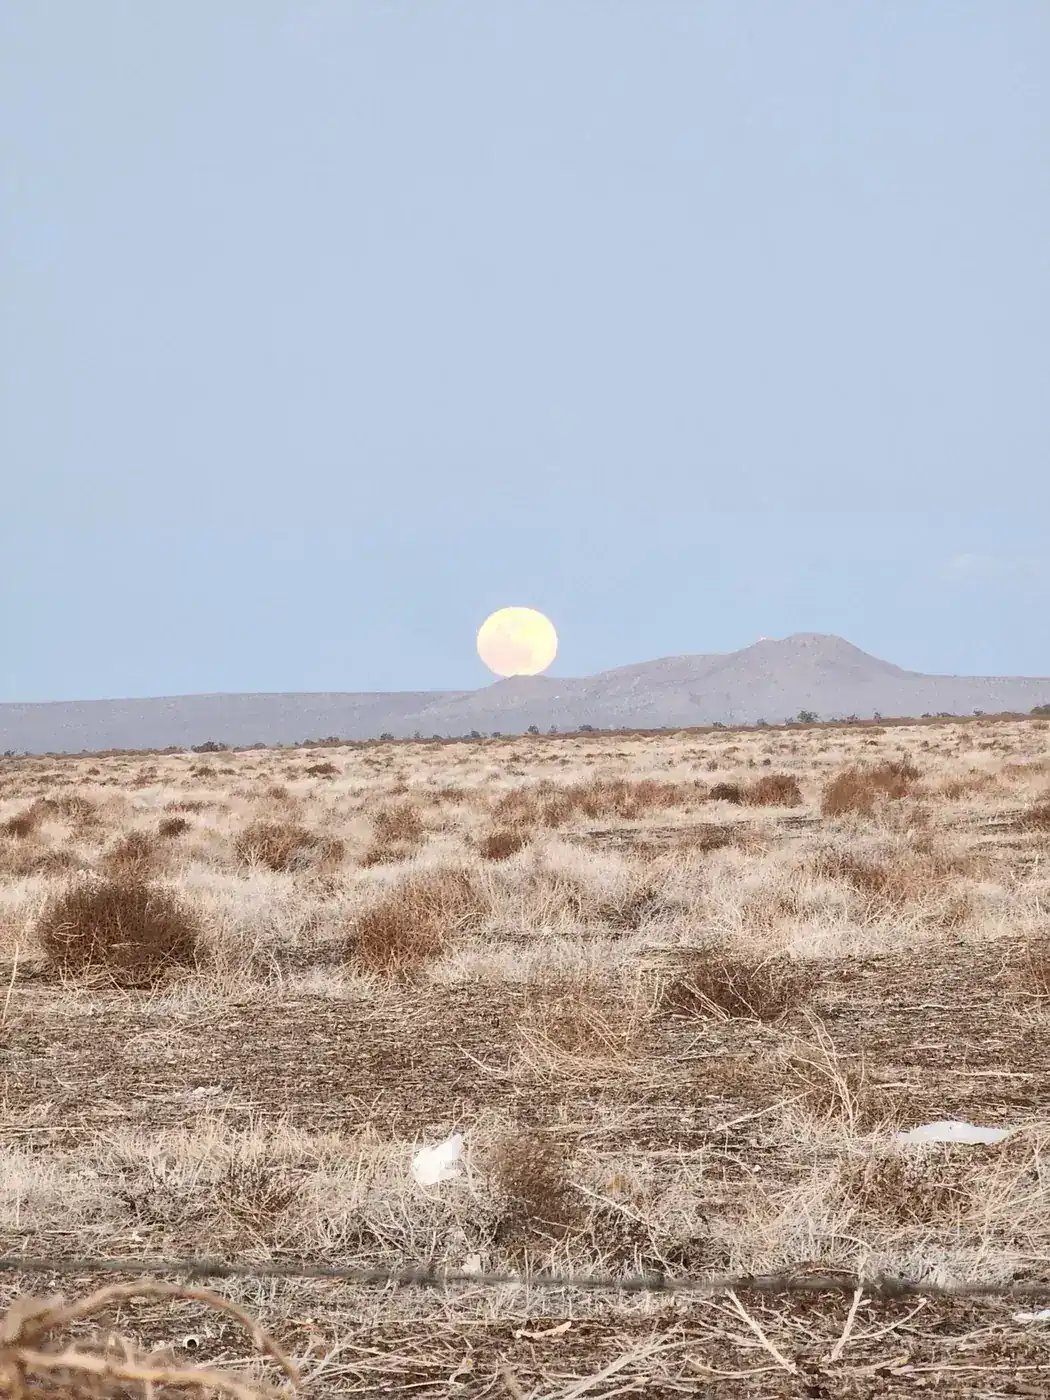
A wide-angle landscape image can include the Moon, but it will look small. To make it appear large relative to a building, mountain or tree, photograph from farther away using a longer focal length. This is a perspective effect: a distant foreground subject and a telephoto lens can make the Moon seem more prominent in the frame. Plan where the Moon will rise or set, and position yourself so the foreground aligns with it. For a single exposure, twilight often offers a better balance between a bright Moon and a visible landscape than full darkness. If you want both a detailed Moon and a bright foreground after dark, consider taking separate exposures from the same tripod position and combining them transparently in editing. If the Moon was photographed at a different time or location, label the result as a composite rather than presenting it as an untouched scene. Never enlarge the Moon in a composite and imply that the scale is natural.
Plan the Phase, Position and Weather
Check a lunar calendar before leaving home: phase affects surface texture, moonrise and moonset times, and whether the Moon is visible during blue hour. Tools such as PhotoPills, The Photographer’s Ephemeris and Stellarium can help visualize the Moon's direction, altitude and timing. Cross-check your planned position with the actual horizon and any nearby obstructions. For close-ups, the Moon higher in the sky usually suffers less atmospheric distortion than one near the horizon. Near-horizon moonrise images can be compelling, but the long path through the atmosphere increases haze and turbulence. Look for clear forecasts, low cloud cover and steady air. Fog, smoke, dust and light pollution can reduce contrast; light pollution matters much more for faint stars than for the bright Moon itself. Heat shimmer from rooftops, pavement or buildings can soften fine crater details even on an otherwise clear night.
A Simple Moon-Shooting Workflow
Arrive early and set up your tripod on firm ground. Select your longest practical lens, frame the Moon, set ISO 100 and begin near f/8–f/11 at 1/125–1/250 second for a bright full Moon. Magnify live view and focus manually on the terminator or visible crater edges. Take a test shot, inspect the lunar surface at full zoom and shorten the exposure if the highlights are blown. Trigger the shutter with a timer or remote, then capture several frames to improve your chances of beating momentary atmospheric blur. Try a slightly faster shutter and, if needed, a modest ISO increase when wind or movement is a concern. Record your settings so you can compare results later. For a landscape composition, take additional foreground exposures without moving the camera, and keep notes if you intend to blend them.
Common Mistakes and How to Fix Them
If the Moon is a white blob, reduce exposure and spot-meter the lunar surface rather than the dark sky. If it is blurry, inspect focus first, then check camera shake, wind, shutter speed and atmospheric turbulence. If it is too small, use a longer focal length or crop moderately; a wide lens cannot produce a large detailed lunar disc without a different composition. If crater detail looks flat during a full Moon, return during a quarter phase and photograph the terminator. If the landscape is black while the Moon is properly exposed, shoot at twilight or make a clearly disclosed composite. If the image looks over-sharpened or surrounded by halos, reduce clarity and sharpening in editing. Small improvements in focus and atmospheric conditions usually matter more than aggressive post-processing.
Editing Moon Photos Without Losing Detail
Begin with a RAW file if available. Correct white balance conservatively; the Moon is not always pure white in photographs, especially near the horizon. Lower highlights only if there is actual recoverable detail, and adjust contrast locally to reveal maria and crater boundaries. Apply moderate sharpening while viewing at 100 percent, and use noise reduction sparingly so it does not erase fine surface texture. A small crop can improve composition, but avoid excessive upscaling that invents detail. When stacking multiple lunar frames, use software designed for alignment and stacking, and make sure the stack improves detail rather than merely increasing apparent sharpness. Export a web-friendly image with a descriptive filename and meaningful alt text.
Frequently Asked Questions
Do I need a telescope to photograph the Moon?
No. A telephoto lens around 200–300 mm can produce recognizable lunar photographs, while 400–600 mm provides more detail. A telescope becomes useful when you want a much larger image scale.
Is f/11 always the sharpest aperture?
No. The Looney 11 rule is an exposure starting point. Many lenses are sharper at f/5.6 or f/8; use the sharpest practical aperture and adjust shutter speed accordingly.
Can I photograph the new Moon?
Not as a normally illuminated lunar disc. Around new Moon, focus instead on dark-sky photography or plan for a thin crescent on nearby evenings.
What is the best Moon phase for crater detail?
First and last quarter phases often show striking shadows near the terminator, revealing crater rims and mountains more clearly than a full Moon.
Final tip: Photograph the Moon more than once. Try a full Moon for its bright disc, then return near first quarter for deeper crater shadows. Small changes in focus, exposure and atmospheric steadiness can make a bigger difference than buying new equipment.